Table of Contents
Advertisement
Quick Links
Advertisement
Table of Contents

Subscribe to Our Youtube Channel
Related Manuals for ErGear EGCM6


Summary of Contents for ErGear EGCM6
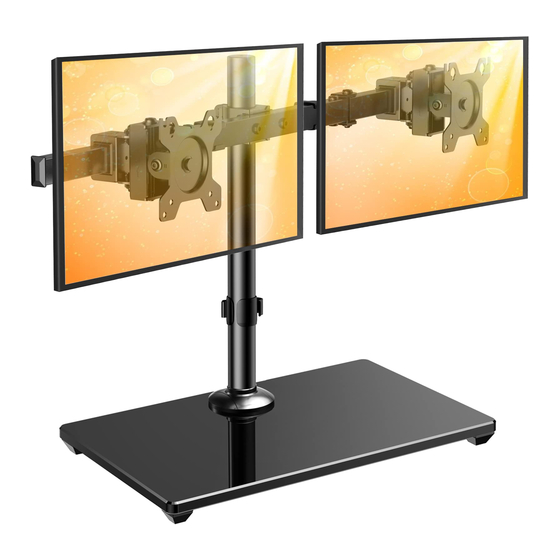
- Page 1 Monitor Desk Mount Instruction Manual V2.0 Model: EGCM6 Thank you for choosing this ErGear product! At ErGear we strive to provide you with the best quality products and services in the industry. Should you have any issues, please don't hesitate to...
- Page 2 If your monitor VESA is greater than 100x100 mm/4x4 in. or less than VESA 75x75mm/3x3in., this mount is NOT compatible. If this desk mount is NOT compatible, please contact customer service at support@ergear.com to find a compatible product. Tool Need(Not Included) Phillips...
- Page 3 Before starting assembly, verify all parts are included and undamaged. Do not use damaged or defective parts. lf you require replacement parts, contact our customer service at support@ergear.com. • Please note: Not all hardware included in this package will be used.
- Page 4 Step 1 Assemble the Base Place foot pads [02] to the tempered glass base [04] in the corners Step 1-1 Note: Kindly note that the tempered glass base is designed to show the shiny glass side facing up Connect the pole [01] to tempered glass base [04] Step 1-2 Secure the pole [01] to tempered glass base [04] using bolts [A], steel washer [B], plastic washer [C] and Allen key [05a].
- Page 5 Step 2 Secure the Swivel Arm Assembly to the Pole Large Allen Key...
- Page 6 Large Large Allen Key Allen Key Step 3 Secure the Moitors to Swivel Arms Phillips Secure 2 pcs bolts into the Screwdriver top VESA holes on the back [Not Included] (If needed) (If needed) of the monitor manually. 3 in. (75mm)x3 in. (75mm) 4 in.(100mm)x4 in.(100mm) TV1/TV2 Alternate...
- Page 7 HEAVY! You may need assistance with this step. (If needed) (If needed) TV1/TV2 TV3/TV4 Step 4 Adjust the Monitor Position Slightly Adjust the Height of the Monitor Large Large Allen Key Allen Key Turn the preassembled bolt [S] clokwise or counter-clockwise to adjust the monitor up or down...
- Page 8 Horizontally Shift the Monitor Along the Swivel Arm Tilt the bottom of the monitor forward and move the monitor along the swivel arm. Step 5 Cable Management and Angle Adjustment 360° 360°...
Need help?
Do you have a question about the EGCM6 and is the answer not in the manual?
Questions and answers