Advertisement
Quick Links
Advertisement

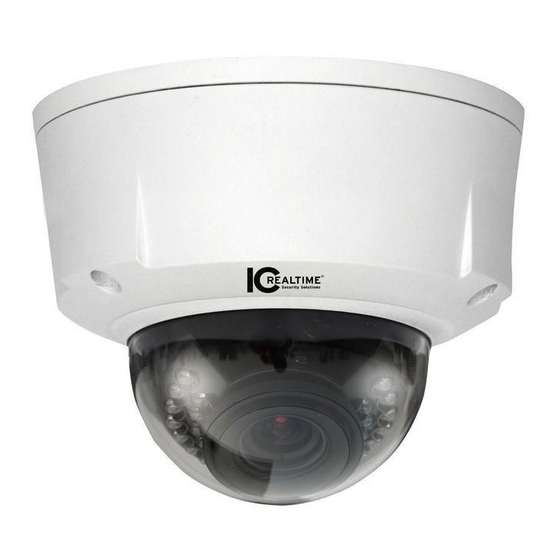
Summary of Contents for IC Realtime ICIP-D2000-VIR
- Page 1 ICIP-D2000-VIR Quickstart Guide Installation/Accessing...
- Page 2 Index Dimensions ……………………………………………………………………………………...3 Connections (Structure) ………………………………………………………………………..4 Installation & Focusing ………………………………………………………………………5-6 Web Operations/Accessing..……………………………………………………………..7-9...
- Page 3 Dimensions...
- Page 4 Connections (Structure) 1. Power Connection (Internal) – Tie in your power adapter to either AC/DC terminals 2. Power Connection (Internal) – Tie in your power adapter to either AC/DC terminals 3. Cable Pass-through – Exit ports for running you connections out from 4.
-
Page 5: Installation
Installation Please follow the steps listed below to install the ICIP-D2000VIR. Please refer the image above for reference. • Begin by unscrewing the top portion of the housing. You will then see three screws to un- attach the mounting plate of the camera. See above. •... -
Page 6: Sd Card Installation
SD Card Installation To install a Micro SD Card in to the 2000DVIR, please refer to the picture above. • Begin by opening the top portion of the housing. There are three hex screws at the top • Locate the SD Card slot inside the unit. It will have ‘SD CARD’ as a notation •... -
Page 7: Web Operation
Web Operation This series IPC product supports Web access and management via PC/Mac. Web includes several modules: monitor channel preview, system configuration, alarm and etc. Network Connection Please follow the steps listed below for network connection. • Make sure the IPC has connected to the network properly. •... - Page 8 Default factory name is ‘admin’ and password is ‘admin’. Note: For security reasons, please modify your password after you first login. Input your IP address here. If it is your first time to login, the system may pop up with a warning box to ask you whether to install a web plugin.
- Page 9 After you logged in, you can see the main window.


Need help?
Do you have a question about the ICIP-D2000-VIR and is the answer not in the manual?
Questions and answers