Table of Contents
Advertisement
Quick Links
Advertisement
Table of Contents

Related Manuals for IC Realtime ICIP360L4


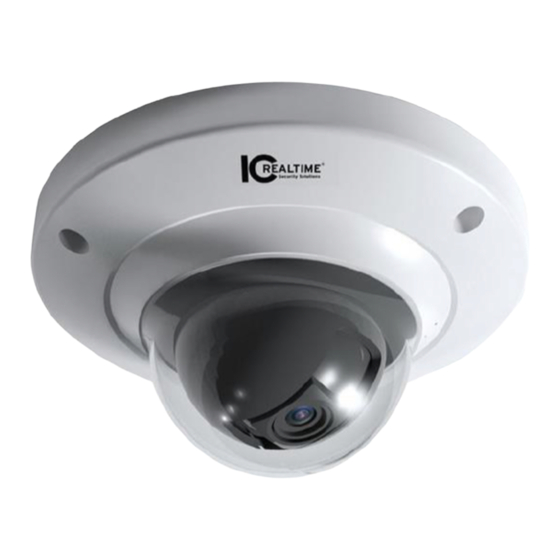
Summary of Contents for IC Realtime ICIP360L4
- Page 1 HD Fisheye Panorama Network Camera Quick Start Guide Version 1.0.0...
- Page 2 Welcome Thank you for purchasing our network camera! This user’s manual is designed to be a reference tool for your system. Please read the following safeguard and warnings carefully before you use this series product! Please keep this user’s manual well for future reference! 1.Electrical safety All installation and operation here should conform to your local electrical safety codes.
- Page 3 Heavy stress, violent vibration or water splash are not allowed during transportation, storage and installation. 3. Operation and Daily Maintenance Please do not touch the heat dissipation component of the device directly in order to avoid scald. Please do not dismantle the device; there is no component which can be fixed by users themselves in the machine.
- Page 4 Please refer to the actual product for more details; the manual is just for reference. The manual will be regularly upgraded according to the product update; the upgraded content will be added in the manual without prior announcement. Please contact the supplier or customer service if there is any problem occurred when using the device.
-
Page 5: Table Of Contents
Table of Contents Structure ........................ 1 Device External Cables ................. 1 Dimensions ....................2 Bidirectional Talk ..................3 1.3.1 Device-end to PC-end ..............3 1.3.2 PC-end to Device-end ..............3 Alarm Setup..................... 4 Installation ......................5 Device Installation .................. 5 Micro SD Card Installation .............. -
Page 6: Structure
1 Structure Device External Cables Note: There is slight difference about appearance between the product models and the following figures; please refer to Figure 1-1 or Figure 1-2 according to the actual products. Figure 1- 1 Figure 1-2 Please see Sheet 1-1 for more details about external cable functions. Port Port name Connector Function Description... -
Page 7: Dimensions
See Sheet 1-2 for more details about I/O port functions. Port Name Port SN Port Connector name Function Description Alarm input port, receive the on-off signal ALARM_IN1 from external alarm source. Alarm output port, output alarm signal to I/O Port ALARM_OUT1 alarm device. -
Page 8: Bidirectional Talk
Figure 1- 5 Bidirectional Talk 1.3.1 Device-end to PC-end Device Connection Please connect the speaker or the MIC to the audio input port of the device, and then connect the earphone to the audio output port of the PC. Login the Web and then click the “Talk” button to enable the bidirectional talk function. -
Page 9: Alarm Setup
Alarm Setup Note: Alarm function is only supported by some models. Please refer to Figure 1-6 for more details. Figure 1-6 Please follow the steps listed below for alarm input and output connection. Step 1 Connect the alarm input device to the alarm input port of the I/O cable. Step 2 Connect alarm output device to alarm output port of the I/O cable;... -
Page 10: Installation
2 Installation Important Before the installation, please make sure the installation surface can sustain at least 3X weight of the bracket and the camera. Device Installation Please refer to Figure 2- 1 for device installation information. Figure 2- 1 Step 1 Use the inner hex wrench from the accessories bag to unfasten the 3 hex screws on the dome camera enclosure and then open the dome enclosure. -
Page 11: Micro Sd Card Installation
Adjust the device chassis and pull the cable through the exit hole. Make “TOP” direction of the device identical with installation diagram. Make sure the 3 fixture holes on chassis face the three plastic expansion bolts on the surface. Take 3 self-tapping screws out from the accessories bag and fix them on the three plastic expansion bolts to secure the dome on installation surface. - Page 12 Figure 2- 3...
-
Page 13: Quick Configuration Tool
3 Quick Configuration Tool Overview Quick configuration tool can search current IP address, modify IP address. At the same time, you can use it to upgrade the device. Please note the tool only applies to the IP addresses in the same segment. Operation Double click the “ConfigTools.exe”icon, you can see an interface. - Page 14 Figure 3- 1 After you logged in, the configuration tool main interface is shown as below. See Figure 3- . Figure 3- 3 For detailed information and operation instruction of the quick configuration tool, please refer to the Quick Configuration Tool User’s Manual included in the resources CD.
-
Page 15: Web Operation
4 Web Operation This series network camera products support the Web access and management via PC. Web includes several modules: Monitor channel preview, system configuration, alarm and etc. Network Connection Please follow the steps listed below for network connection. Make sure the network camera has connected to the network properly. -
Page 16: Panorama Function On Web
Figure 4-2 Please refer to the Web Operation Manual included in the resource CD for detailed operation instruction. Panorama Function on Web There is a panorama icon at the lower-left corner of web interface and you can click it to view installation mode and display mode at the right. -
Page 17: Appendix Toxic Or Hazardous Materials Or Elements
1 Appendix Toxic or Hazardous Materials or Elements Toxic or Hazardous Materials or Elements Component Name Cr VI PBDE ○ ○ ○ ○ ○ ○ Circuit Board Component ○ ○ ○ ○ ○ ○ Device Case ○ ○ ○ ○ ○...
Need help?
Do you have a question about the ICIP360L4 and is the answer not in the manual?
Questions and answers