Dacor ERV36-ER Installation Instructions Manual
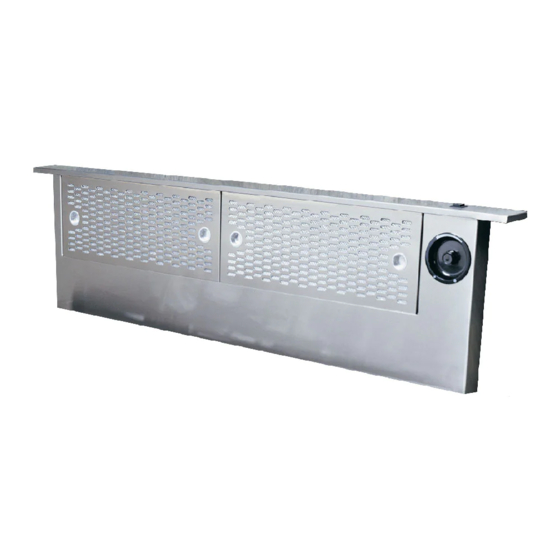
Downdraft raised vent
Hide thumbs
Also See for ERV36-ER:
- Installation manual (20 pages) ,
- Installation instructions manual (16 pages) ,
- Use and care manual (12 pages)

Related Manuals for Dacor ERV36-ER


Summary of Contents for Dacor ERV36-ER
- Page 1 Installation Instructions Downdraft Raised Vent Models: ERV36-ER, ERV48-ER These downdraft vents are designed for use with Dacor ER36D and ER48D ® series ranges. Part No. 103106 Rev. C...
- Page 2 ANSI/UL 858 household electrical ranges, CAN/CSA-C22.2 NO. 64 Standard for Household Electric Cooking and Liquid Heating Appliances, and UL 507 electric fans . All specifications subject to change without notice. Dacor assumes no liability for changes to specifications. © 2007 Dacor, all rights reserved.
-
Page 3: Table Of Contents
WARNING ating this or any other appliance. • Always contact the Dacor Customer Service Team Hazards or unsafe practices that COULD result in severe about problems and conditions that you don’t under- personal injury or death. -
Page 4: General Safety Precautions
Do not store items of interest to children above or applicable codes and standards, including fire-rated around the range. construction. Install this raised vent only with Dacor ER36D and Install or locate this appliance only in accordance ER48D series ranges. with these installation instructions and the Dacor range installation instructions. -
Page 5: Customer Service Information
Appliance Data Plate If you have questions or problems with installation, contact The appliance data label also specifies the power supply your Dacor dealer or the Dacor Customer Service Team. requirements. When you call, have the model and serial number of the Model Identification: appliance ready. -
Page 6: Installation Specifications
• The vent system consists of the raised vent itself and a department for further information. remote blower. You must install a Dacor model REMP3 • The electric outlet for the raised vent should be or REMP16 remote blower for the raised vent to oper- installed only by a licensed electrician. - Page 7 Model Number ERV Cutout Range Cutout to combustible side Width (C) Width (D) Min. walls above the range (both sides) ERV36-ER ” (848 mm) ” (916 mm) 1/16 ERV48-ER ” (1102 mm) 48 ” (1221 mm) 1/16 * Depth dimensions are at the discretion of the customer.
-
Page 8: Planning The Duct Work
(X). duct run. • For proper operation this unit must be installed with a remote blower. Use only Dacor models REMP3 or REMP16. 5” • Use only duct work constructed of materials deemed... - Page 9 Installation Specifications Duct Work Design Tips To determine the maximum allowable length of the duct work, subtract all of the equivalent lengths of the elbows • Wherever possible, reduce the number of transitions and transitions listed below from appropriate Maximum and turns to as few sharp angles as possible.
-
Page 10: Installation Instructions
Installation Instructions Installation Preparation Cut and remove the foil material inside the knock-out hole. If you fail to remove the foil, the vent will not work. If the unit will vent through the bottom or side: Verify Package Contents • For side installations, attach the supplied ATD2 •... - Page 11 Installation Instructions If the unit will exhaust air from the back, attach a Installing the Remote Blower and Ducts 3 1/4” X 10 duct to the vent hole created by removing the knock-out on the back of the unit. Install the remote blower according the remote blower installation instructions.
- Page 12 Installation Instructions Electrical Installation WARNING ELECTRIC SHOCK HAZARD - Do not connect power to the unit until installation is complete. Run the conduit line used to supply power from the raised vent to the remote blower parallel to the duct work.
- Page 13 Installation Instructions Wires from power conduit. Connect other end of wires to Match wire colors to “Blower Output” inside ERV terminals as shown electrical access panel Outside Wall BLACK WHITE GREEN Remote Blower Terminal Block Remote Blower Wiring REMP Series ER36D or Remote Blower ER48D Range...
-
Page 14: Verifying Proper Operation
Installation Instructions Verifying Proper Operation WARNING • Read the raised vent use and care manual com- pletely before operation. • Install all of the front filters prior to operating the raised vent. Refer to the use and care manual for filter installation instructions. - Page 16 Dacor ● 1440 Bridge Gate Drive, Diamond Bar, CA 91765 ● Tel: (800) 793-0093 ● FAX: (626) 403-3130 ● www.Dacor.com...
Need help?
Do you have a question about the ERV36-ER and is the answer not in the manual?
Questions and answers