Dacor ERV30 Installation Instructions Manual
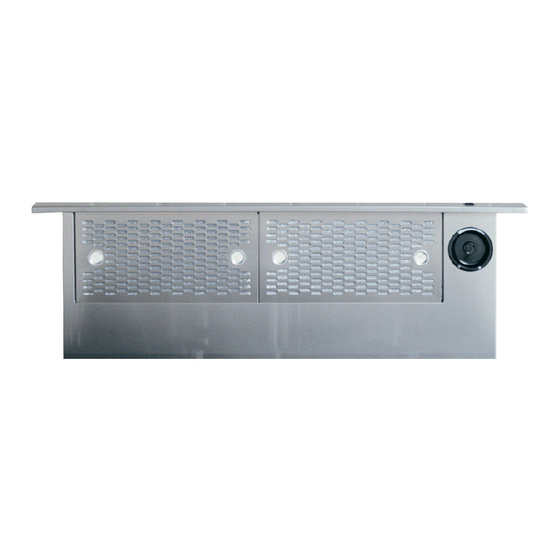
Downdraft raised vent
Hide thumbs
Also See for ERV30:
- Installation instructions manual (16 pages) ,
- Planning manual (1 page) ,
- Use and care manual (12 pages)
Table of Contents
Advertisement
Quick Links
Download this manual
See also:
Use and Care Manual
Advertisement
Table of Contents

Related Manuals for Dacor ERV30


Summary of Contents for Dacor ERV30
- Page 1 MnstaJJation Mnstructions Downdraft Raised Vent ModeJs: ERV30, ERV36, ERV48 PRV30, PRV36, PRV46 Use these downdraft raised vents onJy with approved Dacor _ appJiances. See the instaJJation instructions for the parficuJar appJiance modeJ being instaJJed to determine suitabiJity. Pa_ No. 65335...
-
Page 2: Model Identification
JfYou Need Help... If you have questions or problems with installation, contact ERV30 = 30dnch wide raised vent, ERV style top cap. your Dacor ®dealer or the Dacor Customer Service Team. ERV36 = 36dnch wide raised vent, ERV style top cap. -
Page 3: Safety Symbols And Labels
[_ WARNING ating this or any other appliance. Always contact the Dacor Customer Service Team Hazards or unsafe practices that COULD result in severe about problems and conditions that you don't under°... - Page 4 A qualified service technician should perform all other service. Contact the Dacor Customer Service Team for examination, repair or adjustment. • Keep all packaging materials away from children.
-
Page 5: Product Dimensions
5/16" (8 mm) _Top cap with Number Width Width thick stiffener vent down (5.4 cmk across back ERV30 30" (76.2 cm) 27 3/8" (69.5 cm) PRV30 2 1/2" ERV36 36" (91.4 cm) 33 3/8" (84.8 cm) _, 9/16" PRV36 (6.4 cm) (1.4 cm) -
Page 6: Electrical Specifications
The vent system consists of the raised vent itself and a single sides. Allow room for the exhaust duct coming out Dacor approved remote or in-line blower (see page 6). of the unit. See Planning the Duct Work for further details. - Page 7 Countertop overhang Vertical Vertical non-combustible non-combustible surface rear wall surface rear wall tches required for some rasied vent Notches required for some raised vent installations, see cooktop installations, see range installation instructions installation instructions See the cooktop installation Notches for self-rimming instructions for exact countertop style installations, see range...
-
Page 8: Planning The Duct Work
DO NOT install more than one blower to increase the length of the duct run. Even small differences between blower air flow rates can greatly reduce the air draw by the raised vent. You must install one of the Dacor remote or indine blower When connecting the duct work to the back of the unit, models listed below for the raised vent to operate properly. - Page 9 Onsideexhaust i nstallations, allowfiveinches ofspace onthe sidefortheADT2exhaust t ransition plusaddi- tional s pacefortheductattached to it (X). ATD2. Makesureductworkdoesnotinterfere withfloorjoists or wallstuds. Withconcrete slabconstruction, "box-in" t heductwork andblower w iringto prevent c ollapsing o r otherdam° agewhenthewetconcrete is poured. Crossodrafts or aircurrents fromadjacent o penwin- dowsor doors, h eating/air conditioning o utlets, c eiling fansandrecessed c eifing lightsreduce ventefficiency.
- Page 10 Cut and remove the foil material inside the knock-out Installation Preparation hole. If you fail to remove the foil, the vent will not work. If the unit will vent through the bottom or side: Verify Package Contents Attach the supplied ATD2 transition to exhaust Product literature location with the provided sheet metal screws.
- Page 11 Gently slide the vent into the rear of the countertop cut° Installing the Blower and Ducts out with the electrical access panemtoward the front. Instal_ the remote or in-line blower according to the blower installation instructions. Install the duct work according to the Installation Specifications section.
- Page 12 EJectdcaJ JnstaJJation Run the wiring/conduit line used to supply power from the raised vent to the blower parallel to the duct work. WARNING Make sure the raised vent power plug is disconnected from the e_ectrical outlet. • ELECTRIC SHOCK HAZARD - Do not connect the Remove the cover from the raised vent electrical raised vent power plug to the electrical outJet until access panel.
- Page 13 REMP16 remote blower Connect wires/conduitJ according t o remote blower installation i nstructions Raised vent Range Wiring/conduit from raised vent to remote blower Example of installation with Bottom Exhaust (Side View) Range/Cooktop lnstaJJation Install the range or cooktop according to its installation instructions.
-
Page 14: Verifying Proper Operation
Dacor Distinctive Service at (877) 337-3226. Be sure to have all model and serial numbers from the product data labels for the raised vent and the blower available when you call. Dacor is not responsible for the cost of correcting problems caused by a faulty installation. 12 d,_c:_r... - Page 15 DOWN UMITSWITCH UMITSWITCH SNORKEL SWITCH COM NO NC BLUE CHASSIS GROUND BLUE RELAY ,I 6 Icfl REMOTE POT N1 GND GNDI [__l l__l l__l BLOWER POWER GROUND SPEED CONTROL OUTPUT INPUT ORNG d_c:_r...
- Page 16 _..,,,_ ® Family Owned American Made The Life of the KitchenP _ Dacor ® 600 Anton Blvd. Suite !000 Costa Mesa, CA 92626 ® Phone: (800) 793-0093 ® Fax: (626)403-3130 ® www.Dacor.com...
Need help?
Do you have a question about the ERV30 and is the answer not in the manual?
Questions and answers