Advertisement
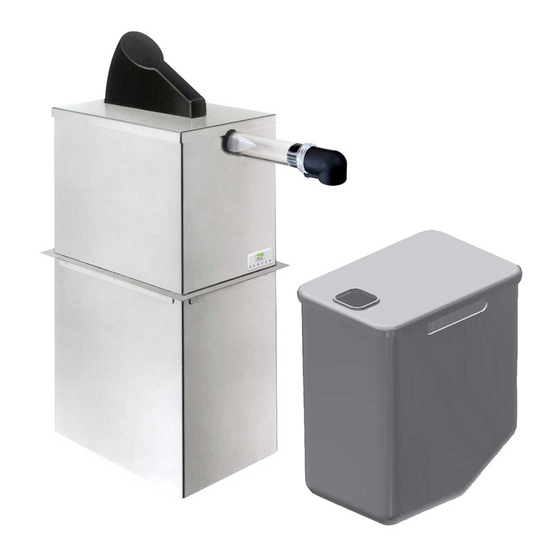
Server Express
Direct-pour into provided
fountain jar.
MODELS:
SE-SS-DP
SE-SS-DI-DP
Thank You
...for purchasing our Server Express™ Condiment
Dispenser. This portion controlled unit dispenses
poured-in product and has only a few parts for easy
clean-up.
SIMPLIFY CONDIMENT MANAGEMENT— GO EXPRESS!
Direct-Pour
™
Advertisement
Table of Contents

Subscribe to Our Youtube Channel
Related Manuals for Server Express Direct-Pour SE-SS-DP


Summary of Contents for Server Express Direct-Pour SE-SS-DP
- Page 1 Direct-Pour ™ Direct-pour into provided fountain jar. MODELS: SE-SS-DP SE-SS-DI-DP Thank You ...for purchasing our Server Express™ Condiment Dispenser. This portion controlled unit dispenses poured-in product and has only a few parts for easy clean-up. SIMPLIFY CONDIMENT MANAGEMENT— GO EXPRESS!
- Page 2 DIRECT-POUR MODELS SE-SS-DP SE-SS-DP 100236 100237 Single Single Drop-In DOME 07383 MODEL 100239 PINCH VALVE 07798 PART DESCRIPTION PUMP HOUSING 07388 07383 PUMP DOME, BLACK 07798 LARGE PINCH VALVE DISCHARGE 07388 PUMP HOUSING FITTING 07669 9½" TUBE 07795, 07796 OR 07797 07795 DISCHARGE FITTING, SMALL 07796...
- Page 3 DIRECT-POUR MODEL PARTS LEVER MODEL(S) 07014 ASSEMBLY HINGE 100236, 100237 07055 100243 07161 ASSEMBLY ROLLER 07056 PUMP 100239 See page 2 for individual pump parts. 100281 100280 SLIDING BACK PANEL 100396 (MODEL 100236 ONLY) MODEL REPLACEMENT SHROUD KIT SHROUD 100236 100401 100237 07327...
- Page 4 Check with local food and safety regulators for specific guidelines. Server Products, Inc. cannot be NSF International lists this pump as: responsible for the serving of potentially hazardous “Not acceptable for dispensing potentially...
-
Page 5: Pump Assembly
PUMP ASSEMBLY WASH ALL PARTS PROPERLY BEFORE USE. See page 11. INSERT PINCH VALVE into pump housing. TIP: Squeeze the pinch valve open before installation to ensure it isn’t stuck shut. INSTALL DOME Press dome into Wrap loop housing fully. around lower opening to Ensure valve flap... - Page 6 SETUP PRACTICE SAFETY. WASH ALL PARTS PROPERLY BEFORE USE. See page 9. POUR PRODUCT & INSTALL JAR/LID INTO SHROUD Fill jar to 1/2-inch below the handle of jar to allow for displacement of product when Fill Point pump is inserted. Do NOT pour directly into dispenser shroud.
-
Page 7: Portion Control
PLACE LID ON TOP DISPENSE Press lever to dispense product. PORTION CONTROL THE LID IS SET TO DELIVER 1 OZ PORTIONS. If lid reassembly is needed, or to specify a different portion size: One hinge pin attaches lever to lid. Second hinge pin attaches roller to lever. - Page 8 TAKE-DOWN & DISASSEMBLY REMOVE LID REMOVE PUMP REMOVE INTERNAL JAR WITH LID Internal food holding jar and lid are dishwasher safe. FLUSH & RINSE PUMP Place lower end of pump into container of hot water. Pump until all remaining product is expelled and only water flows from discharge tube.
-
Page 9: Care Of Stainless Steel
CLEANING CLEAN After disassembling, clean all washable parts with soap and hot water. YES! Use dishwashing RINSE soap and hot water fully with clear water. • External surfaces may be wiped clean with a clean damp cloth. • Glass and surface cleaners approved for use in food contact areas may be used. -
Page 10: Troubleshooting
Server Products customer service to request a Return Authorization Number. Merchandise must be sent to Server Products with this number. Service is extremely prompt. Typically, units are repaired Server Products equipment is backed by a and ship out within 48 hours of receipt.
Need help?
Do you have a question about the Express Direct-Pour SE-SS-DP and is the answer not in the manual?
Questions and answers