Advertisement
Quick Links
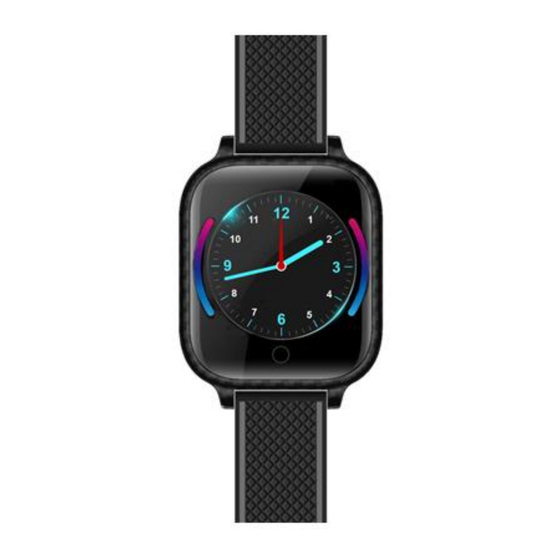
User Manual
Micro SIM
Please read the instruction manual below before use, to install the
card
correctly, and use the product quickly; Please Do NOT use Nano SIM card (iPhone
type).
Before first use, fully charge the battery. Keep GPS Tracker half-charged when it's
stored for the long term.
Don't turn the watch on until the SIM card has been installed following the
instructions outlined here.
Advertisement

Related Manuals for Roadragon TK-6WT


Summary of Contents for Roadragon TK-6WT
- Page 1 User Manual Micro SIM Please read the instruction manual below before use, to install the card correctly, and use the product quickly; Please Do NOT use Nano SIM card (iPhone type). Before first use, fully charge the battery. Keep GPS Tracker half-charged when it’s stored for the long term.
- Page 2 1) The APP: 1. Download and install the App “Aibeile Plus” (Option1) - Scan the following QR code, download and install the App (Option 2)-Search “Aibeile Plus” in App Store - Apple or Google Play Note: During the installation process, the phone will prompt you whether to trust the APP or whether to allow instant access to the phone location.
- Page 3 Turn on the watch at first, wait 1 minute or more, and later to scan the QR code inside the app setup below. If you find the menu in the APP is not correct, please reboot GPS Tracker and log in to the APP again 3) Registering the watch and log in: Open the App, and new users will need to register a new account by clicking on the bottom right “Register”...
- Page 5 Note: The Registration QR code is the 15-digit registration number found on the QR sticker on the back of the watch, it is not the IMEI barcode number. If you find that the device has been bound to another unknown account, please insert another SIM card and set up APN;...
- Page 6 5) Battery Charge: use the magnetic charging lead to attach to the back of the Tracker (it will only connect one way), connect the other end of the cable to the supplied USB charger 5V1A / 5V2A or laptop USB. 6) The first time you switch on the GPS tracker, please go outdoor and press the "Locate"...
- Page 7 With this data, we can manually configure the APN by sending the following SMS message to the SIM number in the device (by entering the specific values of the Operator): pw,123456,apn,APN name,username,password,PLMN# Example1: 1. APN name: telstra.internet 2. Username: 3. Password: 4.
-
Page 8: Product Features
7) Product Features: 1.Location update schedule modes 2.Calling (Contacts, SOS call button, two-way communication) 3.Historical track 4.Geo-fence 5.Do Not Disturb 6.Ring Profile 7.Clock 8.Wetalk (Voice message) 9.Pedometer 10.Sleep monitoring 11.Medication reminders 12.Fall alert 13.Reject incoming calls from strangers 14.Body temperature measurement 15.Other settings 8) Function Description: Location Update Schedule Modes... - Page 9 ③ In the 10 minutes or 1 hour movement tracking mode, the GPS tracker will regularly update the location on the APP Map page and History when there is a continual vibration & movement ④ The device supports GPS tracking (Outdoor), WIFI tracking (Outdoor and indoor), LBS tracking (Outdoor and indoor).
-
Page 10: Medication Reminders
(1) App will show enter or leave geofence alarm information (History alarm information can be viewed in APP Information Centre, which is in the upper left corner of the map interface). (2) The APP may not notify the user immediately of a geofence breach - it will only check as often as the time interval is set, the GPS positioning time interval is shorter, the alarm information will be sent faster. - Page 11 (2) Set up to three groups. 8.12. Fall down alert APP: APP More Settings fall alarm to start alert by APP, user can also choose alerts by calling. GPS Watch: More Settings Fall alert setting enable this feature and select tone ring when fall down alert is triggered.
- Page 12 (Option 2) Scan the code in the GPS watch in ‘More’ Note: During installation, the phone prompts whether to trust the APP or whether to allow prompt access to phone location, etc. Please select trusted and allowed all the time. 2.
- Page 13 3. Connecting GPS watch to your APP account After successful registration, login account, ‘More’ Device list Add device, Click scan icon to scan the QR code in the GPS watch. Note: (1) Register QR code is a 15-digit registration code, and it is not IMEI number.
- Page 14 5. If a sub-account wants to add the same GPS Tracker It requires authorization from an administrator account, which is the first account to add the GPS tracker. There will be a note when the sub-account wants to add the same GPS tracker;...
- Page 15 6. The APP interface Login screen Main page with map...
- Page 16 Set up Location update schedule modes Declaration: • If you are removing or tampering with the product casing, the product will void the warranty. • The manufacturer shall not be liable for the illegal use of the product. • By using this GPS tracker, you acknowledge that you accept the following precautions terms.
- Page 17 conductive objects except the GPS Tracker; otherwise, it may cause the charging head to short circuit. 7. In the case of excessive heating of the battery during charging, immediately disconnect it from the power supply. 8. Before first use, fully charge the battery. 9.
Need help?
Do you have a question about the TK-6WT and is the answer not in the manual?
Questions and answers