Sign In
Upload
Download
Table of Contents
Contents
Add to my manuals
Delete from my manuals
Share
URL of this page:
HTML Link:
Bookmark this page
Add
Manual will be automatically added to "My Manuals"
Print this page
×
Bookmark added
×
Added to my manuals
Manuals
Brands
Samsung Manuals
Oven
NV75K3340RS
User & installation manual
Samsung NV75K3340RS User & Installation Manual
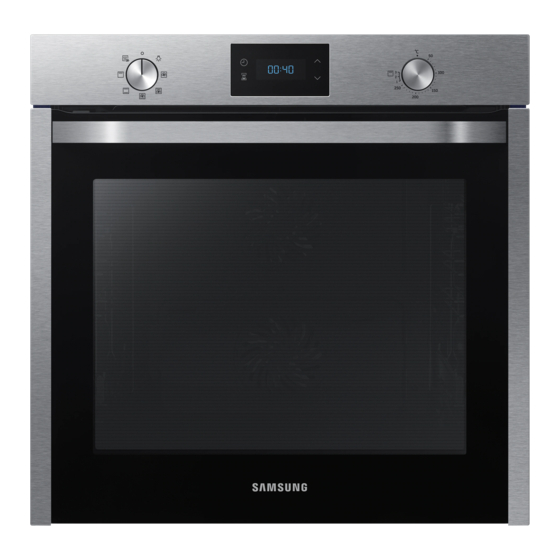
Built-in oven
Hide thumbs
1
Table Of Contents
2
3
4
5
6
7
8
9
10
11
12
13
14
15
16
17
18
19
20
21
22
23
24
25
26
27
28
page
of
28
Go
/
28
Contents
Table of Contents
Troubleshooting
Bookmarks
Table of Contents
Table of Contents
Using this Manual
The Following Symbols Are Used in this User Manual
Safety Instructions
Important Safety Precautions
Correct Disposal of this Product (Waste Electrical & Electronic Equipment)
Auto Energy Saving Function
Installation
What's Included
Power Connection
Cabinet Mount
Before You Start
Initial Settings
New Oven Smell
Accessories
Operations
Control Panel
02 Fast Preheat
Cooking Time
Cooking Modes
To Stop Cooking
Convenience
Cooking Smart
Manual Cooking
Test Dishes
Maintenance
Cleaning
Replacement
Checkpoints
Troubleshooting
Information Codes
Appendix
Product Data Sheet
Advertisement
Quick Links
Download this manual
Built-in Oven
User & Installation manual
NV75K3340RS / NV75K3340RW / NV75K3340RB
NV75K3340RS_EU_DG68-00750A-01_EN.indd 1
2016-12-06
11:51:25
Table of
Contents
Previous
Page
Next
Page
1
2
3
4
5
Advertisement
Table of Contents
Need help?
Do you have a question about the NV75K3340RS and is the answer not in the manual?
Ask a question
Questions and answers
Related Manuals for Samsung NV75K3340RS
Oven Samsung NV75K5571RS Use & Installation Manual
(48 pages)
Oven Samsung NV75K5571RG User & Installation Manual
(48 pages)
Oven Samsung NV75K5571RS-OL User & Installation Manual
(96 pages)
Oven Samsung NV75K5541RS User & Installation Manual
(48 pages)
Oven Samsung NV75K5549RS User & Installation Manual
(48 pages)
Oven Samsung NV75K5541RG User & Installation Manual
(48 pages)
Oven Samsung NV75K5571RM User & Installation Manual
(48 pages)
Oven Samsung NV75K3340RB User & Installation Manual
Built-in oven (28 pages)
Oven Samsung NV75J3140RS User & Installation Manual
Built-in (44 pages)
Oven Samsung NV75J3140RS User & Installation Manual
(28 pages)
Oven Samsung NV75J5540RS User & Installation Manual
(76 pages)
Oven Samsung NV75N5671BS User & Installation Manual
(104 pages)
Oven Samsung NV75N7677RS User & Installation Manual
(260 pages)
Oven Samsung NV75N7570RS Service Manual
(42 pages)
Oven Samsung NV75R7576RB User & Installation Manual
Built-in oven (104 pages)
Oven Samsung NV75T8579 Series User & Installation Manual
Built-in oven (112 pages)
This manual is also suitable for:
Nv75k3340rw
Nv75k3340rb
Table of Contents
Print
Rename the bookmark
Delete bookmark?
Delete from my manuals?
Login
Sign In
OR
Sign in with Facebook
Sign in with Google
Upload manual
Upload from disk
Upload from URL


Need help?
Do you have a question about the NV75K3340RS and is the answer not in the manual?
Questions and answers