Advertisement
Quick Links
Advertisement

Subscribe to Our Youtube Channel
Related Manuals for BODYMAX 40


Summary of Contents for BODYMAX 40
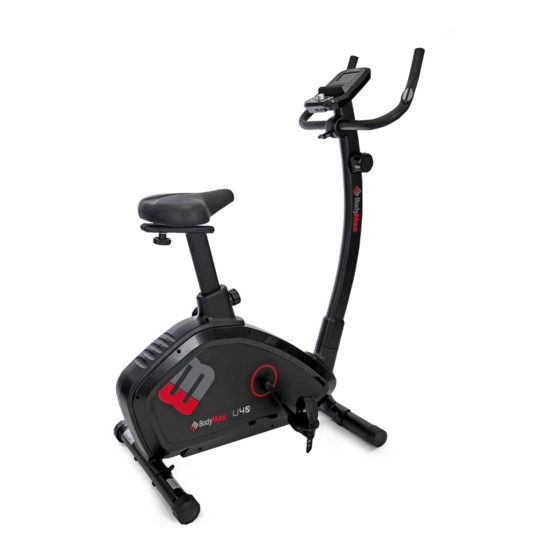
- Page 1 USER’S MANUAL BodyMax 40 upright bike...
-
Page 2: Safety Instructions
Safety Instructions... - Page 4 • To ensure the best safety of the exerciser, regularly evened out. check it on damages and worn parts. • Always wear appropriate clothing and shoes which are suitable for your work-out on the • If you pass on this exerciser to another person or if exerciser.
- Page 5 • Assemble the exerciser as per assembly instructions and be sure to only use the strucutral parts provided with the exerciser and designed for it. Prior to the assembly, make sure the contents of the delivery is complete by referring to the parts list of the assembly and operating instructions.
-
Page 6: Exploded Drawing
Exploded drawing... - Page 7 Part List Part no. Description Drawing no. Material Specification Q'ty Main frame 800A1-3-1000-B0 Rear stabilizer 16100-6-2101-B1 Q195 D60x1.5Tx480L Adjustable cap 55450-5-0060-B1 PP5070 D60xD75x50L Front stabilizer 19000-6-2101-B5 Q195 D60x500Lx1.5T round foot cap 55443-1-0060-B3 D60xD67x43 Domed nut M8x1.25x15L 55208-6-2015-FA M8x1.25x15L Allen bolt M8*1.25*80L 50308-5-0080-F3 M8*1.25*80L...
- Page 8 bushing 58002-6-1067-01 F101J D20*D14*11.5 Screw cover 81502-6-2779-B0 D26*11L hex Bolt M8x1.25x25 50108-2-0025-U0 M8x1.25x25 Left crank 58007-6-1045-02 1015A 6 1/2"x9/16"-20UNF Right crank 58007-6-1046-02 1015A 6 1/2"x9/16"-20UNF D22.2x470x350x1.5 Handlebar 67900-6-2401-C0 Q195 T Knob 51908-2-0055-B1 ABS+Q235A M8x1.25x55 Computer ST-6577-71 800C1-6-2501-B0 ST-6577-71 Allen bolt M10*35L 50310-5-0035-C3 M10*35L buffer pad...
- Page 9 Fixing bracket for magnet 706E2-3-3200-N0 Nylon nut M6*1*6T 55206-1-2006-NA Q235A M6*1*6T Nylon washer D6*D19*1.5T 55106-1-1915-B1 NL66 D6*D19*1.5T Flat washer D13*D6.5*1.0T 55106-1-1310-NA Q235A D13*D6.5*1.0T Magnet case 58020-6-1003-M0 40*3*3 Magnet 58009-6-1007-01 NDFEB 39.5*10*25 Inner Allen spanner 58030-6-1031-D1 spanner 58030-6-1005-N2 Q235A 121*D6...
- Page 10 CHECK LIST (CONTENTS OF PACKAGE)
- Page 11 STEP 1 1) Assemble the front stabilizer (4) and rear stabilizer (2) onto the main frame (1) by using the domed nut (6), the Allen bolt (7) , the spring washer (12) and the Curved washer (13). 2) Adjust the proper height by turning the wheel of rear foot cap.
- Page 12 STEP 2 1) Assemble the seat (10) to seat post (9) by using the flat washer (17) and Club knob (18) . 2) Fix the seat post (9) to the main frame (1) by using the knob (31)
- Page 13 3) You can adjust the saddle UP/DOWN or FRONTWARD/BACKWARD. STEP 3 1) Suggest assembling this step by two persons. 2) First, lift up the upper protective cover (28) like fig. (a), then connect the computer cable (64 & 65) and tension control cable (73 & 74) like fig.(b & A) 3) Insert the handlebar post (29) on the main frame and tighten it by using the curved washer (13), the Allen bolt (20) and the flat washer (72).
- Page 14 cover (42), the flat washer (43), the spring washer (12), the bushing (45) and the ball shaped knob (37). STEP 4 1) Connect the upper computer cable (64) and the handle pulse cable (30) with computer (38) and then fixing the computer (38) on the handlebar post (29) by using the bolt (59) .
-
Page 15: Operation Procedure
Instruction Manual of ST6577-71 BUTTONS: MODE To confirm all settings. Joggle wheel - UP To select training mode and adjust function value up. Joggle wheel - DOWN To select training mode and adjust function value down. RESET To clear the set-up value. Press RESET key and hold for 2 seconds to reset all function figures. TOTAL RESET To power on the console again RECOVERY... - Page 16 Drawing A Drawing B 2. Get access to the set-up mode of TIME/DISTANCE/CALORIES/PULSE. When you are in each set- up mode, for example in the time set-up mode, time value is blinking, you can use joggle wheel to adjust the value and press “MODE”...
- Page 17 (4)If you press the RECOVERY button prior to count down to 0:00, it will be end and return to the main menu. Note: 1. Stop training for 4 minutes, the main screen will be off. You may press any button to have the computer restart working, the original value will retain. (If re-install batteries, the original value will remove.) 2.
Need help?
Do you have a question about the 40 and is the answer not in the manual?
Questions and answers