Table of Contents
Advertisement
Quick Links
Troubleshooting
In the case of a trouble, please see troubleshooting below, so it may help you to solve the problem or to find
the solutions. The troubleshooting described speculates on various problems. If the problems or symptoms
are not listed here, please contact Takara Belmont.
CAUTION:
Please make sure disconnect power supply line before repair or replace defective parts. If not, it may cause
injury from electrical shock. Special care must be taken when repairing the chair motor, capacitor, solenoid
valve and power supply cable which parts are operated with high voltage.
High voltage parts
* Unit in j-box : power cable, power switch, fuse, air switch, terminal block, transformer, Noise filter,
900LED Power supply PCB.
* Chair : Motor, capacitor, solenoid valve, power cable, chair PCB (input voltage).
In the case of the repair of the chair hydraulic circuit. Make sure that the hydraulic circuit is not pressurized
before removing the hydraulic parts such as motor, solenoid valve and cylinder.
Remove the chair to lowest end and fully reclined position for unpressurized chair position by "LIMIT
MODE".
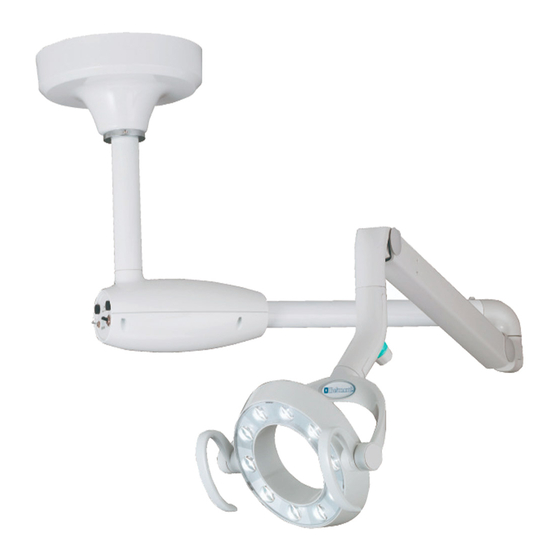
Detal of Sensor Control PCB.
Book No. 1E05K7A0
Table of Contents
Advertisement
Table of Contents

Subscribe to Our Youtube Channel
Related Manuals for Belmont 900


Summary of Contents for Belmont 900
- Page 1 In the case of a trouble, please see troubleshooting below, so it may help you to solve the problem or to find the solutions. The troubleshooting described speculates on various problems. If the problems or symptoms are not listed here, please contact Takara Belmont. CAUTION: Please make sure disconnect power supply line before repair or replace defective parts.
- Page 2 Replace noise filter or 900 power pcb filter section or 900 power pcb. Check input power of 900 power pcb There is input power (current voltage) to 900 power pcb Replace 900 power pcb (CN101) > Defective 900 power pcb.
- Page 3 5 LEDs Check LED module Break in the lead wire of LED module Replace LED module Assy Check 900 power pcb Defective 900 power pcb Replace 900 power pcb Adjustment of head angle (refer to the separate...
- Page 4 Detail of 900LED (300LED) Sensor Control PCB Sep-16 LED1 (Green) _ PCB Power LED LED2 (Yellow) _ Touch-less Sensor Signal LED SW1_ VR lower limit setting LED1 SW2_ Manual SW for operation test SW3_ See below SW4_ Type of communication (See below) CN10 JP1,2_ writing program data CN1_Input Power (DC5V)
- Page 5 Intensity volume lower limit adjustment In the case of replacing the light head or sensor control PCB. Set lower limit position of intensity control volume into the sensor control PCB. *Set to sensor mode and turn off light by touch- less sensor.
Need help?
Do you have a question about the 900 and is the answer not in the manual?
Questions and answers