Advertisement
Quick Links
Advertisement

Subscribe to Our Youtube Channel
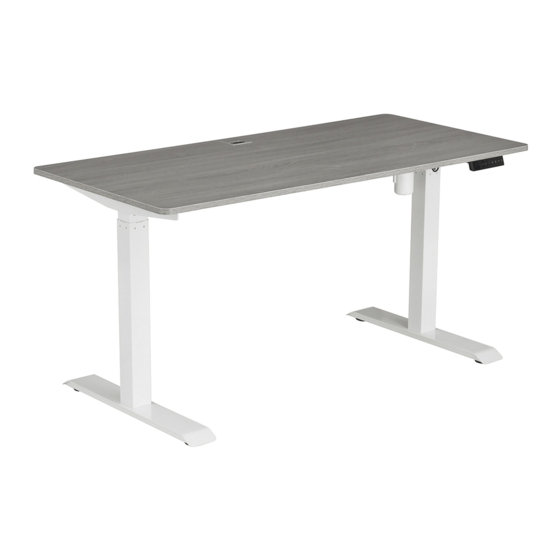
Summary of Contents for Techni Mobili RTA-3839SU
- Page 1 A04 200706...
- Page 4 II I RTA-3839S U BEFORE YOU START THE ASSEMBLY, PLEASE READ THE FOLLOWING TIPS AND WARNINGS. ❶ ❼ Do a quick inventory to To avoid misalignments, make sure the package always leave the screws loose contains all the parts and and tighten them until all pieces hardware listed in the are positioned correctly.
-
Page 5: Assembly Steps
Ill!! L RTA-3839S U •ASSEMBLY STEPS: ■ On the Metal Beam (5), qty. 4 of the screws H come already per-installed, please remove them and save them for using until step #9. You will be able to adjust the length of the beam as needed for the following steps. - Page 7 RTA -38 39S U � • First loosen both nuts on each end of the Transmission Rod (6) using the spanner wrench. This end goes into the RIGHT leg with the motor. ■ Then insert the adjustable inner rod into the LEFT leg,jiggling it so it can find the inner hole on the box , and push it further so it comes out on the other side of the box.
- Page 9 R T A - 383 9 S U Use Screws D to assemble the Control Panel (10) ■ to the Desk Top (9). Use Screws G to assemble the Power Box (11) to the Desk Top (9). SCREWS ■ I!) 4X20MM (lmmD x2 �...
-
Page 11: Height Adjustment
R T A - 383 9 S U P.11 Handset Instructions �, 1 2 3 I C =EI� V � Height adjustment: Adjust the height of the desk using the" t" or" ,1." button. Height display in Centimeters (CM) or Inches: To select or switch the height display in CM or inches, press buttons "1 ", "2"...


Need help?
Do you have a question about the RTA-3839SU and is the answer not in the manual?
Questions and answers