Table of Contents
Advertisement
Quick Links
Smart Class 4800/4800P Quick Start
Guide
Thank you for purchasing a Smart Class 4800 or 4800P. This guide provides informa-
tion on how to get started testing with the instrument.
Unpacking and inspecting the components
Before using the instrument for the first time, please inspect the unit and components
to verify that no damage occurred during shipping.
When unpacking the components, verify that all the items you ordered are included in
the package. Accessories may be shipped in a separate box. After you unpack the
components, examine the connectors, ports, LEDs, and screen for damage. Be sure to
check the top, bottom, and front panels. If you find damage, contact Viavi Customer
Care at 1-844-GO-VIAVI (+1-844-468-4284) or at www.viavisolutions.com. If you don't
find any damage, consider saving the box and packing materials.
About the Smart Class 4800 and 4800P
The Smart Class 4800 and 4800P instruments are designed to be rugged, portable,
battery-operated test solutions that facilitate the quick turn-up and troubleshooting of
multiple services and network elements in the Metro and Core network.
Figure 1 Smart Class 4800
July 2017
Smart Class 4800/4800P Quick Start Guide
22122291, Rev. 000
Page 1
Advertisement
Table of Contents

Subscribe to Our Youtube Channel
Related Manuals for Viavi Smart Class 4800


Summary of Contents for Viavi Smart Class 4800
- Page 1 Smart Class 4800/4800P Quick Start Guide Thank you for purchasing a Smart Class 4800 or 4800P. This guide provides informa- tion on how to get started testing with the instrument. Unpacking and inspecting the components Before using the instrument for the first time, please inspect the unit and components to verify that no damage occurred during shipping.
- Page 2 About the Smart Class 4800 and 4800P Powering the instrument Power is supplied by the battery or the AC power adapter provided with the instrument that was shipped to you. Turning the instrument on or off To turn the power on or off: –...
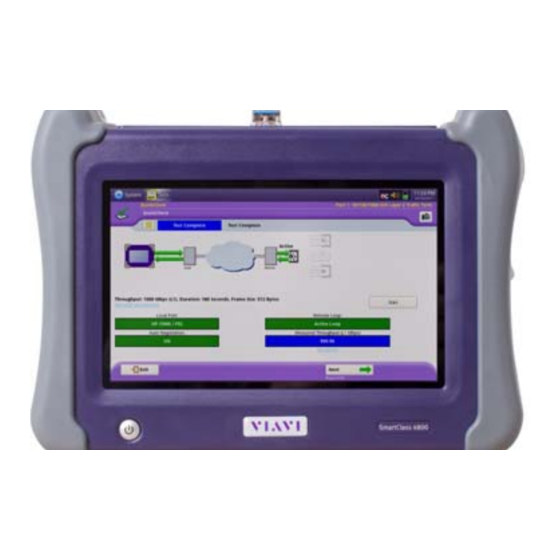
- Page 3 About the Smart Class 4800 and 4800P Figure 3 Connector panel, top of SC 4800P Navigating the user interface The user interface lets you set up the instrument, configure tests, and display test results. See Figure 4 Figure 4 Main screen (Ethernet application) System and Test Icons –...
- Page 4 About the Smart Class 4800 and 4800P Test Tabs The test tabs appear near the top of the Main screen. Test Status The test status of the currently selected test is displayed in the upper left. Icons similar to a DVD or audio player indicate the status: the “Play” icon indicates a test is running;...
- Page 5 About the Smart Class 4800 and 4800P LED Panel The LEDs in the panel to the left of the Results Windows help you determine whether a signal is present, pattern synchronization has been achieved, and other key events when performing tests.
- Page 6 About the Smart Class 4800 and 4800P You can change the layout of the Result Windows using options provided on the View menu. You can also choose to show just test results on the main screen by selecting View > Show Only Results.
- Page 7 © Copyright July 2017 Viavi Solutions Inc. All rights reserved. Copyright release: Reproduction and distribution of this guide is authorized for US Government purposes only. All other trademarks and registered trademarks are the property of their respective owners. Specifications, terms,...
Need help?
Do you have a question about the Smart Class 4800 and is the answer not in the manual?
Questions and answers