Table of Contents
Advertisement
Quick Links
Advertisement
Table of Contents

Related Manuals for Chore-Time PigTek PT1023


Summary of Contents for Chore-Time PigTek PT1023
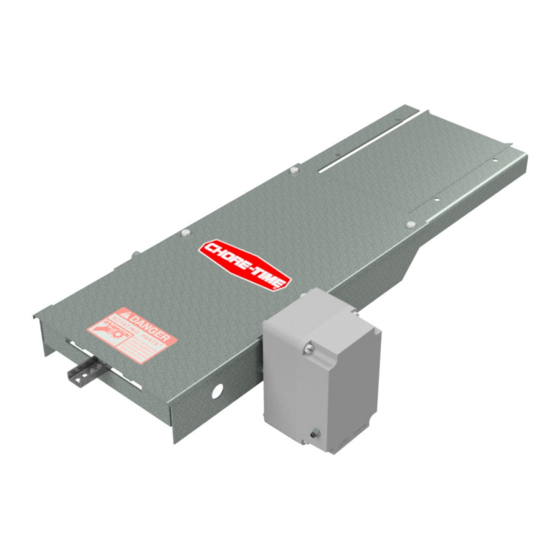
- Page 1 USER MANUAL SINGLE & TWIN AUTOMATIC BIN SLIDES PT1023 / PT1024 PTM007...
-
Page 3: Table Of Contents
BEFORE YOU INSTALL ..........5 INSTALLATION ............7 WIRING ............... 9 1) ATTACHING CIRCULAR CONNECTORS ......9 2) CHORE-TIME CONTROL CONNECTION ......9 3) STANDALONE CONTROL CONNECTION ......10 PT1023 SINGLE SLIDE PARTS LIST ......11 PT1024 TWIN SLIDE PARTS LIST ......12... -
Page 4: Introduction
Slides can be opened from inside a barn, eliminating the need for an unnecessary shower-in/shower-out event. When used in conjunction with smart, programmable controls like Chore-Time’s PigCentral Control, these bin slides also have the capability to respond to feedback from bin scales and other sensors, be put on automatic timers, or any number of functions the end user sees fit. -
Page 5: Before You Install
BEFORE YOU INSTALL: • Make sure you bin and boot systems allow for enough clearance to install the Automatic Bin Slide when fully opened. Some considerations to make when placing a bin slide: PigTek recommends that each boot have at least 3 ft. of clearance on either the inlet ... - Page 6 Figure 2: Twin Auto Bin Slides mounted offset on a twin upper boot PTM007...
-
Page 7: Installation
INSTALLATION IMPORTANT: Ensure any affected hopper bins are empty before attempting installation. The Automatic Bin Slide assembly is installed by using the existing bolts that fasten the existing lower boot to the transfer plate assembly, as shown on the next page. 1. - Page 8 Figure 4: Mounting posi- tion of a typical Automatic Bin Slide 4. Align the Automatic Bin Slide’s mounting rails over the transfer plate, making sure the slide(s) are properly engaging the tracks inside the transfer plate. Use the lower boot hardware to fasten the Bin Slide’s rails to the transfer plate (hardware may need to be re- placed if it is in poor condition).
-
Page 9: Wiring
GREEN PIN 4 → If connecting to the Chore-Time PigCentral control, only one end of the cable should be fitted with a circular connector. The other end should be stranded and stripped on each end as it will be attached to the control. If being attached to the standalone control, both ends must be fitted with circular connectors. -
Page 10: Standalone Control Connection
STANDALONE CONTROL CONNECTION If connecting a bin slide to a standalone control, simply connect the circular connector from the bin slide motor to a circular connector on the bottom of the box. The number of bin slides usable per box will depend on the model ordered. The standalone control will also need a power in from a power supply also using an M8 female connector. -
Page 11: Pt1023 Single Slide Parts List
PTM007... -
Page 12: Pt1024 Twin Slide Parts List
PTM007... -
Page 13: Wiring Diagrams
PTM007... - Page 14 Revisions to this Manual Page No. Description of Change SWITCHED PIN 1 AND 4 COLORS 35271 Note: The original, authoritative version of this manual is the [English] version produced by CTB, Inc. or any of its subsidiaries or divisions, (hereafter collectively referred to as “CTB”). Such changes may in- clude, but are not limited to, translation into languages other that [English], and additions to or dele- tions from the original content.
Need help?
Do you have a question about the PigTek PT1023 and is the answer not in the manual?
Questions and answers