Advertisement
Quick Links
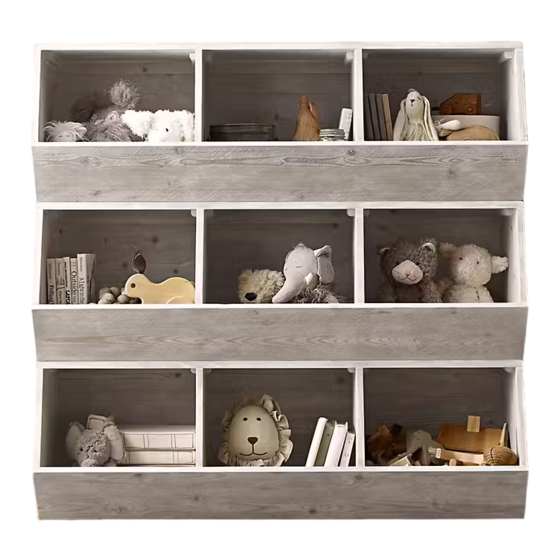
M E R C A N T I L E O V E R S I Z E D S T A C K I N G B I N – A S S E M B LY I N S T R U C T I O N S
WARNING:
This product is only a deterrent. It is not a substitute for proper adult supervision.
Maximum height is 3 units high.
Please install metal brackets to connect multiple units.
PARTS I N C LUD E D
A [2 or 3] STACKING BIN
TO O L S N E E D E D
PHILLIPS-HEAD SCREWDRIVER (NOT INCLUDED)
A S S E M B LY I N S T R U C T I O N S :
1 - Metal bracket installation to connect units.
2 - Furniture tipping restraint installation (for
units 2 and 3 levels high).
ST E P 1 - M E TA L B R AC K E T INSTA LL AT IO N:
Place [4] Metal Brackets (6) over the pre-drilled
holes on back of middle unit and secure to base
and top unit using [16] Wood Screws (7).
2 B IN
NO.
ITEM
1
2
Phillips Screws M4 x 37mm
3
Phillips Screws M4 x 16mm
4
5
6
Wood Screws 7 x 15mm
7
page 1 of 2
DESCRIPTION
QTY.
Metal Base
2 pcs.
2 pcs.
Metal Plug
2 pcs.
2 pcs.
Metal Cable
1 pc.
[2 or 4]
Metal Brackets
[8 or 16]
6
3 B I N
7
pcs.
pcs.
Advertisement

Subscribe to Our Youtube Channel
Summary of Contents for RH Baby&child MERCANTILE OVERSIZED STACKING BIN
- Page 1 M E R C A N T I L E O V E R S I Z E D S T A C K I N G B I N – A S S E M B LY I N S T R U C T I O N S WARNING: This product is only a deterrent.
- Page 2 M E R C A N T I L E O V E R S I Z E D S T A C K I N G B I N – A S S E M B LY I N S T R U C T I O N S S T E P 2 : A N T I - T I P P I N G R E S T R A I N T : WALL...


Need help?
Do you have a question about the MERCANTILE OVERSIZED STACKING BIN and is the answer not in the manual?
Questions and answers