
Related Manuals for FireClass FC500


Summary of Contents for FireClass FC500
- Page 1 FC501, FC503 & FC506 Addressable Fire Control Panels PC Programming Manual Doc. Version 2.0 21st October 2019...
-
Page 2: Table Of Contents
General outputs settings ..........24 Table of contents Pulse on ..............24 Introduction ..............3 Detector alarm ............24 Installation ..............3 Delay to alarm ............24 Select language ............. 3 Warning ..............24 Software window appearance ........3 Communicators programming ........24 Control panel connections .......... -
Page 3: Introduction
Introduction Select language You can program the system from the control panel (user interface) or from a computer, using the FireClass FC500 Select the FireClass FC500 (FC501_FC503_FC506) (FC501_FC503_FC506) Console. This section describes Console language from the list of languages provided. To how to program the system from a computer. -
Page 4: Main Window
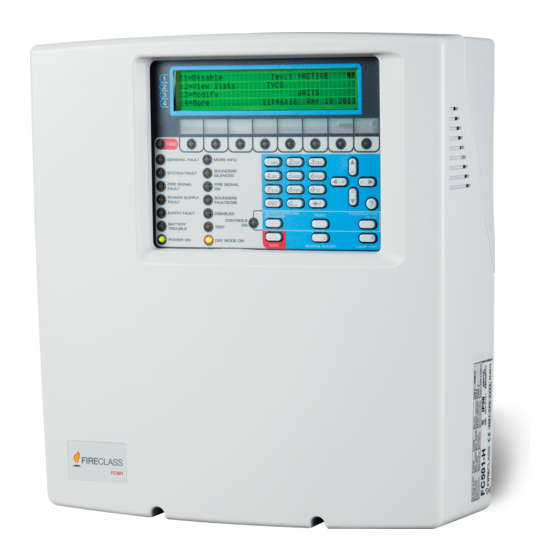
Click this icon to remove the selected Client Exit control panel. Click Exit to close the FireClass FC500 Opens the window Panel details where you (FC501_FC503_FC506) Console. You will be prompted to check or insert various programming. See Figure save any changes made. - Page 5 Figure 2: File menu to New display Figure 3.1: Panel display in FC501 Note: The FC501 panel neither has any client panel, nor can it be added as a client panel of the FC503 or FC506 panel.
-
Page 6: Tools Menu
Tools menu Language Select language paragraph. Skin To change the appearance of the FireClass FC500 (FC501_FC503_FC506) Console, click Tools and then Skin to choose available appearances from a list. Advanced In Advanced, you can set up the Tooltips duration. Load the driver to use the USB. -
Page 7: Help Menu
Figure 4: Modifying the appearance of the FireClass FC500 (FC501_FC503_FC506) Console Table 2: Icons on the Panel details menu Help menu Icon Description Click on the Help option and a technical support file Checks the firmware version of Main board, opens. - Page 8 Figure 5: Panel details window Figure 6: Communication window...
-
Page 9: Communication Menu
IP address assigned by an internet provider to the supervisor site. Add the necessary fields to the configuration software in the FireClass software. This allows you to connect to the control panel remotely using a fixed literal domain name; for example, mysupervisedsite.dns.org. -
Page 10: Firmware Update Menu
Main board, User interface, Loop controller and Repeater. Note: If the FC500 has a firmware version 3 or less, and the language is Italian while English appears on the panel, the installer must realign the language strings after the firmware update, using the language change process;... -
Page 11: Programming Screens
Figure 9: Account window Notes: It is not mandatory to fill out the Notes field. Do not add any personal data to the Notes field. Note: On the right of Loop 1, Loop 2 or Loop 3, the Programming screens current number of devices is shown in brackets. -
Page 12: Loop Wiring Calculation
1. Select the device in the list. Print to file: This allows you to print the list of devices of the selected loop to a .csv file. You 2. Click the Remove device icon. can edit the .csv file using Microsoft Excel. 3. - Page 13 has the dedicated programming window. To view the detectors, see Figure Note: You can program the Remote LED on the control panel user interface, in the detectors programming page. First section (General) Enabled: A tick indicates that the detector is enabled.
-
Page 14: Classifying Detector Temperature
Figure 11: Detectors parameters programming window Table 5: Detector classification temperature Min.Static Max.Static Detector Typical Max. Response Response Class application Application Temperature Temperature Temperature °C Temperature °C °C °C Classifying detector temperature Processing for Warning/Delay to alarm section Detectors will conform to one or more of the following classes: A1, A2, B, C, D, E, F or G. - Page 15 heat or carbon monoxide, it will have three sections Table 6: Icons for modes outlined in Table Icon Description Day mode Night mode Table 7: Detector sections Section Description Use Day mode. Night mode is for temperature Operating mode heat detector section detector, see Table 5.
-
Page 16: Processing For Warning/Delay To Alarm Section
Processing for Warning/Delay to alarm section Base See the same section in the Detectors parameters In this section, you can select the base for the Output programming. module. Click on available bases for FC430SAM and FC430SAB only. Once you select the sounder base, you Note: For every digital input of loop devices, the can choose a new programming tab labelled base that Restorable warning parameter (when you select the... - Page 17 frequency for Alarm, Delay to alarm and Warning event Linked delay: See the same option in the section types so that each event type causes a different sound or Outputs programming. LED blinking. If different types of trigger events are active at the same time for a sounder, this rings with the highest For the following types of devices, FC410LPAV (all priority tone.
-
Page 18: Zones Programming
that the device processes the Delay to alarm status, the Options section activation causes the Delay to alarm of the panel (with panel Delay to alarm time); as the device belongs to a Assigned zones: Each manual callpoint can be zone, that zone will also go into Delay to alarm status. - Page 19 Figure 12.1: Zones programming window for the FC501 panel Figure 12.2: Zones programming window for the FC503 panel...
-
Page 20: Outputs Programming
Figure 12.3: Zones programming window for the FC506 panel Outputs programming Trigger points The Panel outputs option allows you to access the output In the Trigger points section, it is possible to trigger each parameters. The relevant programming appears as per the output by three input points. -
Page 21: General Options Programming
Note: When Set as SC1 has been enabled, the Sounders As General Options: This option overrides the Fault/Dis LED blinks if any set as SC1 output fails. It Pulse On local selection, forcing the selection of remains ON if any Set as SC1 output is disabled. Pulse On in General Options settings. -
Page 22: Users
LCD. You can program the screen saver from the control panel user interface or via the FireClass FC500 (FC501_FC503_FC506) console. If you have an enabled screen saver, it appears on the LCD. If the screen saver is disabled, it does not appear. -
Page 23: Network
Investigate) programmed in other network control Fault delay panels. Enable repeaters and FC500 MFI modules in the This field controls how long it takes the panel to signal a Network repeaters section and Network MFI Mains failure. The amber signalling LED (or power supply section. -
Page 24: Reset
Note: The sounder rings continuously when the Alarm event is triggered by a call point or the EVAC button, Reset independent of the Detector alarm option set. Program the Reset time; the minimum time is 2 seconds Delay to alarm and the maximum time is 15 seconds. -
Page 25: Play Message After
the previous event, up to the time all telephone In the section Voice messages, parameters relating to calls succeed, or at most, for the numbers of call voice messages are programmed, as described below. attempts programmed. If the Call all telemonitoring (1-7) Messages: You cannot edit messages 1 to 7. -
Page 26: Read-Only Options
LED Trouble mask/ Output Trouble mask Board code: You should apply this code when the FireClass FC500 (FC501_FC503_FC506) You can use this section to enable or disable signals from Console is used to program the IP module, either the OC output and the indicator light, for certain events remotely or locally. -
Page 27: Events
Import Log from file: Import the Log from a (*.fcl) the IP module, refer to the procedure restore to or (*.xml) or (*.xmc) file. the factory defaults in the FireClass FC500 Apply filter: Selects the Log filter if necessary: (FC501_FC503_FC506) Console. In the same ... -
Page 28: Battery Calculation
Note: By selecting Override, it is possible to adjust the Battery calculation parameters panel ID for export and import. If the option Any panel Stand-by hours (from 1 to 144h) [XXXX] is implemented, you can utilise this configuration in ... -
Page 29: User Mode
When the fire panel receives commands, the control While the FireClass FC500 (FC501_FC503_FC506) keypad requests a password. The remote control panel Console is running, the user can choose whether to work... -
Page 30: Graphic Maps
In Real time mode, the Graphic map normally appears in standby status (first map/background). 5. When the fire panel detects and reports a change in status of the detector or module, the FireClass FC500 (FC501_FC503_FC506) Console replaces the icon detector with the event icon (for example, Fire alarm). - Page 31 Figure 18: Example of the Graphic maps...
- Page 32 120.515.875_FC-FC500-P-P, Doc. version 2.0, 21. October 2019 © 2019 Johnson Controls. All rights reserved. All specifications and other information shown were current as of document revision date and are subject to change without notice. www.FireClass.net Tyco Fire & Security GmbH, Victor von Bruns-Strasse 21, 8212 Neuhausen am Rheinfall, Switzerland...
Need help?
Do you have a question about the FC500 and is the answer not in the manual?
Questions and answers