
Related Manuals for Puretec MUL-E1 Series


Summary of Contents for Puretec MUL-E1 Series
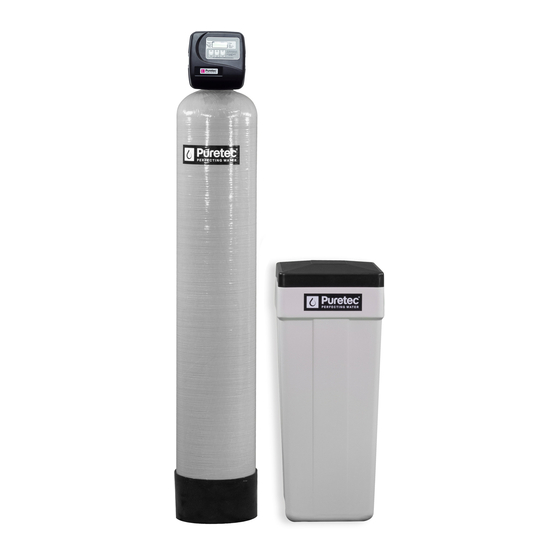
- Page 1 User Guide MUL-E1 Series Multitrol Filtration System For correct operation & installation it is essential to observe these instructions. MAR2018...
-
Page 2: Table Of Contents
Replenishment of Salt Supply ........................16 Type of Salt to Use ............................16 Brine Tank Clean-Out (Yearly) ........................16 Media Replacement ............................16 Bypass Valve Operation - optional accessory .................17 Troubleshooting Guide ..........................18 Warranty ................................22 Installation & Operation Manual Copyright © Puretec Pty Ltd 2018... -
Page 3: Puretec Customer Service
Introduction Puretec Customer Service Thank you for purchasing a Puretec Multitrol Filtration System. Your system is a proven performer manufactured from only quality materials and components. It will give years of reliability and trouble free operation if maintained properly. This user guide is designed for Puretec MUL Water Treatment Systems. Be careful to ensure the information and illustration is applicable to your particular unit. -
Page 4: Installation Record
___________ ppm / mg/L Iron ___________ ppm / mg/L Manganese ___________ ppm / mg/L ___________ TDS (Total Dissolved Salts) ___________ ppm / mg/L Ammonia ___________ ppm TOC (Tannin) ___________ ppm Installation & Operation Manual Copyright © Puretec Pty Ltd 2018... -
Page 5: Before Installation
4 for your permanent record. • The Multitrol System is designed to reduce tannis, iron, manganese and hardness. Contact Puretec when selecting model and regeneration settings for best results. Install Water Conditioning Equipment Correctly • Select the location of your Multitrol system with care. Various conditions which contribute to proper location are as follows: •... - Page 6 If lawn sprinkling, a swimming pool, or geothermal heating/cooling or water for other devices/activities are to be treated by the Multitrol system, a larger model MUST be selected to accommodate the higher flow rate plus the backwashing requirements of the Multitrol system. Contact Puretec for assistance. WARNINGS •...
-
Page 7: Specifications
Width (mm) (W) 245 mm 260 mm 300 mm Height (mm) (H) 1400 mm 1570 mm 1525 mm Maximum salt stor- 125 kg 125 kg 125 kg age capacity Copyright © Puretec Pty Ltd 2016 Puretec MUL -E1 User Guide... -
Page 8: Exploded Diagram
Parts Identification Exploded Diagram Installation & Operation Manual Copyright © Puretec Pty Ltd 2018... -
Page 9: Diagram Identification
Plastic fitting kit, elbow WTB5150 2 Peice overflow WTB2100 Valve Cover Drain tube assembly WTV5135 Transformer, suit auto valve Diagram Identification Outlet 1" Inlet 1" ⅜” Brine ⅝” Drain Control Panel Copyright © Puretec Pty Ltd 2016 Puretec MUL -E1 User Guide... -
Page 10: Installation Procedure
16 for the type of salt to overflow (refer to page13) be used) Ensure water has been tested, Input values into Table on page 4 and the analysis has been inspected by Puretec. Water Analysis Information Hardness ___________ ppm / mg/L... - Page 11 Top up tank with water. Screw valve onto the tank (hand tight is usually sufficient), making sure the distributor tube is properly inserted into the valve. Copyright © Puretec Pty Ltd 2016 Puretec MUL -E1 User Guide...
- Page 12 Do not solder brass adapters while they are inserted in the control module. Apply plumbing tape to the nipple as required. Connect the pipe work to the valve, refer to page 9 for identification. FOLLOW LOCAL PLUMBING CODES 12 Installation & Operation Manual Copyright © Puretec Pty Ltd 2018...
- Page 13 Make sure the drain is not higher than the overflow. Programming 6.1 Plug into an uninterrupted electrical outlet. Note: All electrical connections must be connected accordingly to local codes. 6.2 Proceed to ‘Programming’ section Copyright © Puretec Pty Ltd 2016 Puretec MUL -E1 User Guide...
-
Page 14: Programming
Note: The display will flash if a power outage has occurred. 14 Installation & Operation Manual Copyright © Puretec Pty Ltd 2018... -
Page 15: Start-Up
To change the regeneration setting refer to the ‘programming’ section. MODEL CAPACITY OF SYSTEM (L) WITH DIFFERENT HARDNESS LEVELS 100 mg/L 200 mg/L 300 mg/L 400 mg/L 500 mg/L MUL35-E1 1967 MUL50-E1 2753 1376 MUL70-E1 3933 1966 1311 Copyright © Puretec Pty Ltd 2016 Puretec MUL -E1 User Guide... -
Page 16: Replenishment Of Salt Supply
If necessary a pliers can be used to unscrew the nut or cap. Do not use a pipe wrench to tighten or loosen nuts or caps. Do not place screwdriver in slots on caps and/or tap with a hammer. 16 Installation & Operation Manual Copyright © Puretec Pty Ltd 2018... -
Page 17: Bypass Valve Operation - Optional Accessory
EXITS ENTERS EXITS ENTERS Diagnostic Mode Shut Off Mode SUPPLY WATER IS SHUT OFF SUPPLY WATER SUPPLY WATER FROM THE HOUSE ENTERS EXITS NO WATER EXITS & THE VALVE Copyright © Puretec Pty Ltd 2016 Puretec MUL -E1 User Guide... -
Page 18: Troubleshooting Guide
Valve does not regenerate automatically, but A. Bypass valve in bypass position/faulty A. Turn bypass to normal operation/replace does when performing a manual regeneration bypass B. Defective PC Board B. Replace PC Board 18 Installation & Operation Manual Copyright © Puretec Pty Ltd 2018... - Page 19 C. Fouled media bed C. Clean/replace media D. Water quality fluctuation D. Test water and contact Puretec for assis- tance E. No regenerant or low level of regenerant E. Refill regenerant tank F. Valve fails to draw regenerant F.
- Page 20 C. Loosen main drive gear. Perform a 'dry' reset D. Incorrect voltage being delivered to valve D. Check voltage of power source. Perform a 'dry' reset E. Incorrect programming E. Contact Puretec for assistance 20 Installation & Operation Manual Copyright © Puretec Pty Ltd 2018...
- Page 21 A. Drive bracket not correctly installed A. Snap drive bracket in correctly. Perform a Control valve motor ran too long and timed out 'dry' reset. trying to reach home position Copyright © Puretec Pty Ltd 2016 Puretec MUL -E1 User Guide...
-
Page 22: Warranty
Puretec’s discretion, including chargeable inspection and labour costs incurred. Warranty/Australia This warranty is given by Puretec Pty Ltd, ABN 44 164 806 688, 37-43 Brodie Road, Lonsdale SA 5160, telephone no. 1300 140 140 and email at sales@puretec.com.au.
Need help?
Do you have a question about the MUL-E1 Series and is the answer not in the manual?
Questions and answers