Table of Contents
Advertisement
Quick Links
Advertisement
Table of Contents

Related Manuals for Ronix 6110


Summary of Contents for Ronix 6110
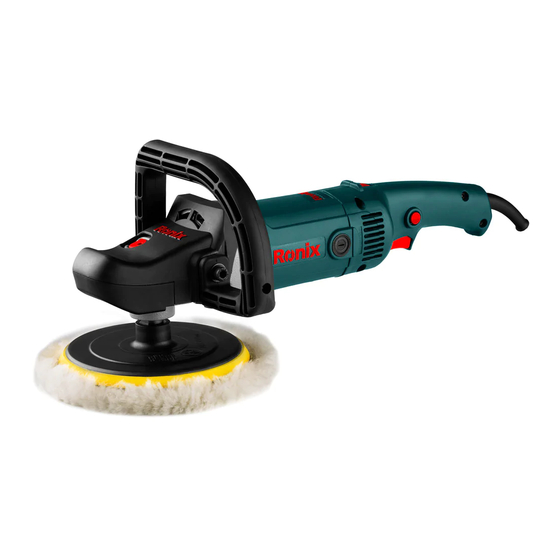
- Page 1 ELECTRIC POLISHER 6110...
-
Page 2: Specifications
SPECIFICATIONS Rated 220V Voltage / Frequency 50HZ - 60HZ Input Power 1200W No Load speed 600-3000min Wool bonnet / spindle 180/M14 And M16(altenrnative) Gross / Net weight 3.2Kg Carbon brush 2 pcs Hex Wrench1pc Accessories Loop handle 1pc bolt 1pc Operation Manual 1pc service book 1pc PARTS LIST Speed... -
Page 3: Electrical Safety
WORKS AREA - Keep your work area clean and well it. Cluttered benches and dark areas invite accidents. - Do not operate power tools in explosive atmospheres, such as in the presence of flammable liquids gases, or dust. Power tools create sparks which may ignite the dust or fumes. - Page 4 - Dress properly. Do not wear loose clothing or jewelry. Contain long hair. Keep your hair, clothing and gloves away from moving parts. Loos clothes, jewelry, or long hair can be caught in moving parts. - Avoid accidental starting. Be sure switch is off before plugging in. Carrying tools with your finger on the switch or plugging in tools that have the switch on invites accidents.
- Page 5 - Check for misalignment or binding of moving parts, breakage of parts, and any other condition that may affect the tools operation. If damaged, have the tool serviced before using. Many accidents are caused by poorly maintained tools. - Use only accessories that are recommended by the manufacturer for your model.
- Page 6 - Hold the tool firmly. - Keep hands away from rotating parts. - Make sure the abrasive disc or wool bonnet is not contacting the work piece before the switch is turned on. - Check that the work piece is properly supported - Pay attention that the wheel continues to rotate after the tool is switched off.
- Page 7 CLASS II CONSTRUCTION INSTALLING OR REMOVING WOOL BONNET CAUTION: Always be sure that the tool is switched of and unplugged before installing or removing wool bonnet. 1) To install the wool bonnet, press the lock shaft and screw the wool bonnet onto the spindle click wise until cannot rotate, then let the lock shaft come back the original position.
- Page 8 SWITCH ACTION CAUTION: - Before plugging in the tool, always check to see that the switch trigger actuates properly and returns to the “OFF” position when released. - Switch can be locked in “ON” position for ease of operator comfort during extended use.
-
Page 9: Replacing Carbon Brushes
2) Both carbon brushes should be replaced at the same time. Use only Ronix brushes provided 3) Use a screwdriver to remove the brush holder caps. Take out the worn carbon brushes, insert the new ones and secure the brush holder caps. - Page 10 CAUTION: Be sure to re-install the knob after inserting new carbon brush. After replacing brushes, plug in the tool break in brushes by running tool with no load for about ten minutes. Then check the tool while running, when releasing the switch trigger. If the tool is not working well, ask your local center for repair.
Need help?
Do you have a question about the 6110 and is the answer not in the manual?
Questions and answers