Advertisement
INSTRUCTION MANUAL
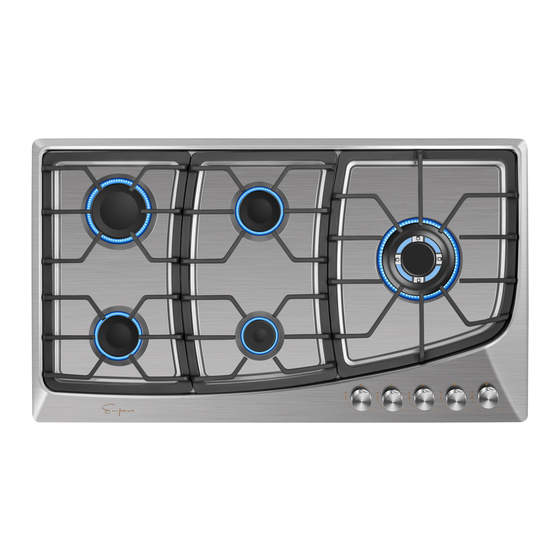
24 " :EMPV-24GC28
30 " :EMPV-30GC20 EMPV-30GC21 EMPV-30GC26
36" : EMPV-36GC22 EMPV-36GC23 EMPV-36GC24
EMPV-36GC25 EMPV-36GC27
Distributed by:
Empava Appliances Inc.
15253 Don Julian Rd, City of Industry, CA 91745 USA
www.empava.com
The instructions shall be marked with directions to the installer to leave them with
the appliance and to the consumer to retain them for future reference.
GAS COOKTOP
Appliance Class: 3
Empava Item #:
Advertisement


Need help?
Do you have a question about the EMPV-24GC28 and is the answer not in the manual?
Questions and answers