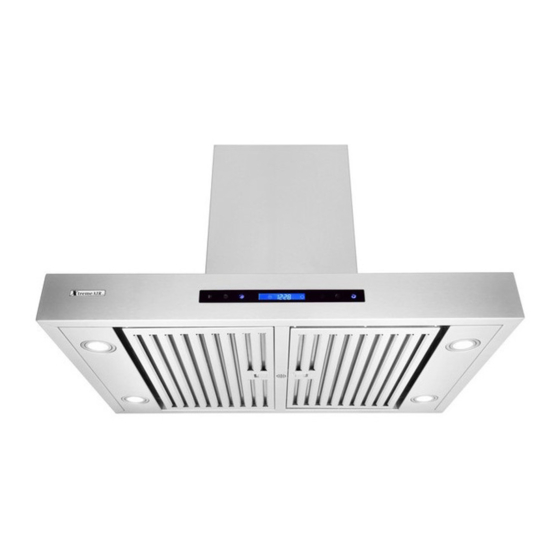
Summary of Contents for XtremeAIR PX06-I42
- Page 1 INSTALLATION GUIDE & USER’S MANUAL ISLAND MOUNT RANGE HOOD Model: Pro-X Series PX06-I36 / I42 / I48 PX04-I36 / 42 IMPORTANT: READ AND SAVE THESE INSTRUCTIONS FOR RESIDENTIAL & INDOOR USE ONLY www.XtremeAirUsa.com PAGE...
-
Page 2: Table Of Contents
: The Important Safety Instructions and warnings in this manual are not meant to cover all possible problems and/or situations that can MPORTANT OTICE occur upon installation of this unit. Use extreme caution when installing, maintaining or operating this or any other appliance. Contact the XtremeAir USA, LLC, Customer Support Team at 1.714.554.9000 or email: support@XtremeAirUsa.com with any concerns or situations that you do not understand. -
Page 3: Height & Clearance
2. HEIGHT & CLEARANCE 3. VENTING REQUIREMENTS IMPORTANT: NEVER exhaust air or terminate ductwork into crawl spaces, between walls, ceiling, attics or garages. All exhaust must be ducted to the outside. Hood mounted too low could result in heat and/or fire hazard. Hoods mounted too high will be hard to reach and will lose its performance and efficiency. -
Page 4: Parts Supplied
8. GENERAL INSTALALTION DIAGRAM 7. PARTS SUPPLIED PART SKETCH DESCRIPTION CEILNG MOUNT BRACKET (W/18 ATTACHED BOLTS (4) MULTI-HOLE BRACKET (W/ 16 ATTACHED BOLTS) (4) LOWER CHIMNEY BRACKET (W/ 16 ATTACHED BOLTS) (4) 1 ¾” SCREWS 6” AL. PIPE 8” AL. PIPE PX06-I48 (NOT PROVIDED) (2) DUCT CLAMP (EXCEPT PX06-I48) -
Page 5: Installation
9. INSTALLATION STEP #2: INSTALLING “CEILING BRACKET” STEP #1: MARKING “CEILING BRACKET” A. Cut out a hole in the ceiling where the ducting A. Put a thick, protective covering over counter top, cook top or will go. Range to protect from damage or debris. B. -
Page 6: Open & Remove Baffle Filters
10. OPEN & REMOVE BAFLE FILTERS TO REMOVE: While a baffle filter is open, use both hand to hold both end of it then use OPEN: While holding a baffle your index finger (either left or right) to push baffle filter hinge pin toward filter, pull baffle filter to middle of baffle filter to release it. - Page 7 C. Activating Power-Off Delay Function: Power-Off Delay 1. While the range hood is on and the blower is running in normal mode, touch button to activate delay off timer. Adjust to desired period of delay of timer by touching (-) or (+) button quickly (1-15 minutes). Timer begins to countdown immediately, when it reaches 0, the blower will shut off.
-
Page 8: Specification
(9) Indicates the length of time left for delay off function. 10. (10) Lights up when auto-shutdown delay timer function is on. A. ACTIVATING BLOWER FUNCTION: Option 1: Touch and hold down (+) for 1-2 seconds. Option 2: Touch and hold down power sign (1) for 1-2 seconds. (The blower will be running at the same speed as last used). Note: The system saves user configurations, settings such as timer and blower (motor) speed will remain the same the next time it is turned on. -
Page 9: Troubleshooting
13. TROUBLESHOOTING 1. If the range hood or lights does not operate after installation: Check if the range hood has been plugged in. Make sure that all power has been turned back ON. Check if the fuse is not blown and all electrical wiring is properly connected. -
Page 10: Maintenance
15. MAINTENANCE SAFETY WARNING: Never put your hand into area housing the fan while the fan is operating! For optimal operation, clean range hood and all baffle/spacer /filter/grease tunnel/oil container regularly. Regular care will help preserve the appearance of the range hood. Cleaning Exterior surfaces: ... -
Page 11: Product Warranty
16. LIMITED WARRANTY www.XtremeAirUsa.com PAGE...


Need help?
Do you have a question about the PX06-I42 and is the answer not in the manual?
Questions and answers