
Related Manuals for XtremeAIR PX05-I36


Summary of Contents for XtremeAIR PX05-I36
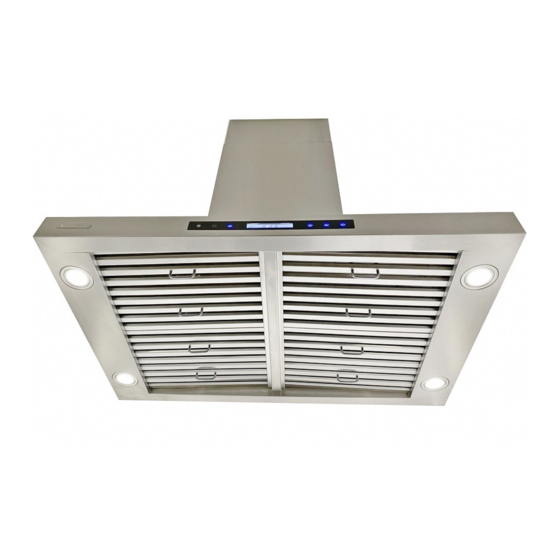
- Page 1 INSTALLATION GUIDE & USER’S MANUAL ISLAND MOUNT RANGE HOOD Model: Pro-X Series PX05-I36 / I42 IMPORTANT: READ AND SAVE THESE INSTRUCTIONS FOR RESIDENTIAL & INDOOR USE ONLY www.XtremeAirUsa.com PAGE...
-
Page 2: Table Of Contents
: The Important Safety Instructions and warnings in this manual are not meant to cover all possible problems and/or situations that can MPORTANT OTICE occur upon installation of this unit. Use extreme caution when installing, maintaining or operating this or any other appliance. Contact the XtremeAir USA, LLC, Customer Support Team at 1.714.554.9000 or email: support@XtremeAirUsa.com with any concerns or situations that you do not understand. -
Page 3: Height & Clearance
2. HEIGHT & CLEARANCE 3. VENTING REQUIREMENTS IMPORTANT: NEVER exhaust air or terminate ductwork into crawl spaces, between walls, ceiling, attics or garages. All exhaust must be ducted to the outside. Hood mounted too low could result in heat and/or fire hazard. Hoods mounted too high will be hard to reach and will lose its performance and efficiency. -
Page 4: Parts Supplied
7. PARTS SUPPLIED 8. GENERAL INSTALALTION DIAGRAM PART SKETCH DESCRIPTION CEILNG MOUNT BRACKET (W/18 ATTACHED BOLTS (4) MULTI-HOLE BRACKET (W/ 16 ATTACHED BOLTS) (4) LOWER CHIMNEY BRACKET (W/ 16 ATTACHED BOLTS) (4) 1 ¾” SCREWS ALUMINUM PIPE (2) DUCT CLAMP (4) BAFLER FILTERS (2) OIL CONTAINER (ATTACHED) -
Page 5: Installation
9. INSTALLATION STEP #2: INSTALLING “CEILING BRACKET” STEP #1: MARKING “CEILING BRACKET” A. Cut out a hole in the ceiling where the ducting A. Put a thick, protective covering over counter top, cook top or will go. Range to protect from damage or debris. B. -
Page 6: Range Hood Operation
STEP #6: INSTALLING OIL TUNNEL & BAFFLE FILTERS 2. Lift the lower angle of the baffle 1. Angle (higher point) baffle filter filter up above horizontal level. toward side of hood (oil tunnel 3. Slide (backward) forward into slot. OIL TUNNEL: Drop oil tunnel into side). -
Page 7: Specification
A. ACTIVATING BLOWER FUNCTION: Option 1: Touch and hold down (+) for 1-2 seconds. Option 2: Touch and hold down power sign (1) for 1-2 seconds. (The blower will be running at the same speed as last used). Note: The system saves user configurations, settings such as timer and blower (motor) speed will remain the same the next time it is turned on. -
Page 8: 13 Use & Care Information
3. The blower or fan seems weak: Check that the duct sized used is at least 6”. Range hood WILL NOT function efficiently with insufficient duct size & loosely secured. Check if duct is clogged or if damper unit (half-circular flapper) is not installed correctly or opening properly. A tight mesh on a side wall cap unit might also cause restriction to the air flow. -
Page 9: 15 Product Warranty
15. LIMITED WARRANTY www.XtremeAirUsa.com PAGE...
Need help?
Do you have a question about the PX05-I36 and is the answer not in the manual?
Questions and answers