Scheppach HC25Si Manual
Hide thumbs
Also See for HC25Si:
- Instruction manual (248 pages) ,
- Translation of original instruction manual (112 pages) ,
- Translation of original instruction manual (108 pages)
Table of Contents
Advertisement
Quick Links
Advertisement
Table of Contents

Related Manuals for Scheppach HC25Si


Summary of Contents for Scheppach HC25Si
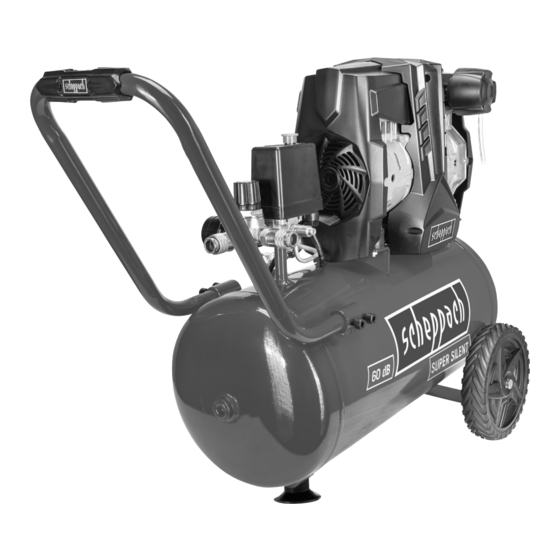
- Page 1 Product Code 705681 Rev.Nr. 04/11/2020 HC25Si Compressor...
- Page 2 5d 5c...
- Page 4 Explanation of the symbols on the device Read the operating and safety instructions before start-up and follow them! Wear hearing protection. Excessive noise can result in a loss of hearing. Wear eye protection. Wear respiratory protection. Warning against hot parts! (A fig. 10) Warning against electrical voltage Warning! The equipment is remote-controlled and may start-up without warning.
-
Page 5: Table Of Contents
Table of contents: Page: Introduction ................6 Device description ..............6 Scope of delivery ............... 6 Proper use ................. 6 Safety information ..............7 Technical data ................9 Before commissioning ............... 9 Attachment and operation ............9 Electrical connection ..............10 Cleaning, maintenance and storage .......... -
Page 6: Introduction
1. Introduction 2. Device description (fig. 1-10) Dear customer, Transport handle We hope your new tool brings you much enjoyment Pressure switch and success. On/off switch Air filter Note: 4a. Filter housing In accordance with the applicable product liability 4b. Filter element laws, the manufacturer of this device assumes no 4c. -
Page 7: Safety Information
Please observe that our equipment was not designed - Check extension cables regularly and replace with the intention of use for commercial or industrial them when damaged. purposes. We assume no guarantee if the equipment 10. Pull the connector out of the socket is used in commercial or industrial applications, or for - When the electric tool is not in use or prior to equivalent work. - Page 8 19. Filling tyres • Never spray in the direction of the compressor - Directly after inflating tyres, check the pressure when using the spraying attachments (e.g. paint with a suitable pressure gauge, for example at sprayers). Moisture can lead to electrical hazards! your filling station.
-
Page 9: Technical Data
7. Before commissioning Residual risks Comply with the stipulated maintenance and safety • Open the packaging and carefully remove the de- instructions in the operating instructions. vice. Remain attentive at all times when working, and keep • Remove the packaging material, packaging and third parties at a safe distance from your work area. -
Page 10: Electrical Connection
8.2 Installing the supporting foot (fig. 4) When working with spray attachments and during • Fit the supplied supporting foot (7) as shown. temporary use outdoors, the device must be con- nected to a residual current circuit breaker with a 8.3 Installing the air filter (fig. -
Page 11: Cleaning, Maintenance And Storage
10. Cleaning, maintenance and storage your hands to pull the valve rod outwards over the perforated exhaust nut (9a) to open the outlet of the m Attention! safety valve (9). Now, the valve audibly releases air. Pull out the mains plug before carrying out any clean- Then, tighten the exhaust nut (9a) clockwise again. -
Page 12: Disposal And Recycling
12. Disposal and recycling The device is supplied in packaging to avoid trans- port damages. This packaging is raw material and can thus be used again or can be reintegrated into the raw material cycle. The device and its accessories are made of differ- ent materials, such as metals and plastics. - Page 14 AFTER SALES SUPPORT YEAR 1300 855 831 support@scheppach.com.au WARRANTY AU Hotline Costs: Local rate for landline calls* *Charges may vary dependent upon network operator or mobile network provider.
- Page 15 Please be assured though, refurbished parts or replacements are only used where they meet Scheppach´s stringent quality specifications. If at any time you feel your repair is being handled unsatisfactorily, you may escalate your complaint.
- Page 16 AFTER SALES SUPPORT 705681 1300 855 831 support@scheppach.com.au YEAR MODEL: WARRANTY HC25Si 06/2021...
Need help?
Do you have a question about the HC25Si and is the answer not in the manual?
Questions and answers