Advertisement
Meitav-tec Ltd (Contel group)
Tel: 972-3-9626462 Fax: 972-3-9626620
www.meitavtec.com - support@meitavtec.com
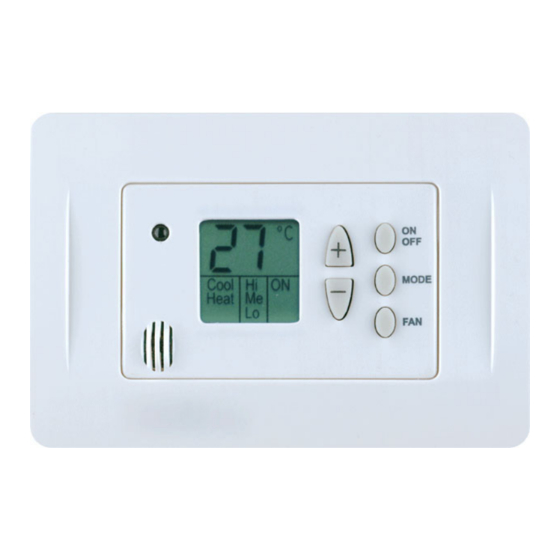
FMH-220-HP11-3S-IR
Owner's Manual - Installation and Operating Instructions
Please read this manual carefully before installation and use.
1. Index
Installation Instructions
2. Installation
2.1. General points to follow
Disconnect power to the main board before installing the unit.
The unit MUST be fitted into a standard electrical box (Gewiss Box - GW00001481VR)
The unit should not be installed on an outside wall or where there is an air draft.
The unit must not be exposed to a direct sunlight.
The standard height to install this unit is 1.5 meter (5 feet) from the floor.
2.2. Installation procedure:
Connect the wires as shown in the enclosed wiring diagram.
Place the thermostat in the electrical box and tighten up the 2 screws (Gewiss Box - GW00001481VR).
Adapt the front frame-panel into its place, by pushing it towards the wall.
!
WARNING: Risk of Electric Shock. WARNING: Risk of Electric Shock. Disconnect power supply before making
electrical connections. Contact with components carrying hazardous voltage can cause electric shock and may result in
injury or death.
File: FMH-220-HP11-3S-IR-operating manual-rev1.doc
Rev. 1 Date:03/02/2008
1
2
3
4
5
Advertisement
Table of Contents

Related Manuals for meitav-tec FMH-220-HP11-3S-IR


Summary of Contents for meitav-tec FMH-220-HP11-3S-IR
- Page 1 Meitav-tec Ltd (Contel group) Tel: 972-3-9626462 Fax: 972-3-9626620 www.meitavtec.com - support@meitavtec.com FMH-220-HP11-3S-IR Owner's Manual - Installation and Operating Instructions Please read this manual carefully before installation and use. 1. Index Installation Instructions Wiring Connections Operating Manual Technician Settings RT03 - Hand Held Remote Control - Option 2.
- Page 2 3. Wiring Connections 4. Operating Manual 4.1. Switching the thermostat On/OFF Press the [On/Off] button to activate or deactivate the thermostat. “ON” or “OFF” will appear on display. 4.2. Setting the temperature Press the [+] or [-] buttons – the temperature will flash. Change the set temperature using the [+] or [-] buttons.
- Page 3 5. Technician Settings 5.1. Enter technician Settings Use the [+] and [-] buttons to adjust set-point temperature to 10˚C. Press and hold the [Mode] button until "EO" appears on display. 5.2. Setting Heat Pump type When “HC” appears on display, use the [+] and [-] buttons to select between: Heat pump active in heat ("H"...
- Page 4 6.2. Real Time Clock and Day Press the [Select] button – “CLOCK SET” will flash. Press the [+] or [-] buttons - the hours will flash. Adjust the hours using the [+] or [-] buttons. Press the [Select] again - minutes will flash. Adjust the minutes using the [+] or [-] buttons.
Need help?
Do you have a question about the FMH-220-HP11-3S-IR and is the answer not in the manual?
Questions and answers