Table of Contents
Advertisement
Quick Links
Meitav-tec Ltd (Contel group)
Tel: +972 (3) 962 6462 Fax: +972 (3) 962 6620
www.meitavtec.com - support@meitavtec.com
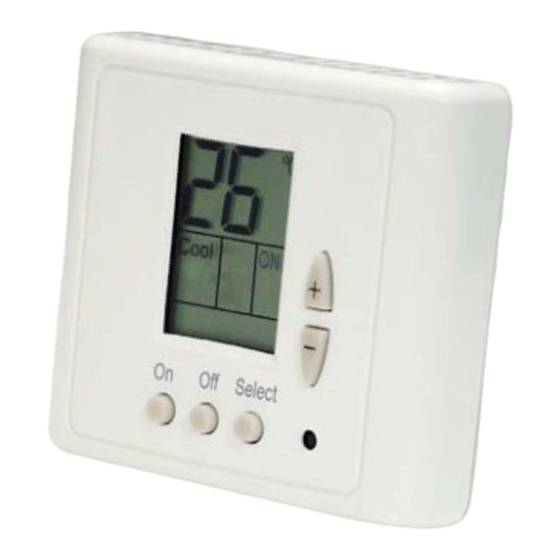
ETN-24-SUPER-SI Series
Owner's Manual – Installation and Operating Instructions
Please read this manual carefully before installation and use.
Index
Options & Accessories
Installation Instructions
DIP switch Explanation
Remote control
1. Options & Accessories
•
External sensor option: RS01 for remote temperature sensing (1 required) RS01 for
averaging temperature with thermostat (4 required) RS02 for averaging temperature with
thermostat (2 required RS02 has two thermistors in one enclosure).
•
Hand held remote control.
•
Door switch or window contact connection.
2. Installation Instructions
Cool
Heat
Auto
Fan
On/Off Select
Prog
Setting
etn24-super-si-series-europe-rev1.3-letter.doc
rev. 1.3 22/06/2006
Separate the front panel from back panel by depressing the
tongue located in the top of the unit.
Pull the back panel out.
Line the back panel up against the wall or flat surface. Install
three screws as required.
Make electrical connections as shown on enclosed electrical
wiring diagram. (Next page)
Install the cover to the back panel; first the two tabs on the
bottom and then the top tongue. Push until tight against the
wall.
1
2
3
4
5
6
7
Advertisement
Table of Contents

Related Manuals for meitav-tec ETN-24-SUPER-SI Series


Summary of Contents for meitav-tec ETN-24-SUPER-SI Series
- Page 1 Meitav-tec Ltd (Contel group) Tel: +972 (3) 962 6462 Fax: +972 (3) 962 6620 www.meitavtec.com - support@meitavtec.com ETN-24-SUPER-SI Series Owner’s Manual – Installation and Operating Instructions Please read this manual carefully before installation and use. Index Options & Accessories Installation Instructions...
- Page 2 3. Wiring Connections Choose the right configuration for your model. SWITCH FUNCTION 24 Vac RED 24 Vac Common from transformer Window contact Window contact HEAT PUMP / HEAT 3 (W3) HEAT 1 (W1) HEAT 2 (W2) External sensor External sensor COMP.2 (Y2) COMP.1 (Y1) IMPORTANT! Before making any changes in the DIP switch disconnect electricity in...
- Page 3 In this example picture, pins 1,6 - ON and pins 2,3,4,5 - OFF Example 4.3 External sensor connection - option Important! The external sensor must be Meitav-Tec type. Table 4.3 - N.TC. Sensor: Temperature ~ Resistance Characteristics Temp °C 10.0 12.8...
- Page 4 5. Operating Manual 5.1 On/Off • Press the ON/OFF button to activate or deactivate the thermostat. • The word "ON" or "OFF" will appear in the display. 5.2 Set temperature • Press the SET buttons (+) or (-) - the temperature will flash. •...
- Page 5 Real Time Clock and Day: • Press the SELECT button - CLOCK SET will flash. • Press the (+) or (-) buttons - the hours will flash. • Adjust the hours using the (+) or (-) buttons. • Press the SELECT again - minutes will flash. •...
- Page 6 7. Technician Settings 7.1 Set temperature limits and offset • Press and hold ON button (5 second) • Set the temperature to 55°C. Set limit for cool • Press the ON button. • “COOL” will appear on display. • Adjust set limit for cool using the (+) and (-) buttons. Set limit for heat •...
- Page 7 7.3 Window contact input The input, normally open to connect door switch or window contact, etc. The contact is Voltage free (2 terminals), normally open (active when close) If window contact closes the thermostat have two options: • Option A: The thermostat will be turned OFF. •...
Need help?
Do you have a question about the ETN-24-SUPER-SI Series and is the answer not in the manual?
Questions and answers