Table of Contents
Advertisement
Advertisement
Table of Contents

Related Manuals for Philco PH235IC


Summary of Contents for Philco PH235IC
- Page 1 Induction Hob Instruction Manual / Installation Manual MODEL:PH235IC...
-
Page 2: Safety Instruction
Foreword These instructions are for your safety. Please read the following instructions carefully before proceeding with the installation and use of this appliance. Safety instruction WARNING: All installation work must be carried out by a suitably qualified person, strictly following local building regulations and these instructions. WARNING: Read the instructions before using the appliance. - Page 3 WARNING: Before connecting the hob, check that supplied voltage and frequency ⚠ match with that indicated on the appliance rating plate. WARNING – Risk of Fire! ⚠ Do not store items on the cooking surface. Do not use flammable sprays in close vicinity to the appliance. ...
-
Page 4: Recycling And Disposal
could catch fire, shatter, or melt if the hob is switched on by mistake or if residual heat is still present. The rough bases of pans may scratch the hob. Grains of salt, sugar and sand may scratch the ceramic glass. Do not place these ... -
Page 5: Technical Specification
Technical Specification Cooking Hob PH235IC Cooking Zones 2 Zones Rated Voltage 220-240V~ Rated Frequency 50/60Hz Rear hotplate rated input power 2400 / 2600W booster Front hotplate rated input power 2400 / 2600W booster Total Rated Power 3500W Product Size W x D x H (mm) 290 X 520 X 68.5... -
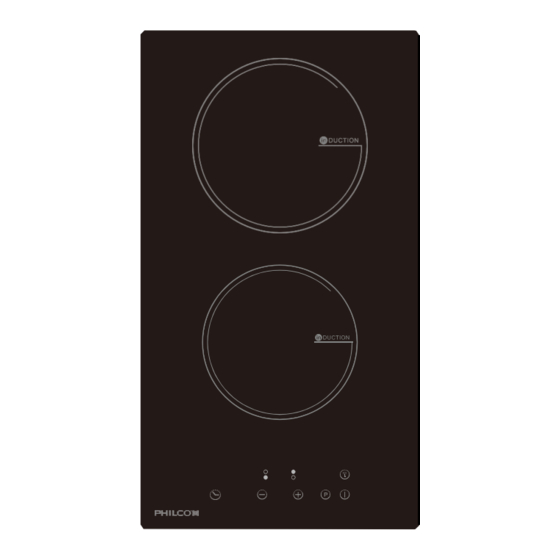
Page 6: Product Overview
Product Overview View of induction hob ○ ○ ○ ○ Item No Description Rear hotplate Front hotplate Ceramic glass Control panel... -
Page 7: Control Panel
Control panel Key Reference Description Choice of cooking zone Child lock On / Off Power / time setting Boost Timer... -
Page 8: A Word On Induction Cooking
A Word on Induction Cooking Induction cooking is a safe, advanced, efficient, and economical cooking technology. It works by electromagnetic vibrations generating heat directly in the pan, rather than indirectly through heating the glass surface. The glass becomes hot only because the pan eventually warms it up. -
Page 9: Choosing The Right Cookware
Choosing the right Cookware Only use cookware with a base suitable for induction cooking. Look for the induction symbol on the packagingor on the bottom of the pan. • You can check whether your cookware is suitable by carrying out a magnet test. Move a magnet towards the base of the pan. -
Page 10: If The Display Flashes
Using your Induction Hob To start cooking 1. Touch the ON/OFF control. After power on, the buzzer beeps once, all displays show“ – “, indicating that the induction hob has entered the state of standby mode. 2. Place a suitable pan on the cooking zone that you wish to use. - Page 11 When you have finished cooking 1. Touching the relevant zone select key(A) that you wish to switch off. 2. Press the key(D) control to “0” level, 3. Beware of hot surfaces. “H”will show which cooking zone is hot to touch. It will disappear when the surface has cooled down to a safe temperature.
-
Page 12: To Unlock The Controls
To unlock the controls 1. Make sure the Induction hob is turned on. 2. Touch and hold the keylock control for a while. 3. You can now start using your Induction hob. When the hob is in the lock mode, all the controls are disable except OFF, you canalways turn the hob off with the OFF control in an emergency, but you shall unlock the hob first in the next operation. -
Page 13: Auto Shutdown Protection
Auto Shutdown Protection Auto shut down is a safety protection function for your induction hob. It shut down automatically if ever you forget to turn off induction hob. The default working times for various power levels are shown in the below table: Power level Default working timer (min) -
Page 14: Setting The Timer To Turn One Or More Cooking Zones Off
Setting the timer to turn one or more cooking zones off If the timer is set on one zone: 1. Select the relevant cooking zone which is working by touching the zone select key (A) 2. Press the Timer key(F), the minder indicator will start flashing “10”, and you can set the timer at this point. -
Page 15: Troubleshooting
Trouble shooting If an abnormality comes up, the induction hob will enter the protective state automatically and display corresponding protective codes: Error Error Codes /EN display Error Reasons/Cause What to do Use suitable cookware or selectthe unsuitable cooking cookware size depending on the utensils have been placed on Cannot detect the cooking zone;... - Page 16 The above are the judgment and inspection of common failures. Please do not disassemble the unit by yourself to avoid any dangers and damages to the induction hob and please contact customer service.
-
Page 17: Selection Of Installation Equipment
Installation Selection of installation equipment Cut out the work surface according to the sizes shown in the drawing. The purpose of installation and use, a minimum of 5 cm space shall be preserved around the hole. Be sure the thickness of the work surface is at least 30mm. Please select heat- resistant work surface material to avoid larger deformation caused by the heat radiation from the hotplate. - Page 18 locating the fixing brackets • The unit should be placed on a stable, smooth surface (use the packaging). Do not apply force onto the controls protruding from the hob. fig. 4...
- Page 19 Under any circumstances, make sure the Induction cooker hob is well ventilated and the air inlet and outlet are not blocked. Ensure the induction cooker hob is in good work state. As shown below Note: The safety distance between the hot plate and the cupboard above the hot plate should be at least 650mm.
- Page 20 7. You consult local building authorities and by-laws if in doubt regarding installation. 8. You use heat-resistant and easy-to-clean finishes (such as ceramic tiles) for the wall surfaces surrounding the hob. When you have installed the hob, make sure that 1.
-
Page 21: Connecting The Hob To The Mains Power Supply
Connecting the hob to the mains power supply This hob must be connected to the mains power supply only by a suitably qualified person. Before connecting the hob to the mains power supply, check that: 1. the domestic wiring system is suitable for the power drawn by the hob. 2. - Page 24 4/F, DCH Building, 20 Kai Cheung Road, Kolwoon Bay, Hong Kong 香港九龍啟祥道20號大昌行集團大廈4樓...
Need help?
Do you have a question about the PH235IC and is the answer not in the manual?
Questions and answers