Advertisement
Quick Links
Advertisement

Related Manuals for BROSA Field Triple Open Shelf


Summary of Contents for BROSA Field Triple Open Shelf
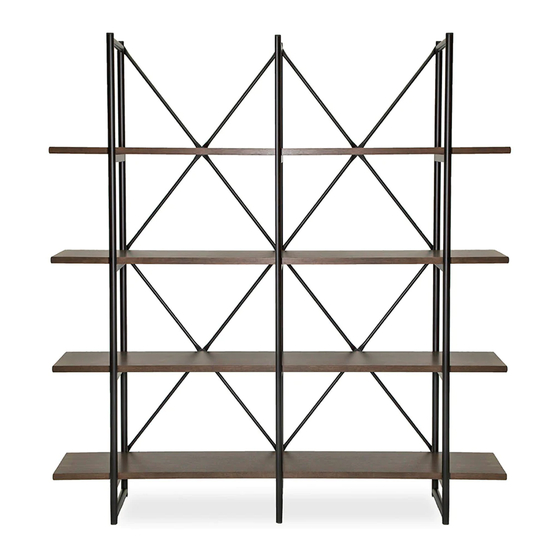
- Page 1 ASSEMBLY GUIDE Field Triple Open Shelf...
-
Page 2: What You Need
Components Before you get started, check you have all of the pieces below. If anything’s missing, please visit www.brosa.com.au/pages/product-return-and-parts-request and we’ll sort it out right away. Hardware A x 9 B x 24 C x 1 aa x 2 bb x 1... - Page 3 Align the short back connectors with the side Step 1 frames like below diagram. Make sure the bolt holes overlap. Insert a short bolt into the hole and tighten it with the Allen key (C). Repeat this for the remaining holes. A x 4 C x 1...
- Page 4 Align the long back connectors with the structure Step 2 formed in Step 1 like below diagram. Make sure the bolt holes overlap. Insert a short bolt into the hole and tighten it with the Allen key (C). Repeat this for the remaining holes.
- Page 5 Align the shelves with the structure formed in Step 3 Step 2. Make sure the bolt holes overlap. Fit a long bolt into the hole and tighten it with the Allen key (C). Repeat this for the remaining holes to x the shelves in place.
- Page 6 Attaching the shelf to wall with anti-tip kits: Step 4 Attach the mounting bracket (aa) horizontally to the shelf using the short screws (cc). aa x 1 cc x 2...
- Page 7 Attaching the shelf to wall with anti-tip kits: Step 5 Determine where the piece is to be placed and mark location on the wall for the mounting bracket screw holes. Drill the hole and use the appropriate wall plug that is suitable for your wall composition. Attach the mounting bracket (aa) horizontally to...
Need help?
Do you have a question about the Field Triple Open Shelf and is the answer not in the manual?
Questions and answers