Advertisement
Quick Links
Advertisement

Related Manuals for BROSA Gina Dining Table 200cm


Summary of Contents for BROSA Gina Dining Table 200cm
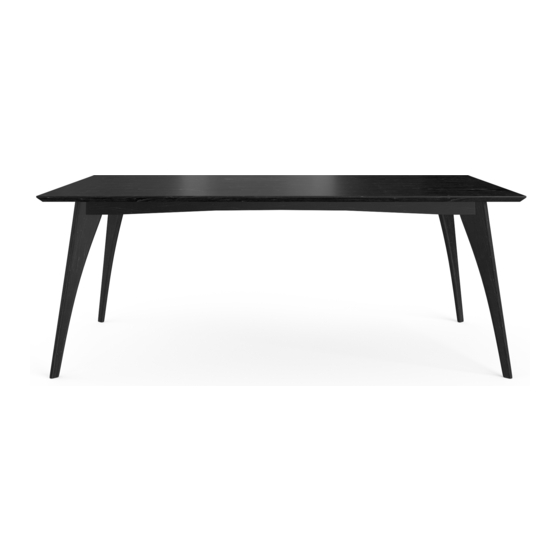
- Page 1 Gina Dining Table 200cm A S S E M B LY G U I D E...
- Page 2 F O R Y O U R S A F E T Y Lift, don’t drag. This protects Check the assembly guide your floor and product. for required components. Assembly requires 2 people. Assembling this product on It's always easier with a a soft surface protects its friend.
- Page 3 Components Before you get started, check you have all of the pieces below. If anything’s missing, we’ll sort it out right away. Simply visit: www.brosa.com.au/pages/product-return-and-parts-request ① Table Top x 1 ② Leg x 4 Hardware Hardware (M8 x 45) (M8)
-
Page 4: What You Need
What You Need To prevent the table top from damage during transition, an extra wooden frame has been applied. Follow Step 1 and Step 2 below to unpack the table top. Step 1 Upon unpacking your shipping carton, you should have the table top fixed and secured by the wooden frame. - Page 5 Step 2 Lift the table top out of the wooden frame and place it on a soft surface. Remove all the plastic covering the table top to get ready for assembly.
- Page 6 Step 3 ① Place the table top on a soft surface and make sure the bottom faces upward. ② Fit a leg into the opening on one corner of the bottom. Make sure the bolt holes on each com- ponent overlap. Fit a spring washer to a bolt followed by a flat washer C.
- Page 7 Step 4 Once all four legs are fixed in place, tighten all bolts with the Allen key D.
- Page 8 Step 5 Place the completed piece of furniture upright on a level surface. Enjoy your new Gina Dining Table 200cm!
- Page 9 User Recommendation Assembly 1. Assemble furniture using our Assembly Guides. You can find them at support.brosa.com 2. Do not dispose of any packaging or contents of the shipping carton until assembly is completed to avoid accidentally discarding small parts or hardware.
Need help?
Do you have a question about the Gina Dining Table 200cm and is the answer not in the manual?
Questions and answers