Advertisement
Quick Links
Advertisement

Subscribe to Our Youtube Channel
Related Manuals for BROSA Olsen Sideboard


Summary of Contents for BROSA Olsen Sideboard
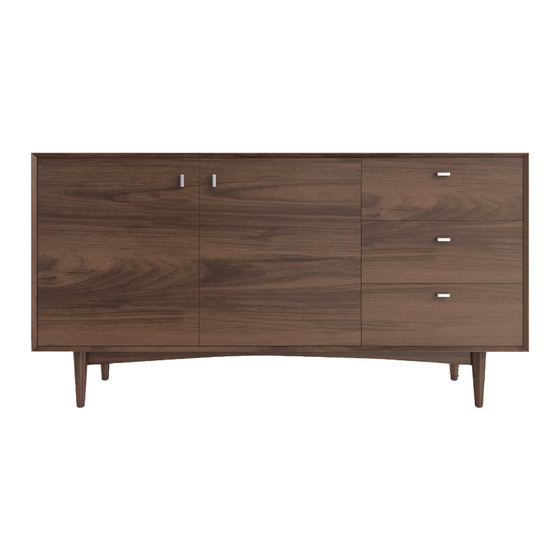
- Page 1 Olsen Sideboard A S S E M B LY G U I D E...
- Page 2 F O R Y O U R S A F E T Y Lift, don’t drag. This protects Check the assembly guide your floor and product. for required components. Assembly requires 2 people. Assembling this product on It's always easier with a a soft surface protects its friend.
- Page 3 Components Before you get started, check you have all of the pieces below. If anything’s missing, we’ll sort it out right away. Simply visit: www.brosa.com.au/pages/product-return-and-parts-request ② Leg x 4 ① Body x 1 ③ ④ Left Shelf x 1 Right Shelf x 1...
-
Page 4: What You Need
x 10 (Ø4 x 22) (20 x 20 x 6) What You Need Step 1 Insert a cross dowel into the hole on top of a leg ②. Make sure the side with a groove is facing you. Adjust the dowel with a flat-head screwdriver so that the threaded hole of the dowel is aligned with the hole in the front face of the leg. - Page 5 Step 2 Insert a rod into the front hole of a leg and make sure it grabs the threads of the cross dowel. Screw the rod until it is tight and secure. Repeat this for all legs.
- Page 6 Step 3 Lead the rod of a leg through the hole of the metal bracket. Fit a flat washer to the rod followed by a lock washer and a nut E. Tighten the nut with the spanner G. Repeat this for all legs.
- Page 7 Step 4 Attach foot stoppers to the bottom of the legs.
- Page 8 Step 5 Shelf height can be adjusted by three levels. Choose the right height that meets your needs and then insert the shelf supports into the corresponding holes. Make sure all supports are inserted into the holes of the same level.
- Page 9 Step 6 ③ Incline the shelf so that it can go through the shelf supports. Once the shelf passes all four supports, lay the shelf flat upon the supports. Make sure the knobs of the supports are inserted into the holes on the bottom of the shelf. Repeat this for the other shelf ④.
- Page 10 Step 7 Attach the handles to doors and drawer front panels with the bolts and a Phillips head screwdriver. x 10...
- Page 11 Step 8 Enjoy your new Olsen Sideboard!
- Page 12 Warning Serious or fatal crushing injuries can occur from furniture tip-over. Never allow children to climb or play on furniture.
-
Page 13: Troubleshooting
Troubleshooting 1. Upon receiving your product, you might find that the door doesn’t align well. Please note that it’s not a product flaw and can be adjusted following the instructions below. - Page 14 2. Follow the steps below to disassemble your doors when needed. Step 1 Loosen the screw at the end of the hinge arm. Step 2 Gently pull the door so that it is separated from the body. Reverse the steps above to get the doors attached again.
- Page 15 With that in mind, the following tips can help prolong the life of your Brosa veneer furniture to help them look beautiful for years to come. Assembly 1. Assemble furniture using our Assembly Guides. You can find them at support.brosa.com...
- Page 16 3. Do not use any abrasive cleaner or harsh detergent as this can damage the surface of the furniture. 4. Avoid using spray polishes as they contain silicones which may spoil the furniture’s surface. 5. Make sure all surfaces are protected from heat and liquids by mats and coasters.
Need help?
Do you have a question about the Olsen Sideboard and is the answer not in the manual?
Questions and answers