Advertisement
Quick Links
Advertisement

Related Manuals for BROSA Josie Sideboard Small


Summary of Contents for BROSA Josie Sideboard Small
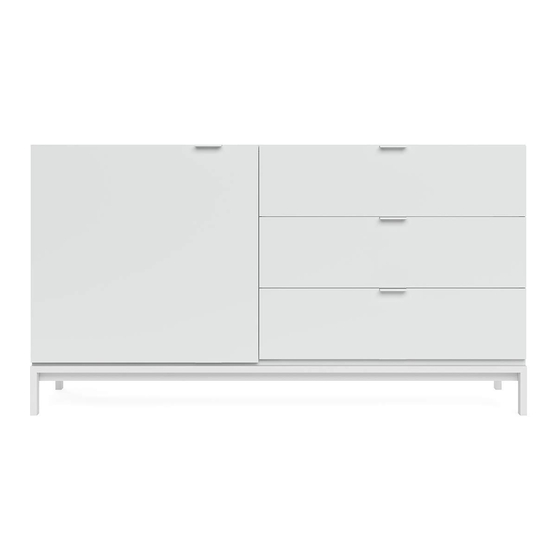
- Page 1 ASSEMBLY GUIDE Josie Sideboard Small...
- Page 2 Components Upon unpacking your sideboard from it’s delivery box, you should have the separate pieces shown below. Follow the steps on the next pages to assemble your new sideboard. Outer body of sideboard Base x 1 Back walls x 2 Top Panel x 1 Leg frame x 2 Shelving x 1...
- Page 3 Hardware You will need...
- Page 4 Step 1 Starting with the body of the sideboard, take each side/inner wall and insert a dowel into each of the inner holes along the bottom and a cam screw into the outer holes. Align the each wall to their corresponding place along the base and rmly press together.
- Page 5 Step 3 Insert a dowel into each of the inner holes along the top of each side/inner wall and a cam screw the outer holes. Align the top panel so that all the parts align to the corresponding holes and rmly press into place.
- Page 6 Step 5 Lift the sideboard and rmly place on a level surface. Step 6 Insert laminates nails in the holes inside the sideboard and screw tightly into place. H x 4...
- Page 7 Step 7 Insert a xed laminates nail in each of the holes in the shelving and then insert each shelf into the left compartment of the sideboard. I x 4 Step 8 Align the track to the corresponding holes and x into place with the screws (L &...
- Page 8 Step 9 Place a stopper along the side of the back of the sideboard as shown in the diagram and follow it with a screw to secure it in place. M x 8 N x 8 Step 10 On the inner side of the draw walls, align track t into place with screws (J).
- Page 9 Step 11 Align the side walls of the draw to the back wall and t together tightly with screws (K). Repeat for the remaining draws. K x12 Step 12 Slide the base of the draw into place by tting it into the grooves in the walls of the draw.
- Page 10 Step 13 Insert cam screw into the holes on the sides of the front panel of the draw and one in the bottom center. Place dowels in the remaining two holes along the bottom of the panel. Align to the draw and rmly press together.
- Page 11 Step 15 Separate the hinge by sliding the two halves out from one another and with the smaller part, attach to the inner wall of the sideboard as shown in the diagram (by screwing it into place). Q x 2 With the other half of the hinge align it to the corresponding holes on the door and screw into place.
- Page 12 Step 16 With another person holding the door, slide the hinges back together. Insert the screws and tighten. Align the handle to the corresponding holes and use screws to x into place. Q x 2 U x 1 V x 2...
- Page 13 Step 17 Place the sideboard in your beautiful home and enjoy! Step 18 e following steps are to instruct how to remove the door if needed. Have a second person supporting the door during the removal process. Using a phillips head screwdriver remove the screws from the hinge holding the two halves together.
- Page 14 Step 19 e followig steps are to instruct how to adjust the hinges if needed. 19.1 Lateral adjustment by screw adjustment. 19.2 Front-to-Back adjustment by slackening and retightening the hinge-arm mounting screw. 19.3 Vertical adjustment via slots on mounting plate by slackening and retightening the screws on the mounting plate.
Need help?
Do you have a question about the Josie Sideboard Small and is the answer not in the manual?
Questions and answers