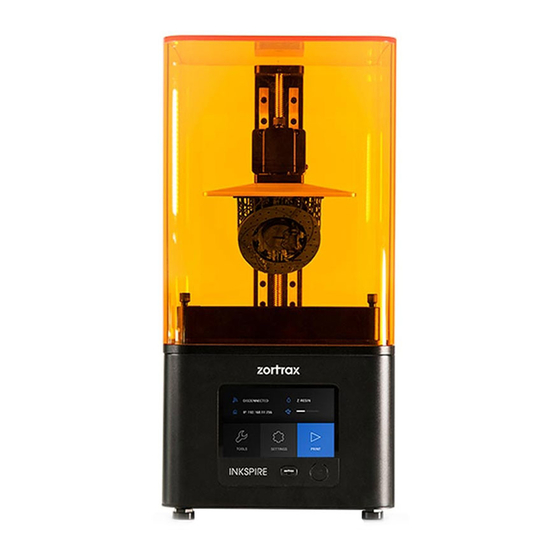
zortrax Inkspire Packing
Hide thumbs
Also See for Inkspire:
- User manual (57 pages) ,
- Unpacking manual (24 pages) ,
- Quick start manual (2 pages)
Advertisement
Quick Links
Advertisement

Related Manuals for zortrax Inkspire


Summary of Contents for zortrax Inkspire
- Page 1 Packing SOURCE: https://support.zortrax.com/inkspire-packing/ page 1 / 11...
- Page 2 Table Of Content Emptying the Resin Tank Packing page 2 / 11...
- Page 3 Before sending the Inkspire to technical service, you have to empty the resin tank and pack the device in the original packaging. The whole process requires care and attention as the fragile elements of the printer may get damaged during transport.
- Page 4 Emptying the Resin Tank Remove the UV cover. Unscrew the two screws that secure the resin tank and remove them (A). Next, remove page 4 / 11...
- Page 5 the resin tank (B). Insert the resin filter into the silicone funnel and put them together in the bottle with resin. Pour the resin left in the tank through the filter and funnel. If it's necessary, use a plastic spatula. page 5 / 11...
- Page 6 Clean the resin tank with a paper towel. You can also use isopropyl alcohol for that purpose. Clean the LCD screen and the outside of the FEP film with a soft cloth. Install the resin tank back in its place (A) and secure it with the two screws (B). page 6 / 11...
- Page 7 Lower the platform to the very bottom using the options from the menu. page 7 / 11...
- Page 8 Packing Turn the printer off and unplug the power cable. Wrap the printer in foil. page 8 / 11...
- Page 9 Place the cushioning at the bottom of the box. Put the printer in the box. page 9 / 11...
- Page 10 Place the foam in the printer. Install the UV cover on the printer. page 10 / 11...
- Page 11 Place the top cushioning on the printer and tape the box. page 11 / 11...
Need help?
Do you have a question about the Inkspire and is the answer not in the manual?
Questions and answers