Advertisement
Available languages
Available languages
π
H-4989
96
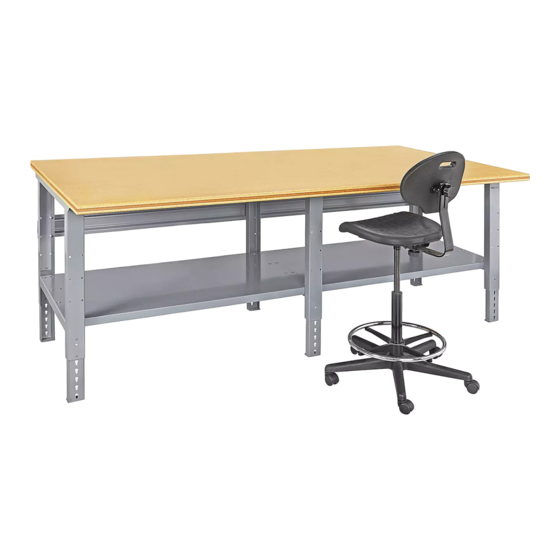
48" JUMBO
x
PACKING TABLE
TOOLS NEEDED
Phillips Head
Screwdriver
10 mm Wrench
WARNING! These instructions are for Jumbo Packing Tables only. Instructions for Deluxe Workstations are
included with H-5777 Uprights for Deluxe Workstation.
LEGS AND FRAME ASSEMBLY
1.
Insert adjustable feet (1) into legs (2) and slide into place
at desired height.
NOTE: If desired, insert locking tabs through legs
and adjustable feet to lock feet into place.
2. Place legs (2) in upright position. Legs should be placed
approximately 45" apart.
3. Attach stringer (3) to table legs using center six holes in
back legs. Fasten with 12 bolts, lock washers
and nuts, but do not fully tighten.
4. Place lower shelves (4) across braces of legs. Attach
lower shelves using 16 bolts and nuts. Now, fully fasten
hardware placed in step 3.
5. To attach tabletop (5) to frame assembly, place tabletop
on a smooth, non-marring surface with top side facing
down.
NOTE: If you have a Maple Jumbo Packing
Table, see Maple Tabletop Field Joint Assembly
instructions on page 2 before continuing to step 6.
6. Rotate the assembled frame upside down and line
up with the pre-drilled holes on the bottom side of the
tabletop.
PAGE 1 OF 6
1-800-295-5510
uline.com
7/16" Wrench
Flat Head
3/8" Wrench
Screwdriver
ASSEMBLY
#
1
2
3
4
5
1/4" x 20 x 5/8" Bolt x 28
Lock Washer x 12
4
Para Español, vea páginas 3-4.
Pour le français, consulter les pages 5-6.
DESCRIPTION
Adjustable Foot
Leg
Stringer
Lower Shelf
Tabletop
Hardware Kit
1/4" x 20 Nut x 28
#14 x 3/4" Wood Screw x 24
Locking Tab x 6
5
3
2
1
QTY
6
3
1
2
1
0820 IH-4989
Advertisement
Table of Contents

Related Manuals for U-Line Н-4989


Summary of Contents for U-Line Н-4989
- Page 1 Para Español, vea páginas 3-4. Pour le français, consulter les pages 5-6. π H-4989 1-800-295-5510 uline.com 48" JUMBO PACKING TABLE TOOLS NEEDED 7/16" Wrench Phillips Head Flat Head 3/8" Wrench Screwdriver Screwdriver 10 mm Wrench WARNING! These instructions are for Jumbo Packing Tables only. Instructions for Deluxe Workstations are included with H-5777 Uprights for Deluxe Workstation.
- Page 2 ASSEMBLY CONTINUED TOP ASSEMBLY Using 24 wood screws, attach legs to the under side of the tabletop (5) through pre-drilled holes. (See Figure 1) 2. Set bench assembly upright and recheck all nuts, bolts and screws for tightness. Figure 1 MAPLE TABLETOP FIELD JOINT ASSEMBLY Lay top sections with field joint slots facing up on a smooth, non-marring surface to protect top sections...
- Page 3 π H-4989 800-295-5510 uline.mx MESA DE TRABAJO JUMBO 96 48" HERRAMIENTAS NECESARIAS Llave de 7/16" Desarmador con Desarmador Llave de 3/8" Cabeza Phillips Plano Llave de 10 mm ¡ADVERTENCIA! Estas instrucciones son para Mesas de Trabajo Jumbo solamente. Las instrucciones para las Estaciones de Trabajo de Alta Calidad vienen incluidas con el H-5777 Postes para Estación de Trabajo de Alta Calidad.
- Page 4 CONTINUACIÓN DE ENSAMBLE ENSAMBLE DE LA PARTE SUPERIOR Usando 24 tornillos para madera, fije las patas a la parte inferior de la cubierta de la mesa (5) a través de los orificios pretaladrados. (Vea Diagrama 1) 2. Coloque el ensamble de mesa en posición vertical y compruebe que ha apretado bien todas las tuercas, los pernos y los tornillos.
- Page 5 π H-4989 1-800-295-5510 uline.ca TABLE D'EMBALLAGE GRAND FORMAT DE 96 PO 48 PO OUTILS REQUIS Clé de 7/16 po Tournevis Tournevis Clé de 3/8 po cruciforme à tête plate Clé de 10 mm AVERTISSEMENT! Ces instructions se rapportent uniquement aux tables d'emballage de format géant. Les ARRÊT instructions se rapportant aux postes de travail de luxe sont fournies avec les montants du poste de travail de luxe, soit le H-5777.
- Page 6 MONTAGE SUITE MONTAGE DU DESSUS 1. À l'aide de 24 vis à bois, fixez les pattes à la face inférieure du dessus de table (5) par les trous prépercés. (Voir Figure 1) 2. Placez l'ensemble debout et vérifiez que tous les écrous, vis et boulons sont bien serrés. Figure 1 MONTAGE DU DESSUS DE TABLE EN ÉRABLE Placez les sections sur une surface lisse et non...
Need help?
Do you have a question about the Н-4989 and is the answer not in the manual?
Questions and answers