Advertisement
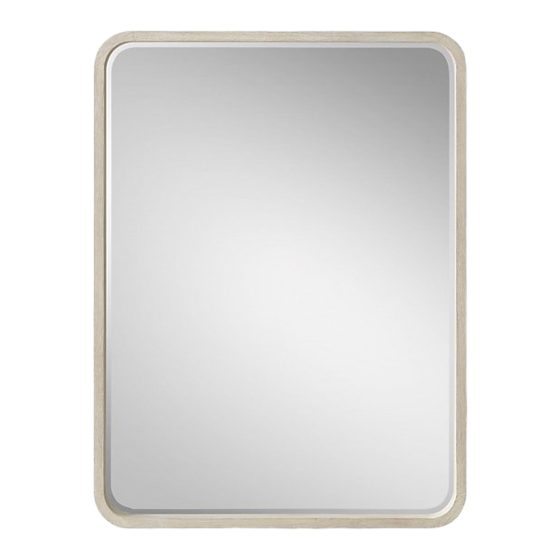
W O OD SHADO W -BOX DRE SS ER M I RROR - A SS E M B LY I N S TR U C T I ON S
PARTS I N CLU DE D :
A. WALL BRACKET (1 pc.)
B. BACK PANEL BRACKET (1 pc.)
TO O LS N E E D E D (NOT INCLUDED):
Phillips-head screwdriver, hammer, drill and pencil.
S A F E T Y I N S T R U C T I O N S :
1. These instructions are provided for your safety.
It is important that they are read carefully and
completely before installation of the fixture.
2. Professional installation is strongly recommended.
3. For your safety, it is recommended that two people
hang the fixture.
4. Check with a professional to ensure your wall can
tolerate fixture weighing 47 lbs.
5. It is imperative that the mirror is mounted into a
wall stud.
I N S T A L L A T I O N I N S T R U C T I O N S :
1. Carefully remove all parts from the box, and remove
all plastic coverings.
2. There is one bracket fixed (B) on the back panel
of the mirror and one wall bracket (A).
3. Before drilling holes to affix wall bracket (A),
place the bubble level into the groove of the wall
bracket to test and make sure the wall bracket is
level. Use a pencil to mark the holes of the bracket
onto the wall.
4. Drill 6 holes into the wall that align with the holes
on wall bracket (A). Using a hammer, insert drywall
anchors by gently tapping until drywall anchors are
flush to wall. Do not insert anchors into wall studs.
5. Put wall bracket (A) over the drywall anchors
(figure 1). Screw wall screws through the wall
bracket (A) and anchors (figure 2). Screw wall
screws directly into any wall studs.
6. To install mirror, slide the back panel bracket (B)
onto the wall bracket (A) (figure 3).
7. Installation is complete.
NO.
ITEM
1
2
3
Figure 1
CORRECT
Wall
A
Figure 2
wall
A
2
page 1 of 2
DESCRIPTION
6 pcs.
Drywall Anchors
Wall Screws
6 pcs.
Bubble Level
INCORRECT
Wall
A
Bubble Level
1
A
QTY.
1 pc.
Advertisement
Table of Contents

Subscribe to Our Youtube Channel
Related Manuals for RH Baby&child WOOD SHADOW-BOX


Summary of Contents for RH Baby&child WOOD SHADOW-BOX
- Page 1 W O OD SHADO W -BOX DRE SS ER M I RROR - A SS E M B LY I N S TR U C T I ON S PARTS I N CLU DE D : ITEM DESCRIPTION QTY. A. WALL BRACKET (1 pc.) B.
- Page 2 WO O D SHA DOW BOX DRESSE R M IRROR - ASS EM B LY I N ST R U CTI ON S Figure 3 BACK MIRROR WALL Figure 4 BACK C A R E I N S T R U C T I O N S : 1.
Need help?
Do you have a question about the WOOD SHADOW-BOX and is the answer not in the manual?
Questions and answers