Advertisement
Quick Links
Advertisement

Related Manuals for EC Line EC-1219


Summary of Contents for EC Line EC-1219
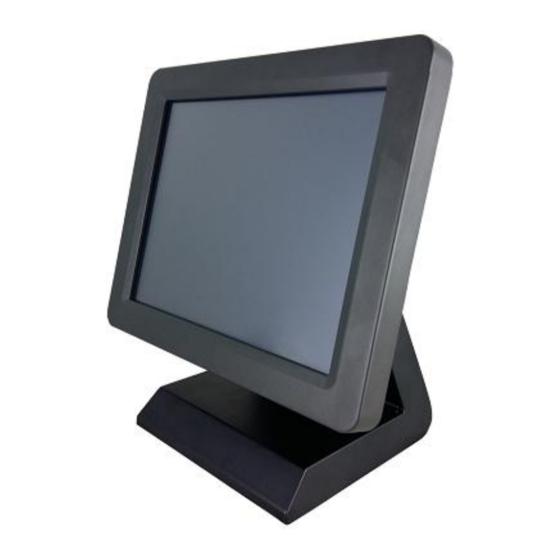
- Page 1 User Manual EC-1219 All-in-one Touch POS Terminal...
- Page 2 Overview Thank you for purchasing the EC-1219 all-in-one touch POS terminal, EC-Line is committed to continuously improve product quality and provide better after-sales service.In order to take full advantage of our devices, we strongly recommend that you take the time to read this manual before diving into software solution.
-
Page 3: Fcc Notice
Do not share the same power outlet with high power electrical appliances keep distance from high level magnetic interference. Do not the use sharp pointed objects to work with the touch screen to avoid damage to the screen. When the following occurs: ... - Page 4 non-recommended modification of the product. This product has been tested and found to comply with the limits for Class A Information Technology Equipment according to CISPR 22 / European Standard EN 55022.The limits for Class A equipment were derived for commercial and industrial environments to provide reasonable protection against interference with licensed communication equipment.
- Page 5 Installation Guide 1. Appearances 2. Rear Panel I/O Connectors At the rear panel of the EC-1219 is a row of external I/O device connectors Detailed as follows: COM1,2: DB9 port for connection to serial devices MIC: Microphone Input LINE OUT: Stereo phone jack audio output LAN: RJ-45 Ethernet connection to Giga-bit LAN USB2.0: Connection to USB 2.0 devices (compatible with USB 1.1 devices)
- Page 6 USB3.0: Connection to USB3.0 devices (compatible with USB 2.0 devices) VGA: VGA signal output for connection to external monitor HDMI: Digital image/sound transmission interface 12V DC IN: Connection to 12V DC Power Supply POWER: ON/OFF...
-
Page 7: Specification
Specification Model name EC-1219 Type 12”All In One Touch POS Terminal Colour Black Material Magaluma ISO Trick 1/2/3 Magnetic Stripe Reader 2x20 VFD Customer Display Second Screen(9.7”,12”,15”) Optional Peripherals WIFI Bluetooth SSD (32G,64G,128G) Windows OS Motherboard Part Main Board ITX-J1900 Intel®... - Page 8 +60°~-60° left/right Viewing Angle +80°~-60° up/down Brightness 280cd /㎡ Resolution XGA 1024×768 @ 60Hz Touch Screen Type 5 wire resistive touch panel Touch Interface I/O Ports DC IN*1(2.5) HDMI*1 POWER BUTTON(Power LED)*1 COM*3(DB 9) I/O port USB2.0*4 LAN*1 USB3.0*2 LINE*1 MIC*1 0 ℃...
- Page 9 EMC/ Product Safety FCC Class A / CE Mark / LVD / CCC OS Support Windows 7/8 or up Accessory Power adaptor, power cable, CD for driver...
-
Page 10: Setup And Driver Installation
Setup and Driver Installation 1. Motherboard BIOS settings The POS terminal has a BIOS (Basic Input Output System) chip on the motherboard. Every time you start the terminal, the system will first run the BIOS self-test routine to check the main components of the system to ensure it is working properly. - Page 11 <←> Move left <→> Move right <Enter> To select this option <Esc> To exit the menu or to return to the main menu from the submenu <+/PU> Increase the value or change selection <-/PD> Reduce the value or change selection <F1>...
- Page 12 2. Touch screen driver installation: Step 1 : Navigate to the installer directory to find the “setup.exe” file .Double-click on ”setup exe” to start installation. Step 2: When installation starts, click [Next] to proceed to the next step.
- Page 13 Step 3: Install action in progress Step 4: Uncheck “Install PS/2”. Press [Next] to continue installation.
- Page 14 Step 5: Uncheck” install RS232 interface driver” and click [Next] to continue installation. Step 6: Select option “NONE”, click [Next] to continue installation.
- Page 15 Step 7: When installing USB touch, please connect the USB controller and USB cable Step 8: If there are additional touch monitors connected, please check “Support multi -monitor system”.
- Page 16 Step 9: Select the destination location to install the touch driver. The default path is “C:\Program Files\eGalaxtouch”. Click [Next] to continue installation. Step 10: Select the Program Folder to install the utility. The default is “eGalaxtouch”.
- Page 17 Click [Next]to continue installation. Step 11: Check the option to create a desktop shortcut icon.
- Page 18 After install the driver successfully, identify the USB controller IS installed as shown below. Touch function settings...
- Page 19 Touch calibration Touch device line test...
-
Page 21: Troubleshooting
Troubleshooting 1. Terminal does not boot If the terminal cannot boot after pressing the power switch check that the power cable is connected to the power socket. If the terminal power light still remains off, the fan does not operate, and there is no BIOS beeping sound, it might be the power supply problems. - Page 22 b) Check if the AC line voltage is stable; c) A sudden power failure or improper shutdown may cause this problem. Press F8 to boot system into safe mode and debug. d) If any new hardware is added or replaced that caused this problem, remove the hardware and reboot;...
- Page 23 b) The touch screen driver is not installed properly, reinstall the driver. 7. The cursor fixed at the edge of LCD a) Check if the edge of the screen is being pressed by something. b) Check the edges of the LCD if there is anything jammed in the front bezel. c) Make sure the touch screen is clean.
- Page 24 Manufacturer: EC LINE Thank you very much for using EC Line product For service, please contact service@ecline.com.hk www.eclinepos.com...
Need help?
Do you have a question about the EC-1219 and is the answer not in the manual?
Questions and answers