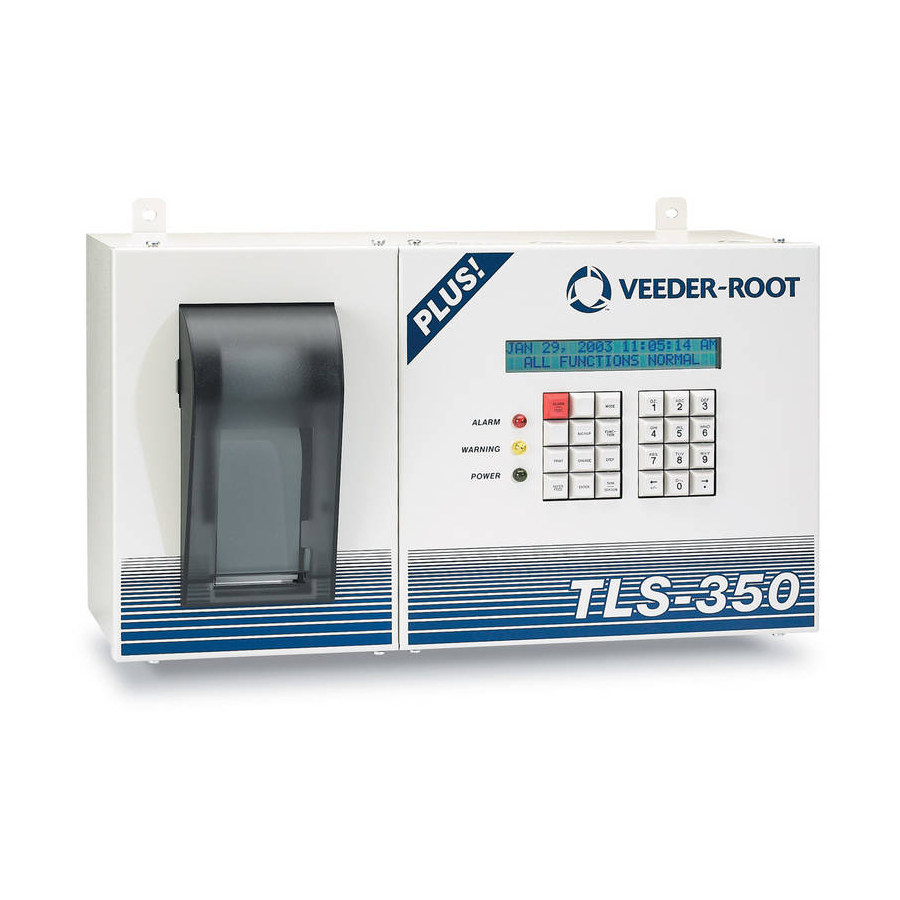
Veeder-Root TLS-350 Installation Manual
Tcp/ip interface module
Hide thumbs
Also See for TLS-350:
- User manual ,
- System setup manual (227 pages) ,
- Troubleshooting manual (56 pages)
Table of Contents
Advertisement
Advertisement
Table of Contents

Related Manuals for Veeder-Root TLS-350


Summary of Contents for Veeder-Root TLS-350
- Page 1 Manual No: 577013-776 Revision: F TCP/IP Interface Module Installation Guide...
- Page 2 Notice Veeder-Root makes no warranty of any kind with regard to this publication, including, but not limited to, the implied warranties of merchantability and fitness for a particular purpose. Veeder-Root shall not be liable for errors contained herein or for incidental or consequential damages in connection with the furnishing, performance, or use of this publication.
-
Page 3: Table Of Contents
Figure 4. TLS-350/ProMax Series console battery backup switch location ...6 Figure 5. TLS-350/ProMax Series TCP/IP module installation ......7 Figure 6. Installing TCP/IP Module in TLS-350/ProMax Comm Bay Slot 4 ...8 Figure 7. Network connection ................10 Figure 8. Locating network connection/activity LEDs ..........10... - Page 4 Table of Contents Tables Table 1. Comm Setup Selections - S-SAT board type & V15 - V20 console software ..............9 Table 2. Comm Setup Selections - S-SAT board type & V21 & later console software ..............9 Table 3. Network Connection/Activity LED Codes (ref. view in Figure 8) .....10 Table 4.
-
Page 5: General
TLS-3xx Technician Certification: Contractors holding valid TLS-350 Technician Certifications are approved to perform installation checkout, startup, programming and operations training, troubleshooting and servicing for all Veeder-Root TLS-300 or TLS-350 Series Tank Monitoring Systems, including Line Leak Detection and associated accessories. -
Page 6: Related Manuals
Introduction Related Manuals Related Manuals 576013-623 TLS-3XX/ProPlus/ProMax Series System Setup manual 576013-879 TLS-3XX/ProPlus/ProMax Series consoles Site Prep and Installation Guide Safety Precautions The following safety symbols are used throughout this manual to alert you to important safety hazards and precautions EXPLOSIVE ELECTRICITY Fuels and their vapors are extremely explosive if... -
Page 7: Tcp/Ip Interface Module Installation
1. Verifying the module’s configuration (Complete the checklist in Appendix A at this time), 2. Installing the module in the TLS-300 console (page 4) or the TLS-350 console (page 6), 3. Performing setup of the module in the TLS (page 8), and 4. -
Page 8: Installing The Tcp/Ip Interface Module In The Console
1. End plate for TLS-300/ProPlus console TCP/IP module. 2. RJ-45 Connector (typical both end plates) 3. Reset button access (typical both plates) 4. End plate for TLS-350/ProMax console TCP/IP module 5. Network connection/activity LEDs (typical both end plates) 6. J1 Connector J2 Jumper - Interrupt 8. -
Page 9: Figure 2. Tls-300/Proplus Console Battery Backup Switch Location
TCP/IP Interface Module Installation Installing the TCP/IP Interface Module in the Console Legend for numbered boxes in Figure 2 1. Battery backup switch (S1) shown in ‘On’ position (to left) 2. Remove knockout blank to install TCP/IP module. 3. Connector for TCP/IP module Figure 2. -
Page 10: Tls-350/Promax Series Consoles
1. Open the left door of the console. Verify that the battery backup switch (SW1) is in the ‘On’ position (see Figure 4), then turn off power to the console. Legend for numbered box in Figure 4 1. Battery backup switch (S1) shown in ‘On’ position (up). Figure 4. TLS-350/ProMax Series console battery backup switch location... -
Page 11: Figure 5. Tls-350/Promax Series Tcp/Ip Module Installation
4. 24-pin board connector on TCP/IP module Figure 5. TLS-350/ProMax Series TCP/IP module installation 3. Installing the TCP/IP module in slot 4 (Alternate Location) If slots 1 - 3 are in use, or if you want to free up slots 1 - 3 for other modules, the TCP/IP module can be in- stalled in slot 4. -
Page 12: Tls Console Setup Of The Tcp/Ip Interface Module
(P/N 330020-425) 5. J6 on ECPU board Figure 6. Installing TCP/IP Module in TLS-350/ProMax Comm Bay Slot 4 TLS Console Setup of the TCP/IP Interface Module 1. Close and secure the console front door. Restore power to the console. -
Page 13: Connect A Pc Or Laptop To The Tcp/Ip Interface Module
If necessary, press the TANK/SENSOR key until you see the message above, where X = the slot number in which you installed the TCP/IP Interface Module, and Type = S-SAT. For TLS-350/ProMax consoles only - if the TCP/IP module was installed in slot 4 of the Comm Bay card cage, the displayed slot number (X) will be 5. -
Page 14: Connecting To The Tcp/Ip Interface Module Over A Network
TCP/IP Interface Module Installation Connect a PC or Laptop to the TCP/IP Interface Module CONNECTING TO THE TCP/IP INTERFACE MODULE OVER A NETWORK 1. Connect the desktop or laptop to the TCP/IP Interface Module as shown in Figure 7. Insert the RJ-45 plug of the network CAT 5 cable into the RJ-45 connector in the end plate of the TCP/IP module. -
Page 15: Connecting To The Tcp/Ip Interface Module Directly
TCP/IP Interface Module Installation Connect a PC or Laptop to the TCP/IP Interface Module Table 3. Network Connection/Activity LED Codes (ref. view in Figure 8) Left LED Right LED Meaning Blinking green 100Base-T full-duplex; activity Solid amber 10Base-T half-duplex link Blinking amber 10Base-T half-duplex;... -
Page 16: Figure 10. Network Screen
TCP/IP Interface Module Installation Connect a PC or Laptop to the TCP/IP Interface Module Figure 10. Network Screen 2. Select Network and Sharing Center (Figure 11): Figure 11. Select Network and Sharing Center 3. Select Local Area Connection (Figure 12): Windows 10 computers display Ethernet instead of Local Area Connection Figure 12. -
Page 17: Figure 13. Select Properties
TCP/IP Interface Module Installation Connect a PC or Laptop to the TCP/IP Interface Module 4. Select Properties (Figure 13): Figure 13. Select Properties 5. Select Internet Protocol Version 4 (TCP/IPv4): (Figure 14). Figure 14. Select Internet Protocol Version 4 (TCP/IPv4) -
Page 18: Figure 15. Ip Address/Subnet Mask Entry Example
TCP/IP Interface Module Installation Connect a PC or Laptop to the TCP/IP Interface Module 6. Click the Use the following IP Address radio button and enter an IP Address and Subnet. Use an IP address that is one digit off from the customer supplied IP Address that will be assigned to the console’s TCP/IP Interface Module. -
Page 19: Tcp/Ip Module Ip Address/Configuration Using Telnet
TCP/IP Module IP Address/Configuration Using Telnet Overview Telnet and ARP are utilities available in Windows operating systems and are used in the TCP/IP addressing procedure: Telnet - Telnet is a terminal emulation program for TCP/IP networks such as the Internet. The Telnet program runs on your computer and connects your PC to a server on the network. -
Page 20: Entering The Tcp/Ip Interface Module's Ip Address
TCP/IP Module IP Address/Configuration Using Telnet Entering the TCP/IP Interface Module’s IP Address Entering the TCP/IP Interface Module’s IP Address 1. On new computers, Telnet must be manually turned before the TCP/IP Interface Module can be configured. If Telnet has already been activated, continued to step 2. a.Go to your laptop’s Control Panel folder and select Programs: ... - Page 21 TCP/IP Module IP Address/Configuration Using Telnet Entering the TCP/IP Interface Module’s IP Address c.The Windows Features screen will appear. Once it has completed loading, scroll down and check of the box for Telnet Client, then select OK: With the PC connected to the TCP/IP Interface Module as discussed in the previous secton, perform the steps below.
-
Page 22: Figure 16. Telnet Menu Screen
TCP/IP Module IP Address/Configuration Using Telnet Entering the TCP/IP Interface Module’s IP Address Connecting to y.y.y.y...could not open a connection to host on port 1. Con- nect failed or could not open connection to Y.Y.Y.Y. 3. At the DOS command prompt type: telnet y.y.y.y 9999 Press Enter as soon as the Telnet screen appears, press Enter again (NOTE: Telnet screen will timeout if you do not press Enter within approximately 4 seconds after the Telnet screen appears). -
Page 23: Table 4. Telnet Setup Menu Settings (Consoles With V15 - 20 Software)
TCP/IP Module IP Address/Configuration Using Telnet Entering the TCP/IP Interface Module’s IP Address Table 4. Telnet Setup Menu Settings (Consoles with V15 - 20 Software) Menu Selection Setting BASIC PARAMETERS - to access, select Change Setup option 0, press Enter IP Address (of console) (get from your network administrator) Gateway... -
Page 24: Table 5. Netmasks / # Bits For Host Part
TCP/IP Module IP Address/Configuration Using Telnet Entering the TCP/IP Interface Module’s IP Address Table 5. Netmasks / # Bits for Host Part Netmask Host Bits 255.255.255.254 Do Not Use 255.255.255.252 Not Recommended 255.255.255.248 255.255.255.240 255.255.255.224 255.255.255.192 255.255.255.128 255.255.255.0 255.255.254.0 255.255.252.0 255.255.248.0 255.255.240.0 255.255.224.0... -
Page 25: Table 6. Telnet Setup Menu Settings (Consoles With V21 & Later Software)
TCP/IP Module IP Address/Configuration Using Telnet Entering the TCP/IP Interface Module’s IP Address Table 6. Telnet Setup Menu Settings (Consoles with V21 and Later Software) Menu Selection Setting BASIC PARAMETERS - to access, select Change Setup option 0, press Enter IP Address (of console) (get from your network administrator) Gateway... -
Page 26: After Network Setup Of The Tcp/Ip Module
TCP/IP Module IP Address/Configuration Using Telnet Entering the TCP/IP Interface Module’s IP Address After saving your Telnet menu setup settings for the TCP/IP Interface Module, the module can be tested to confirm communication is working. 1. At the DOS command prompt type: Telnet y.y.y.y 10001 (where y.y.y.y is the IP address of the TCP/IP Interface Module and 10001 is the port number. -
Page 27: Appendix A - Tcp/Ip Configuration Check List
Appendix A - TCP/IP Configuration Check List These checklists are intended to be used in conjunction with the instructions in the TCP/IP Installation manual and with relevant setup instructions in the TLS-3XX System Setup manual. TCP/IP Card IP Address/Configuration Check List ... -
Page 28: Tcp/Ip Tls Setup Check List
Appendix A - TCP/IP Configuration Check List TCP/IP TLS Setup Check List TCP/IP TLS Setup Check List 1. Verify that the TLS Communication settings agree with those of the TCP/IP card (e.g., 9600 bps, None parity, 8 data length, 1 stop bit). Note: Reference TLS-3XX System Setup manual (Communication Setup) for details.
Need help?
Do you have a question about the TLS-350 and is the answer not in the manual?
Questions and answers