Advertisement
Assembly Instructions
Assembly Instructions
Before you begin, read and comply with all safety and operating instructions,
and ensure all parts and correct quantities are included.
Any parts damaged during shipment must be reported within 5 days of receipt. To
report information regarding missing parts or damage, to purchase parts or acces-
sories, or if you have any questions, please contact us.
www.spectrumfurniture.com
800-235-1262, 715-723-6750
Thank you for purchasing Spectrum products!
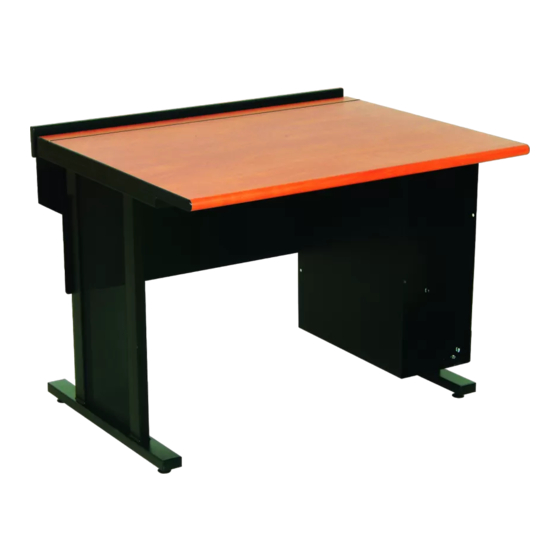
(1) Worksurface
(2) Leg
026011
1/4-20 x 2" FHMS
(2) 36", (3) 60", 72"
026064 (black)
1/4-20 x 5/8" PHMS
(10) 36", (12) 60", 72"
1
Attach Chair Rail bracket (60" & 72" desks only)
1. Place the worksurface face-down onto a non-abrasive surface.
2. Orient and attach the chair rail bracket to the center of the worksurface
as shown in Figure 1 with (2) 1/4-20 x 5/8" PHM screws.
(for 60", and 72" desks only)
Important
(1) Chair rail
(1) Cord channel /
Modesty panel
(4) 037779
5/16-18 x 1" Glide
(1) 025069
Glide wrench
(2) 052463
Unit-to-unit bracket
(1) 057922
Chair rail bracket #1
(1) 057890
Chair rail bracket #2
(3) 043771
1/4-20 x 2" FHMS
Evolution Desk 24"D
Evolution Desk 24"D
38912ADJ - 36"W
38912ADJ - 36"W
38915ADJ - 60"W
38915ADJ - 60"W
38916ADJ - 72"W
38916ADJ - 72"W
X2
Assembly tip: Do not tighten component
fasteners completely until all have been
installed. Keeping them loose will help with
alignment between parts during assembly.
Chair rail bracket #1
Chair rail bracket #2
Flip-top
(2) 1/4-20 x 5/8" PHMS
(for threaded inserts)
or
(2) #14 x 7/8" PHSM
(for pilot holes)
Worksurface
Figure 1
057859R10 Page 1 of 5
Advertisement
Table of Contents

Related Manuals for Spectrum Industries 38912ADJ


Summary of Contents for Spectrum Industries 38912ADJ
- Page 1 800-235-1262, 715-723-6750 Thank you for purchasing Spectrum products! (1) Worksurface (1) Chair rail Evolution Desk 24”D Evolution Desk 24”D 38912ADJ - 36”W 38912ADJ - 36”W 38915ADJ - 60”W 38915ADJ - 60”W 38916ADJ - 72”W 38916ADJ - 72”W (2) Leg...
- Page 2 Attach legs to worksurface Note: There are two types of Evolution legs-the newer style one-piece upper leg, and the original welded tube upper leg. Fasteners are provided for both types (included in leg box). Be sure to use the screws shown below with the corresponding leg. (4) 026064 (4) 041289 1/4-20 x 5/8”...
- Page 3 Install cord channel / modesty panel and glides 1. Orient the modesty panel/cord channel as shown and attach to the legs with (4) 1/4-20 x 5/8” PHM screws. Figure 3.1. Note: If you are assembling a 60, or 72” desk, slide the cord channel over the chair rail bracket.
- Page 4 Attach chair rail 1. Carefully stand the desk upright-this will require at least two people. 2. Attach the chair rail with (2) 1/4-20 x 2” FHM screws as shown. Figure 4.1, 4.2. The chair rail should extend above the worksurface, and the countersunk holes should be on the outside.
- Page 5 For a listing of all product specifi c warranty terms please visit our website at: https://www.spectrumfurniture.com/en/resources/purchasing-terms-warranty 1-800-235-1262 Toll-free HELPLINE spectrum@spectrumfurniture.com 1500 RIVER STREET, PO BOX 400, CHIPPEWA FALLS, WI 54729 / 800-235-1262 / 715-723-6750 / WWW.SPECTRUMFURNITURE.COM © 2021 Spectrum Industries Inc., All rights reserved. 057859R10 Page 5 of 5...
Need help?
Do you have a question about the 38912ADJ and is the answer not in the manual?
Questions and answers