Table of Contents
Advertisement
Quick Links
Attention!
SAFETY INFORMATION, INSTALLATION, CARE AND MAINTENANCE
INSTRUCTIONS. READ PRIOR TO ASSEMBLING AND USING THE PRODUCT.
Vuly cares about safety. Adult supervision is required at all times whilst
equipment is in use.
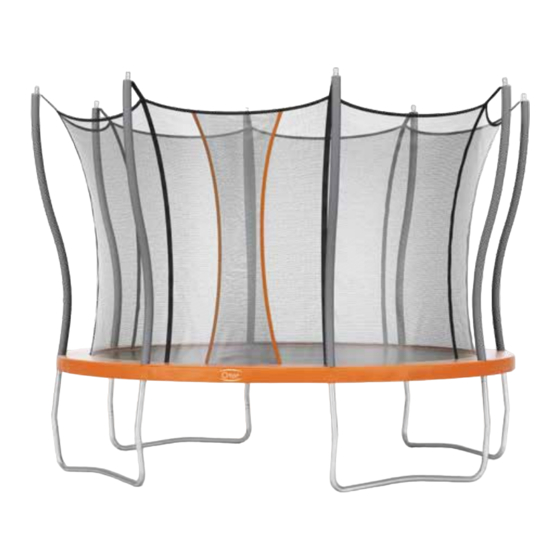
Flare
MANUAL
™
Visit
www.vulyplay.com/install
for step by step video instructions,
or scan this QR code:
Advertisement
Table of Contents

Related Manuals for Vuly Flare


Summary of Contents for Vuly Flare
- Page 1 QR code: SAFETY INFORMATION, INSTALLATION, CARE AND MAINTENANCE INSTRUCTIONS. READ PRIOR TO ASSEMBLING AND USING THE PRODUCT. Vuly cares about safety. Adult supervision is required at all times whilst equipment is in use.
-
Page 3: Table Of Contents
Contents Read and follow all instructions in this manual before Responsibility rests with the owner and supervisors of using your trampoline, and do not use the trampoline in the trampoline to make sure that all users are aware of any way that is not described in this manual. the practices specified in this manual. -
Page 4: Disclaimer
The following Conditions of Sale will apply to, and bind the Vuly, its employees, directors and agents are not liable to purchaser of, any Vuly Trampolines Pty. Ltd. ABN: 91 160 793 the customer, their dependents or legal representatives 706 product. -
Page 5: Care And Maintenance
• Wipe dry with an absorbent cloth any water left after rain, cleaning or use of the Vuly Mister accessory. The Jump Record your date of purchase here: Mat may discolour or form spots, if left to dry in the sun. -
Page 6: Inspection Checklist
Improper use of, or behaviour on, your trampoline can lead to serious injury. Please follow these usage and behaviour If you discover any safety issues, do not use the trampoline. instructions to ensure safe play. Contact Vuly to order and replace any parts. 3.1. Safe use information Frame •... -
Page 7: Basic Trampolining Instructions
3.3. Basic trampolining instructions This trampoline is a domestic trampoline, not a gymnastics trampoline. You will get the safest and best use from it by following these basic principles: • Do not attempt or allow somersaults on the trampoline. Landing on your head or neck while doing somersaults can cause serious injury, paralysis or even death. -
Page 9: Installation
4.0. Installation 4.1. Location planning • Do not burry the trampoline into the ground. • Place the trampoline on a flat, level surface with impact attenuating properties – such as grass. • Ensure that the trampoline is sufficiently stable, to prevent the trampoline from tipping over or blowing away. -
Page 10: Parts Checklist
Lower Net Poles Curved Poles Straight Poles T-Joiner W-Pole Safety Pad Spring tool 4.3. Assembly instructions – Vuly Flare PRE-ASSEMBLY REMEMBER: WEAR THE VULY • Find level ground, and make sure that there are no GLOVES AT ALL TIMES WHEN obstructions nearby. - Page 11 (This will keep the frame locked together due to the tension from the jump mat) C. The Batch Tag line up with one of the joiners and the bottom of Vuly Logo should face the center of two joiners. STEP Lay out the Straight Poles, found in Box B, and your W-Poles, found in Box A as seen in the diagram.
- Page 12 Attach the W-Poles into the Straight Poles and click the Push-Buttons into the holes at the bottom of your Curved Poles to complete your Flare frame. Safety Net STEP A. Layout the Safety Net (found in Box C) on top of the jump mat.
- Page 13 STEP A. Remove the Springs on either side of the Joiner where your Batch Tags are. B. Attach these D-Shackles through the eyelets of the net on both sides of the Batch Tag. C. Re-attach the Springs. D. Repeat for each Spring and D-shackle to the left and right of every T-Joiner. STEP Walk around your trampoline and attach all of your D-Shackles through the eyelets in the Safety net.
- Page 14 Place the Safety Padding (found in Box A) over the trampoline frame and line this up so that the Vuly logo is in line with the entrance in the netting and the holes in your T-Joiners are visible through the openings in the Safety Padding.
- Page 15 Lower Net Poles (they are fully inserted) WARNING: Make sure that all push buttons are locked and secured before using your trampoline. Bouncing on a trampoline with push buttons that are not locked will cause damage and injury. CONGRATULATIONS! You have assembled your Flare trampoline.
-
Page 16: Product Registration
Vuly. and materials (“warranty”). Customers who purchase directly from Vuly (through VulyPlay. com, at the Vuly Showroom or over the phone) automatically 7.1. Warranty periods have their product registered. Warranty periods do not reset for any reason, unless the customer purchases a new product. -
Page 17: Warranty Claims
Warranty Claim will not be assessed. 7.3.4. Damage through insufficient care or maintenance Vuly may take up to 7 days to process Warranty Claims upon This warranty does not extend to accelerated decay of the a completed submission. It may take a further 7 days for product caused by poor care or maintenance. -
Page 18: Australian Consumer Law
Products sold alongside Vuly that are not Vuly-branded are subject to the warranties provided by the companies that supply them. The customer must contact these external companies to make a warranty claim; Vuly will not assess claims made against non-Vuly products. 7.5. Australian Consumer Law Our Goods come with guarantees that cannot be excluded under the Australian Consumer Law. - Page 20 Vuly warranty policies, terms and conditions.
Need help?
Do you have a question about the Flare and is the answer not in the manual?
Questions and answers