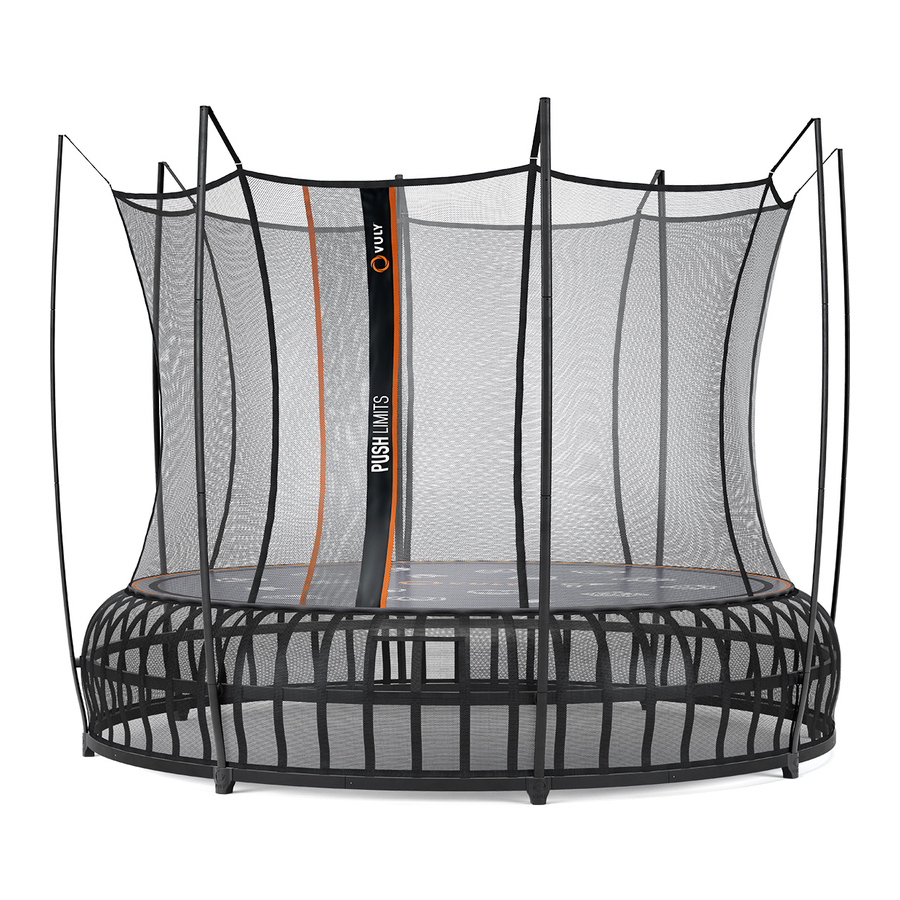
Summary of Contents for Vuly Thunder Pro
- Page 1 Thunder Pro Distributed by Escalade Sports MANUAL WARNING Read these materials prior to assembling and using this trampoline.
-
Page 3: Table Of Contents
Contents Read and follow all instructions in this manual before Responsibility rests with the owner and supervisors of using your trampoline, and do not use the trampoline in the trampoline to make sure that all users are aware of any way that is not described in this manual. the practices specified in this manual. -
Page 4: Disclaimer
The following Conditions of Sale will apply to, and bind the Vuly, its employees, directors and agents are not liable to purchaser of, any Vuly Trampolines Pty. Ltd. ABN: 91 160 793 the customer, their dependents or legal representatives 706 product. -
Page 5: Care And Maintenance
– Sections where steel components join together. • Move the trampoline short distances using the official Vuly • Inspect the inside of all Frame Tubes and Net Poles every Wheels accessory for your trampoline model. Remove 6 months –... -
Page 6: Inspection Checklist
Improper use of, or behavior on, your trampoline can lead to serious injury. Please follow these usage and behavior If you discover any safety issues, do not use the trampoline. instructions to ensure safe play. Contact Vuly to order and replace any parts. 3.1. WARNING Frame •... -
Page 7: Basic Trampolining Instructions
3.3. Fundamental skills • Do not intentionally rebound off the barrier. User: Start by getting comfortable with bouncing. Perform • Do not hang from, kick, cut or climb on the barrier. small jumps until your confidence and coordination improve. • Bounce only when the surface of the bed is dry. - Page 8 Arm Actions Arms are also important for proper lift and control. Whenever you’re in the air, your arms should be too. Raise them as you jump – to about shoulder height and width. Keep this position until you start falling, then lower your arms to slightly behind the hips.
-
Page 9: Installation
4.0. Installation 4.1. Location planning WARNING: • Do not burry the trampoline into the ground. • Place the trampoline on a flat, level surface with impact attenuating properties – such as grass. • Ensure that the trampoline is sufficiently stable, to prevent the trampoline from tipping over or blowing away. -
Page 10: Assembly Instructions
(6xA, 6xB) (8xA, 8xB) (10xA, 10xB) Jump Mat Frame Reinforcements Spring tool 5.3. Assembly instructions – Vuly Thunder Pro PRE-ASSEMBLY REMEMBER: WEAR THE VULY • Find level ground, and make sure that there are no GLOVES AT ALL TIMES WHEN obstructions nearby. - Page 11 Frame STEP A. Connect each Lower Frame Tube A to a Lower Frame Tube B. Lower Frame Tubes are those with Leaf Spring holes. B. Connect each Upper Frame Tube A to an Upper Frame Tube B. Ensure that the push buttons lock these components together.
- Page 12 Note: The entrance will be between the two Joiner Poles to the right of the Batch Tag. Rotate your Mat to the desired position, but always ensure that the Batch Tag lines up with a Joiner Pole. The Vuly logo should be centred between two Joiner Poles.
- Page 13 STEP A. Connect the Leaf Spring that is to the right of a Joiner Pole into the mat connector that is to the right of the Batch Tag. B. Go to the other side of the frame and connect the Leaf Spring that is to the right of the opposite Joiner Pole to its corresponding mat connector.
- Page 14 STEP Take your Frame Reinforcements and prop them over the Leaf Spring hole at the centre of each Frame section, so that each supports each Upper Frame Tube. Insert Leaf Springs through the holes in the Frame Reinforcements and into the Leaf Spring holes.
- Page 15 Fasten the Velcro straps together around the Lower Frame Tube at the left and right of each Joiner Pole. WARNING: Make sure that all push buttons are locked and secured before using your trampoline. Bouncing on a trampoline with push buttons that are not locked will cause damage and injury. CONGRATULATIONS! You have assembled your Thunder Pro trampoline.
-
Page 17: Warranty
This warranty does not extend to any failure of the product Warranty periods do not reset for any reason, unless caused by installation not in accordance with the Vuly Manual. the customer purchases a new product. In this case, that Customers must assemble their Vuly product by following particular item will be covered by its own warranty period. -
Page 18: Warranty Claims
6.0. Missing parts 5.4. Warranty Claims If a customer believes that a Vuly product is faulty or defective, they must discontinue use and submit a Warranty Claim. If a customer believes that a Vuly product does not include all necessary parts, they must immediately contact their A customer must not attempt to use a product if any part is local distributor. - Page 20 Vuly warranty policies, terms and conditions.


Need help?
Do you have a question about the Thunder Pro and is the answer not in the manual?
Questions and answers