
Subscribe to Our Youtube Channel
Related Manuals for ACME ASTRO LED-256D


Summary of Contents for ACME ASTRO LED-256D
- Page 1 LED-256D RGBW II Innovation, Quality, Performance User Manual Please read the instruc on carefully before use...
- Page 2 CONTENTS 1. Safety Instructions .................... 2 2. Technical Specifications ................... 3 3. How To Set The Unit .................... 4 3.1 Control Panel ..................... 4 Declaration of Conformity 4. How To Control The Unit .................. 5 We declare that our products (lighting equipments) comply with the following specification and bears CE mark in accordance with the 4.1 Master/Slave Built In Preprogrammed Function .......... 5 provision of the Electromagnetic Compatibility (EMC) Directive 89/336/EEC. 4.2 CA‐8 Easy Controller .................. 6 EN55103‐1: 2009 ; EN55103‐2: 2009; EN62471: 2008; 4.3 DMX Controller .................... 6 EN61000‐3‐2: 2006 + A1:2009 + A2:2009; EN61000‐3‐3: 2008. 5. DMX 512 Configuration ................... 7 & Harmonized Standard 6. DMX 512 Connection .................... 8 EN 60598‐1:2008 + All:2009; EN 60598‐2‐17:1989 + A2:1991; 7. Troubleshooting ....................... 9 EN 62471:2008; EN 62493: 2010 Safety of household and similar electrical appliances 8. Fixture Cleaning ....................... 9 Part 1: General requirements ...
- Page 3 7. Troubleshooting 1. Safety Instructions Following are a few common problems that can occur during operation. Here are some Please read carefully the instructions which includ important information suggestions for easy troubleshooting: about the installation, usage and maintenance. WARNING A. The unit does not work, no light and the fan does not work Please keep this User Guide for future consultation. If you sell the unit to another user, be sure 1. Check the connection of power and main fuse. that they also receive this instruction booklet. Unpack and check carefully there is no transportation damage before using the unit. B. Not responding to DMX controller Before operating, ensure that the voltage and frequency of power supply match the power 1.
- Page 4 Installation: 6. DMX512 Connection The unit should be mounted via its screw holes on the bracket. Always ensure that the unit is firmly fixed to avoid vibration and slipping while operating. Make sure that the structure to which you are attaching the unit is secure and is able to support a weight of 10 times of the unit’s weight. ...
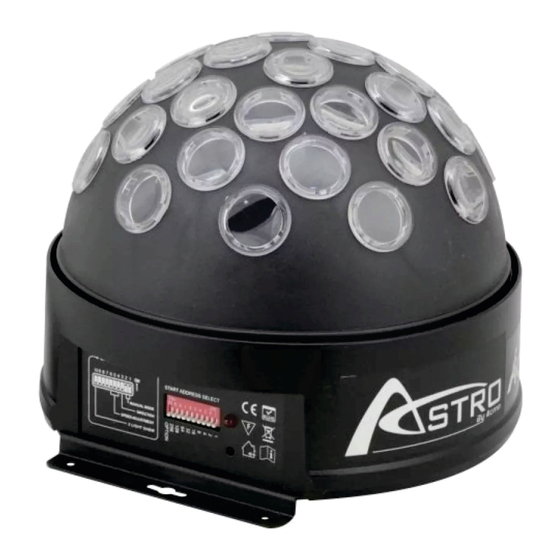
- Page 5 3‐CH mode: (Dip switch 10 OFF) Channel 1: dip / on: #1 (=1) Channel 4: dip / on: #3 (=4) Channel 7: dip / on: #1, #2, #3 (1+2+4=7) Channel 10: dip / on: #2, #4 (2+8=10) 5. DMX 512 Configuration 1/3 Channels Mode: 3. How To Set The Unit 3.1 Control Panel 1. DMX IN: DMX 512 link, use a 3‐pin XLR cable to link the unit to the DMX controller; 2. DMX OUT: DMX 512 link, use a 3‐pin XLR cable to link to the next unit; 3. ONLY FOR REMOTE CONTROL: Connects with the optional CA‐8 to control the unit; 4. MICROPHONE: Receives music signals for sound active mode;...
- Page 6 5. MAINS IN: 4.2 CA‐8 Easy Controller Connects to power supply. 6. FUSE (T 2A): Protects the unit from over‐voltage or short circuit The CA‐8 remote control is used only in master/slave mode. By connecting to the 1/4” jack socket to the first unit you will find that the remote control will control all the other units for Stand by, Function and Mode selection. 4. How To Control The Unit You can operate the unit in three ways: Stand by Blackout the unit 1. Master/slave built‐in preprogram function 1. Synchronous Strobe Rotation Speed 2. Easy controller (optional CA‐8) Function 2. Two light Strobe 1‐8 3. Universal DMX controller 3. Sound Strobe Mode Strobe (LED OFF) Rotation (LED ON) 4.1 Master/Slave Built In Preprogrammed Function The unit can be linked together in a daisy chain with as many units as you need in master/slave 4.3 DMX Controller mode to perform great built‐in pre‐programmed lighting shows triggered by the music. When using a universal DMX controller to control the chain of units you have to set a DMX address ...
Need help?
Do you have a question about the ASTRO LED-256D and is the answer not in the manual?
Questions and answers