
Subscribe to Our Youtube Channel
Related Manuals for EcoQuest VOYAGER


Summary of Contents for EcoQuest VOYAGER
- Page 1 VOYAGER ANYWHERE, EVERYWHERE USER’S MANUAL Installa�on | Opera�on | Specifica�ons | Warranty CAUTION: Read manual carefully for proper procedures and opera�on.
-
Page 2: Table Of Contents
SPECIFICATIONS CONTENT Specifications ....2 • 12VDC or 110 240 VAC 50/60Hz Control Pad Layout ... . . 3 Operating Temperature: •... -
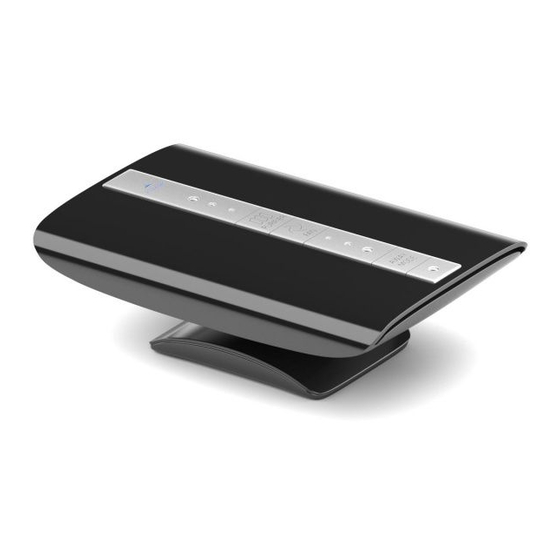
Page 3: Control Pad Layout
CONTROL PAD LAYOUT WARNING! - UV Lamp opera�on. Do not operate this unit unless the case is completely and correctly assembled. Failure to comply may result in serious eye damage. HIGH CAUTION! - Use O Boost in accordance with direc�ons found in this manual only. -
Page 4: Parts And Accessories
PARTS AND ACCESSORIES A. Voyager Air Purifier B. Rubber Pad C. 2.0 AMP FUSE D. AC ADAPTER E. 12VDC ADAPTER Fuse for 12VDC Adapter only OPERATION 1. Adjust the plas�c stand and set the unit on the rubber pad if preferred (see page 4). -
Page 5: Adjusting The Stand
ADJUSTING THE STAND Voyager stands well depending on the gear fi�ng loca�on of the base, when you upward or downward th e unit to any angle you wish (Stopped on the limit range of the base) THEN EFFECTS OF HIGH OR LOW VOLTAGES ON... -
Page 6: Power Adapters
POWER ADAPTERS Voyager comes with both a 12 volt DC car adapter and a 100 240 volt, 50/60 Hz AC adapter with interchangeable plugs. 12VDC Adapter Fuse To change the car adapter fuse, unscrew and remove the front of • Insert the car adapter into the adapter. -
Page 7: Disassembly
DISASSEMBLY (FOR MAINTENANCE AND PARTS REPLACEMENT) All user maintainable parts CAUTION: The unit must be disconnected from its the VOYAGER power source before servicing, and should not have accessed by removing the lower half of the case. the power reconnected unless the case is correctly and completely reassembled. -
Page 8: Cleaning
Purification Plate The top area of the Purification Plate can be cleaned with ammonia or alcohol and a cotton swab. Do not use water. Allow to dry thoroughly. Case Clean the exterior case of your Voyager with a soft cloth dampened (not wet) with water. Do not use harsh chemicals or solvents. -
Page 9: Limited 1 Year Warranty
LIMITED 1 YEAR WARRANTY We warrant the Voyager to the consumer, subject to the EXCEPT AS PROVIDED HEREIN, WE MAKE NO conditions below, against defects in workmanship or material, REPRESENTATION OR WARRANTY OF ANY KIND. ALL provided that the product is returned to a service location...
Need help?
Do you have a question about the VOYAGER and is the answer not in the manual?
Questions and answers