Sign In
Upload
Download
Table of Contents
Contents
Add to my manuals
Delete from my manuals
Share
URL of this page:
HTML Link:
Bookmark this page
Add
Manual will be automatically added to "My Manuals"
Print this page
×
Bookmark added
×
Added to my manuals
Manuals
Brands
PERMASTEEL Manuals
Grill
PG-4030400LG
Use & care manual
PERMASTEEL PG-4030400LG Use & Care Manual
Outdoor 3 burner gas grill
Hide thumbs
1
Table Of Contents
2
3
4
5
6
7
8
9
10
11
12
13
14
15
16
17
18
19
20
21
22
23
24
25
26
27
28
29
30
31
page
of
31
Go
/
31
Contents
Table of Contents
Troubleshooting
Bookmarks
Table of Contents
Table of Contents
Important Safety Information
Safety Symbols
Installation /Safety Precautions
Propane & Gas Warning
Exploded View
Parts List
Before Assembly
Hardware & Tools
Assembly Steps
Gas Connection
Leak Testing
Final Installation Check Lists
Lighting Instruction
Operating Instruction
Care & Maintain
Food Safety
Grill Storage
Trouble Shooting
Warranty
Advertisement
Quick Links
1
Exploded View
2
Parts List
Download this manual
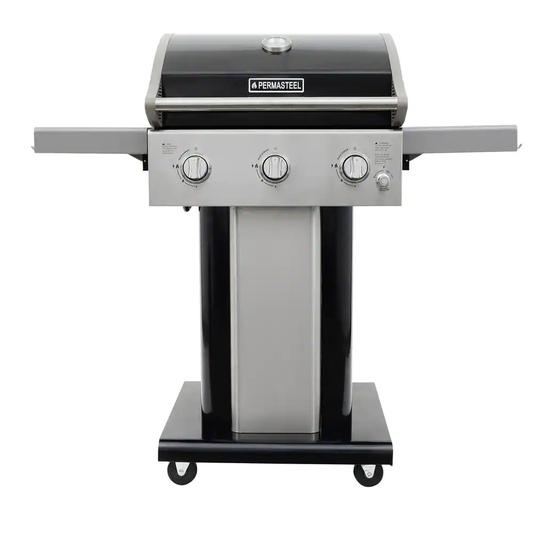
3 Burner
Burner Gas Grill
Use & Care Guide
MODEL NUMBER: PG-4030400LG
ITEM NUMBER: PG-40301-BK
PG-40301-MO
PG-40301-AZ
Outdoor
Outdoor
4030400LG
1
Grill
Table of
Contents
Previous
Page
Next
Page
1
2
3
4
5
Advertisement
Table of Contents
Need help?
Do you have a question about the PG-4030400LG and is the answer not in the manual?
Ask a question
Questions and answers
Related Manuals for PERMASTEEL PG-4030400LG
Grill PERMASTEEL PG-4030000L User Manual
Partial stainless steel gas bbq grill (19 pages)
Grill PERMASTEEL PG-40301-BK Use & Care Manual
Outdoor 3 burner gas grill (31 pages)
Grill PERMASTEEL PG-40400S0L User Manual
Partial stainless steel gas bbq grill (25 pages)
Grill PERMASTEEL PG-40400S0L User Manual
Permasteel pg-40400s0l partial stainless steel gas bbq grill (25 pages)
Grill PermaSteel PG-40402S0L User Manual
Partial stainless steel gas bbq grill (36 pages)
Grill Permasteel PG-50403SRL User Manual
Gas bbq grill (26 pages)
Grill PERMASTEEL PG-40612SOLE Manual
6b entertainment grill (88 pages)
Grill PERMASTEEL PG-40C10 Instruction Manual
Portable square charcoal grill (10 pages)
Grill PERMASTEEL PG-40C10 Use & Care Manual
Square portable charcoal grill (12 pages)
Grill PERMASTEEL PG-4021800L Use & Care Manual
Outdoor 2 burner gas grill (32 pages)
Grill PERMASTEEL PG-402301-BK Use & Care Manual
Outdoor 2 burner gas grill (32 pages)
Grill PERMASTEEL PG-40201-RD, PG-40201-CO Use & Care Manual
Outdoor 2 burner gas grill (39 pages)
Grill PERMASTEEL PG-40201-BC Use & Care Manual
Outdoor 2 burner gas grill (86 pages)
Grill PERMASTEEL Member's Mark PG-40606S0L User Manual
Gas bbq grill (39 pages)
Grill PERMASTEEL PG-40408S0L User Manual
Gas bbq grill (32 pages)
Grill PERMASTEEL PG-40402SOL User Manual
Partial stainless steel gas bbq grill (37 pages)
This manual is also suitable for:
Pg-40301-bk
Pg-40301-mo
Pg-40301-az
Table of Contents
Print
Rename the bookmark
Delete bookmark?
Delete from my manuals?
Login
Sign In
OR
Sign in with Facebook
Sign in with Google
Upload manual
Upload from disk
Upload from URL


Need help?
Do you have a question about the PG-4030400LG and is the answer not in the manual?
Questions and answers