
Subscribe to Our Youtube Channel
Related Manuals for WamBam VF13002


Summary of Contents for WamBam VF13002
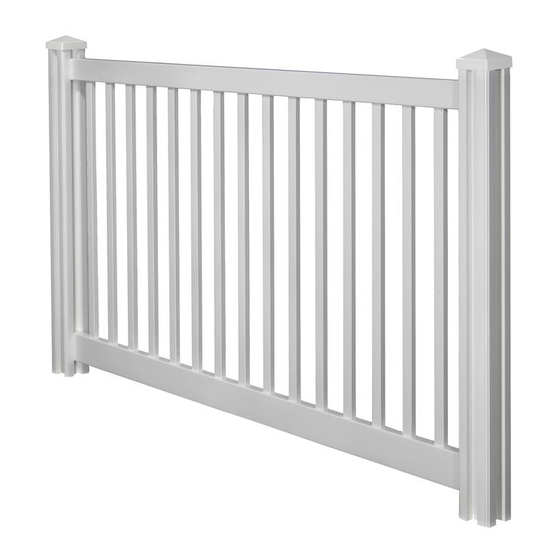
- Page 1 VF13002 ASSEMBLY INSTRUCTIONS YARD & POOL ASSEMBLY INSTRUCTIONS VINYL FENCE VF13002 (4’ H X 7’ W) 60 MIN Approximate assembly time Want to see a video on how to assemble this product? Scan the QR code WWW.WAMBAMFENCE.COM WWW.WAMBAMFENCE.COM VER. 030821...
- Page 2 VF13002 ASSEMBLY INSTRUCTIONS GENERAL IMPORTANT INFORMATION Check the inside of the larger pieces in your box for other materials packed inside. When assembling components, place on a non-abrasive surface (i.e. shipping box) to avoid scratching. We recommend an area approximately 5’x 8’ for unobstructed assembling.
- Page 3 VF13002 ASSEMBLY INSTRUCTIONS AVOID THESE PITFALLS! HAVE YOU CONTACTED You must call your local utilities before you start installing YOUR LOCAL UTILITIES? your fence to avoid puncturing any unseen underground utilities, especially electrical or gas lines. Fortunately, this is made easy for you.
- Page 4 VF13002 ASSEMBLY INSTRUCTIONS TOOLS AND MATERIALS YOU’LL NEED Safety Glasses 1ft. Torpedo Level 4ft. Level (optional String Line Level) 2in. x 2in. x 6in. Inch Wood “Spacer” Block (2 for each panel) Cordless Drill (preferably with a high-torque setting) Shovel...
- Page 5 VF13002 ASSEMBLY INSTRUCTIONS This fence can be trimmed down both in width and height to accommodate custom applications. Top View 4.5in. 4.5in. 3.5in. Screw 1.5in. 3.56in .5in. .5in 3.5in. 1.5in. 3.5in. 72in. 53in. 41.5in. .090in. Wall Thickness 1.5in. 4.5in. 2in.
- Page 6 VF13002 ASSEMBLY INSTRUCTIONS LAY OUT MATERIALS STEP 1: 1¼” Self-Drilling Stainless Steel Screw (4) Post Cap (1) Post (1) 4½” x 4½” x 72” Top Rail (1) 1½” x 3½” x 81½” Picket (15) Bottom Rail (1) 3½” Self-Drilling 7/8” x 11/2” x 45”...
- Page 7 VF13002 ASSEMBLY INSTRUCTIONS INSTALL POSTS STEP 2: STEP 2.1 STEP 2.2 Add approximately 18” of concrete to After stringing your fence line, dig the bottom of the hole. Then, install the your first post hole 10” diameter x Posts straight and level. Add more 36”...
- Page 8 VF13002 ASSEMBLY INSTRUCTIONS STEP 3.4 Drive (4) 1¼” Self-Drilling Stainless Steel Screws through the middle of the top rail/pickets and the upper cavity of the bottom rail as illustrated. ADJUST FENCE PANELS STEP 4: STEP 4.1 Adjust the height of the fence panels as necessary.
- Page 9 VF13002 ASSEMBLY INSTRUCTIONS SECURE RAILS TO POSTS STEP 5: STEP 5.1 Note: Note: Do not over-tighten the Position and drive the screws Drive a 3½” Self-Drilling Stain- 3½” self-drilling stainless steel along the edge of the rounded post less Steel Screw...
- Page 10 VF13002 ASSEMBLY INSTRUCTIONS INSTALL POST CAPS STEP 6: STEP 6.1 Put a small bead of vinyl glue or weld (purchased separately at a hardware store) along the inside of the Post Cap (A). Place the glued post cap on the post and allow it to set for 5-10 minutes.
- Page 11 VF13002 ASSEMBLY INSTRUCTIONS 6935 Reames Rd. Ste. K. Charlotte, NC 28216 hmmm@wambamfence.com 704-892-5222 877-778-5733 WWW.WAMBAMFENCE.COM WWW.WAMBAMFENCE.COM...
Need help?
Do you have a question about the VF13002 and is the answer not in the manual?
Questions and answers