Advertisement
Quick Links
Advertisement

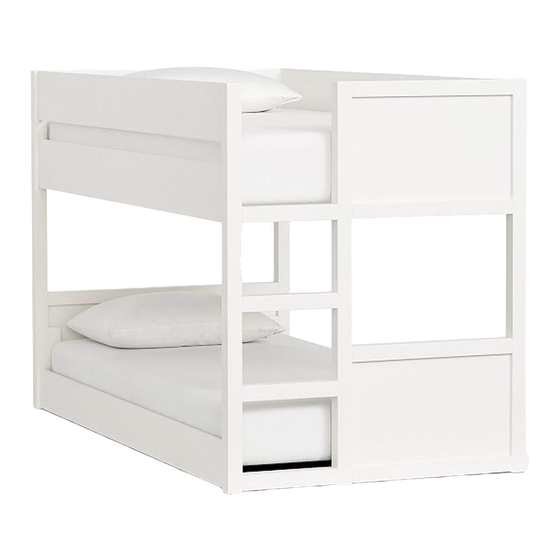
Summary of Contents for pottery barn kids LOW BUNK BED
- Page 1 LOW BUNK BED www.potterybarnkids.com Date: 2014-Nov.-18 Page 1 of 6 Rev:...
- Page 2 Before each usage or assembly, inspect bunk bed for damaged hardware, loose joints, missing parts or sharp edges. DO NOT use bunk bed if any parts are missing or broken. • DO NOT use substitute parts. Contact pottery barn kids for replacement parts and and instructional literature if needed. •...
-
Page 3: Parts Included
Important Safety Instructions: • Please read all instructions carefully before assembling. • For your safety, assembly by two or more adults is strongly recommended. • Keep instructions for future use. • Use only vendor supplied hardware to assemble. Using unauthorized hardware could jeopardize the structural integrity of the item. - Page 4 Assembly Instruction Steps: Assemble Front Gate Panel (A) and Back Panel (B) to (2x) Lower Side Rail (E) by aligning wooden dowels on the side rails to pre-drilled holes on the Front Gate Panel and Back Panel. Insert 8 sets of: Spring Washer (I), Flat Washer (J), Half-Moon Metal Block (K) and Bolt (H) onto the cut-outs on the 2 side rails and into the pre-installed metal inserts on the posts.
- Page 5 Repeat the same procedure in Step #3 to attach the other Upper Side Rail (D) to the assembled piece, as shown in the illustration below. (H) Bolt 4x (I) Spring Washer 4x (J) Flat Washer 4x (K) Half-Moon Metal Block 4x Attach (2x) Guardrail (C) to the assembled frame by aligning wooden dowels on the guardrails to pre-drilled holes on the Front Gate Panel and Back Panel.
- Page 6 Assemble Slat Rolls (F) to bed frames using Long Wood Screws (L). Tighten the screws with a Philips Screwdriver (not included) as shown in the illustration below. (L) Long Wood Screw 56x Check alignments and fully tighten all connections at this time. Assembly is now complete.


Need help?
Do you have a question about the LOW BUNK BED and is the answer not in the manual?
Questions and answers