Advertisement
Quick Links
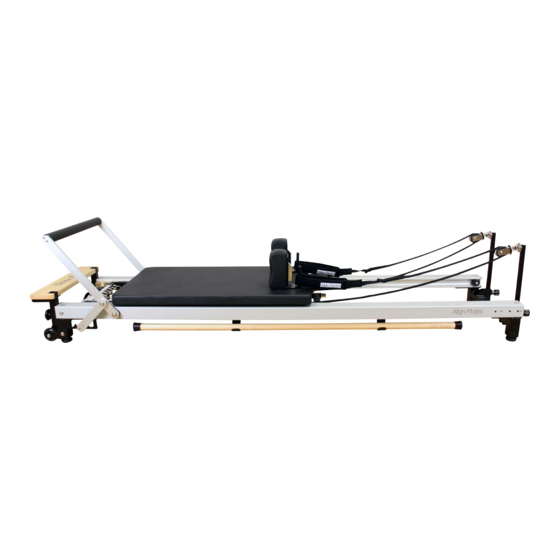
C2-Pro RC Reformer
Assembly Instructions
& User Manual
Note: To check for the latest version of this manual please visit https://align-pilates.com/pilates-equipment-resources/
assembly-user-guides/
For Patents & Patents Pending see www.Align-Pilates.com/Patents-&-IP
Advertisement

Related Manuals for Align-Pilates C2-Pro RC Reformer


Summary of Contents for Align-Pilates C2-Pro RC Reformer
- Page 1 C2-Pro RC Reformer Assembly Instructions & User Manual Note: To check for the latest version of this manual please visit https://align-pilates.com/pilates-equipment-resources/ assembly-user-guides/ For Patents & Patents Pending see www.Align-Pilates.com/Patents-&-IP...
- Page 2 • Anodized aluminium runners with self centering carriage design,with matched 4 wheel system for smooth and low maintenance operation • Align-Pilates ‘silent’ accessories, new patented Silent pulleys, metal free silent ropes with silent double loop handles and a silent foot strap for a quiet user experience • 3 position head rest...
- Page 3 2. Assembling the Foot Bar a) Carefully cut off the cable ties holding the foot bar in the folded position. b) With the aid of another person lift up the standing platform end of the reformer and swing the foot bar out from under the machine. c) Cut off the cable ties holding the chrome Gear bar (#26 - see exploded diagram on page 10) and position it in the 2nd slot away from the end of the reformer.
- Page 4 5. Insert the Reformer Carriage With the reformer back on the floor, firstly remove the 2 rubber carriage stoppers from the end of the runners (Fig. 7). Carefully remove the carriage bed from its packaging. Note: two of the wheels are on floating axles wheels which allow the carriage to self-center, aiding the smooth running of the reformer - be careful not to tip the carriage or these wheels can slide out (Fig 6).
- Page 5 8. Attaching the rope risers: Part screw in the 2 adjustment knobs and insert the riser (Fig.12 & 13), then pull back on the knob and slide the riser to the desired height. When happy with the height let go of the knob and twist to tighten and secure the riser in place (Fig.14).
- Page 6 10. Foot Strap installation: 1) Separate the strap in to 2 parts. Taking one half of the strap, thread the nylon loop through the eyelet on the reformer frame under the jump board (Fig. 21) 2) Now pass the foot strap through the loop and pull tight (Fig. 22) 3) Repeat this process for the other half of the strap (Fig.
- Page 7 18. Storing the reformer vertically. The C2-Pro RC reformer can be stood up for space saving storage, so long as it is fitted with leg extension or, with the freestanding legs (see point 4). Warning: The reformer should only be stood on resilient, level floors in locations where it cannot be accessed by children or risk being knocked over by other activities.
- Page 8 Some of the suggestions here require the removal of the carriage. This is simple, requires no tools and only takes a couple of minutes. The sequence is 1) Remove the rope risers 2) Slide out the T bar & place on the floor with the ris- ers.
- Page 9 Congratulations! You are now ready to use your C2-Pro RC Reformer. Now would be a good time to make a note to replace your springs in 2 years or, within 3,000 hours of use, whichever is sooner. We hope that you enjoy using your...
- Page 10 Exploded diagrams: Note: For larger images of the exploded diagrams and a detailed parts list please download from: https://www.mad-hq.com/align-pilates-resources...
-
Page 12: Warranty Information
Upholstery The upholstery fabric on Align-Pilates equipment will be replaced if it fails to give normal wear for 90 days from the date of delivery. Proof of damage may be required. This warranty does not cover cuts, scratches, burns, stains, soiling, or damages caused by unreasonable use such as wearing jewellery or inappropriate clothing whilst using the equipment.
Need help?
Do you have a question about the C2-Pro RC Reformer and is the answer not in the manual?
Questions and answers