Advertisement
Quick Links
A note about our
online installation instructions:
Most Modern Fan Co. products have been in our assortment for several
years or longer. As we continually work to improve product performance
and user experience, we occasionally introduce subtle (and sometimes
dynamic) product changes. These can affect the steps associated with
assembly and installation of our products depending on when a fan
was produced.
The instructions posted here are intended to represent our most current
product versions and configurations and the associated installation
steps. If your fan or parts of your fan do not appear to match what is
included here, please contact customer service for guidance and support
in identifying which version of a fan you may have and provision of the
associated installation instructions which correspond to that version.
If in doubt, or if you have any questions at all related to assembly,
installation or operation of your fan, please contact us!
709 Washington Street, Ashland, OR 97520
tel 888-588-3267, fax 541-482-8418
info@modernfan.com
modernfan.com
Advertisement

Subscribe to Our Youtube Channel
Related Manuals for Modern Fan Co IC/Air3 DC Series


Summary of Contents for Modern Fan Co IC/Air3 DC Series
- Page 1 A note about our online installation instructions: Most Modern Fan Co. products have been in our assortment for several years or longer. As we continually work to improve product performance and user experience, we occasionally introduce subtle (and sometimes dynamic) product changes. These can affect the steps associated with assembly and installation of our products depending on when a fan was produced.
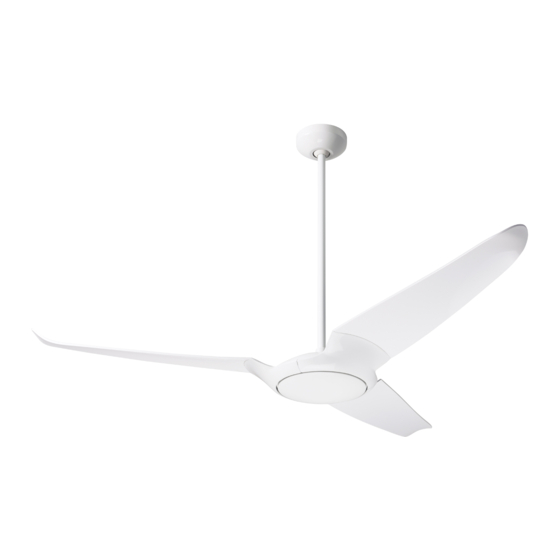
- Page 2 IC/Air3 DC Installation Instructions and Owners Manual Models: IC3–XX–XX–XX–XX(X)–XX Net Weight of Fan: 15.0 lbs (6.8 kgs) Please read and save these instructions. If you have any questions while installing your fan, call us first! Customer Service Monday–Friday, 8am–4pm (PST) tel 888-588-3267 Safety Instructions and Warnings ..2 Fan Installation ..........4...
- Page 3 ANSI/NFPA 70. If you are unfamiliar with wiring, use a qualified electrician. Use this unit only in the manner intended by the manufacturer. If you have any questions contact the Modern Fan Co at (888) 588-3267. Use only Modern Fan Co replacement parts. ...
- Page 4 Installation Preparation WARNING Fan Location Make sure the installation site you choose allows the fan blades to rotate without any obstruction. Allow a minimum clearance of 7 feet (2.1 meters) from the floor to the blades and 30 inches Minimum of (76 cm) from the wall to the 7 feet (2.1m) end of the blades.
- Page 5 Fan Installation Tools Needed A stepladder, phillips head screwdriver and a Instructions wire stripper Remove and identify contents of carton. bottom cap fan body light plate canopy blades hanging bracket hardware pack down rods control(s) screw balancing covers Optional Light Kit parts: LED board glass diffuser...
- Page 6 See Page 2 Circuit Breaker WARNING POWER OFF If your fan was ordered with the optional LED light kit, it may have been pre-installed for you. If not, continue with Step 2 here. If your fan was not ordered with the optional light kit, proceed to Step 3. Keep in mind, the optional LED can be ordered and added to your fan at a later date.
- Page 7 Fan Installation (continued) Remove down rod stopper screw from fan body and loosen collar hex screw with hex key (included in hardware pack). Remove half-ball from down rod by loosening set screw and removing stopper pin, setting aside for Step 5. Run lead wires from fan body through selected down rod and fit down rod into fan body collar, taking care not to pinch or damage wires.
- Page 8 Circuit Breaker See Pages 2-3 WARNING POWER OFF Identify control components from control package(s). In addition to a receiving unit, your fan may have been ordered with a wall control (transmitter), a handheld remote control (transmitter) or both. receiving unit receiving unit handset switch...
- Page 9 See Pages 2-3 Circuit Breaker Fan Installation WARNING POWER OFF (continued) Dimming Selector Switch The remote handset and wall control ship pre-set for “on/off” operation of the light. The LIGHT button will turn the light on and off when pressed and released. To enable dimming function on the remote handset, move the vertically oriented dip switch down from ON to 1 (or from X to D).
- Page 10 Align slotted openings in bottom cap (or glass diffuser if optional LED is installed) with small posts on underside of fan body. Push bottom cap (or glass shade) up and gently rotate into place. There is no need to forcefully over tighten bottom cap (or glass).
- Page 11 Fan Installation (continued) Fan Operation The ON/OFF switch on the bottom of your wall control (transmitter) terminates power to the fan. This switch must be in the “ON” position for your fan to receive commands and to operate. Alternatively, you may use an on/off toggle switch at the wall box in combination with a remote control handset (transmitter).
- Page 12 Fan Balancing The rotor and motor of your fan have been dynamically tested and balanced during manufacturing and production. In addition, the blades have been matched to the nearest gram to ensure well balanced operation. Furthermore, a blade balancing kit has been included with your fan. Please refer to the instructions packaged with the balancing kit should your fan require additional balancing.
- Page 13 Next, review the troubleshooting tips listed below. As stated in the warranty, Modern Fan Co. is not liable for costs incurred related to installation labor or equipment. Be sure to test all functions of your fan, and if need be, contact customer service while your contractor/electrician is still on site.
- Page 14 Fan makes repetitive ticking noise... • Check for obstructions in rotor path. • Make sure mounting hardware at ceiling is secure. • Make sure all other hardware and blade attachments are tight. • Give fan adequate “break in period” of several hours to several days then repeat steps above.
- Page 15 The Modern Fan Co. directly. • If a noise develops over time (clicking, ticking, humming or otherwise), refer to the troubleshooting section of this manual (pages 12-13).
- Page 16 Lifetime Limited Warranty All products manufactured and sold by The Modern Fan Co. meet the highest industry standards. We use only the finest materials and production processes resulting in quality ceiling fans backed by the following warranty: Motors (dry locations): .......................Lifetime Motors (damp locations): ....................
- Page 17 The Modern Fan Company, Inc. 709 Washington Street, Ashland, Oregon 97520 tel 888-588-3267, fax 541-482-8418 info@modernfan.com modernfan.com V2019/02...
Need help?
Do you have a question about the IC/Air3 DC Series and is the answer not in the manual?
Questions and answers