Advertisement
Quick Links
The instructions posted here are intended to represent our most current product versions and
configurations and the associated installation steps. If your fan or parts of your fan do not appear to
match what is included here, please contact customer service for guidance and support in
identifying which version of a fan you may have and provision of the associated installation
instructions which correspond to that version.
If in doubt, or if you have any questions at all related to assembly, installation or operation of your
fan, please contact us!
709 Washington Street • Ashland, OR 97520 • (tel) 888.588.3267 • (e) info@modernfan.com
A note about our online installation instructions:
Most Modern Fan Co. products have been in our assortment for several years
or longer. As we continually work to improve product performance and user
experience, we occasionally introduce subtle (and sometimes dynamic)
product changes. These can affect the steps associated with assembly and
installation of our products depending on when a fan was produced.
w w w . m o d e r n f a n . c o m
Advertisement

Related Manuals for Modern Fan Co Cirrus


Summary of Contents for Modern Fan Co Cirrus
- Page 1 A note about our online installation instructions: Most Modern Fan Co. products have been in our assortment for several years or longer. As we continually work to improve product performance and user experience, we occasionally introduce subtle (and sometimes dynamic) product changes.
- Page 2 Cirrus Fan- Installation instructions Should you have any questions or difficulty installing your new fan, please contact Modern Fan Co. customer service immediately. Note: Power supply must be turned off prior to any contact with electrical wires. It is recommended that a licensed electrician be hired to install your ceiling fan.
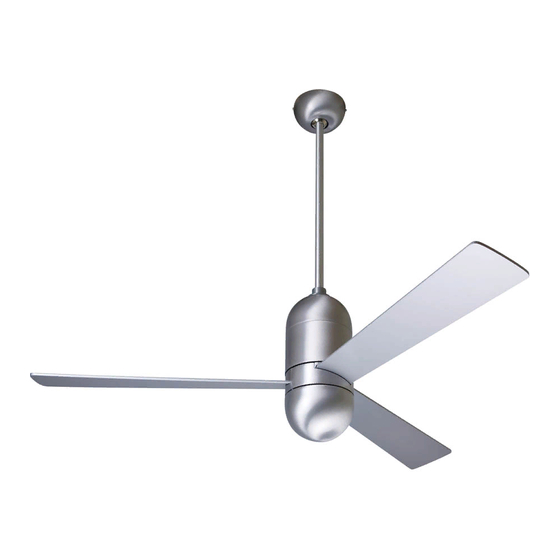
- Page 3 (3) The Cirrus fan ships in a 17” long configuration. If ceiling height allows, using a longer down rod will increase airflow and efficiency. If you would like to install a longer down rod, follow steps (a) through (d). Otherwise, proceed to step (4).
- Page 4 (7) Install bottom dome by rotating in the clock wise direction, or if using an optional light, skip this and proceed to step (8). (8) To install optional light kit, begin by identifying all parts. Then follow steps (a) through (e): ring lamp/bulb hardware...
- Page 5 (10) Install wall control as described in the control installation instructions (unless using handheld remote only). (11) The rotor and motor of your fan have been dynamically balanced at the factory. In addition, the blades have been matched to the nearest gram to ensure a well balanced ceiling fan.
- Page 6 Modern Fan Co. Control Options for AC motors and LED light kits When ordering your fan, you should have selected the control most appropriate for your fan and electrical requirements. Controls are intended for use with one fan (except #009A/009B as noted).
- Page 7 Installation Instructions: With power turned off at breaker, make wire connections from the fan to the power supply at the ceiling and from the control to power at wall box as shown in the wiring diagrams below. Note: For #009A or #009B, refer to printed instructions included in control box/packaging.
- Page 8 #003, #004 and #005 Receiving Unit Wiring Instructions: With fan suspended from ceiling and with power off at breaker box, make wire connections as shown below. The receiving unit sits in the ball hanging bracket of most models as pictured (a), or in the upper portion of the fan body in flush mount models (b).
- Page 9 Dimming Selector Switch (for #003, #004 and #005 only): The remote handset (#003/#005) and wall control (#004/#005) ship pre-set for “on/off” operation of the light. The LIGHT button will turn the light on and off when pressed and released. To enable dimming function on the remote handset, move the vertically oriented dip switch down from ON to 1 (or from X to D).
Need help?
Do you have a question about the Cirrus and is the answer not in the manual?
Questions and answers