Table of Contents
Advertisement
Quick Links
Advertisement
Table of Contents

Related Manuals for Timeguard PDSM1500


Summary of Contents for Timeguard PDSM1500
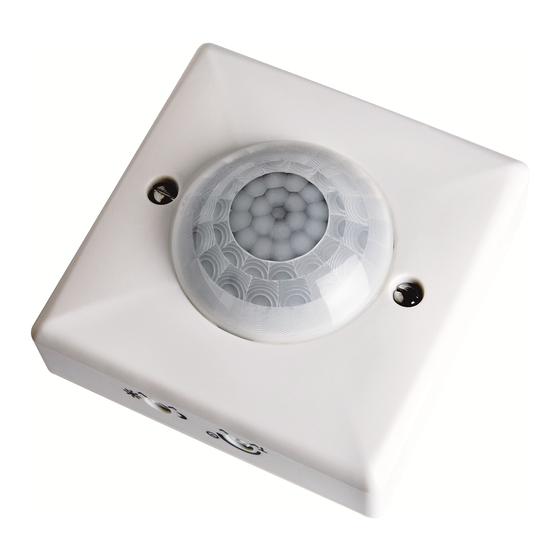
- Page 1 360° Surface Mount Ceiling PIR Light Controller Model: PDSM1500...
-
Page 2: General Information
1. General Information These instructions should be read carefully and retained for further reference and maintenance. 2. Safety • Before installation or maintenance, ensure the mains supply to the PIR sensor is switched off and the circuit supply fuses are removed or the circuit breaker turned off. -
Page 3: Selecting A Location
• Multiple PIR Sensor Switching: A maximum of 4 PDSM1500 PIR sensors can be wired in parallel, to enable any detector to turn ON all the lights connected (The total load must not exceed the lamp rating of a single PDSM1500 unit). -
Page 4: Installation
5. Installation • Ensure the mains supply is switched off and the circuit supply fuses are removed or the circuit breaker turned off. • An isolating switch should be installed to enable the power to be switched ON and OFF for maintenance purposes. •... -
Page 5: Connection Diagram
6. Connection Diagram • Connect cables to the terminal block as follows; 230V AC 50Hz MAINS SUPPLY LOAD ISOLATION SWITCH 230V AC 50Hz Mains Supply Load Live (Brown or Red) to L Switch Live (Brown or Red) to L1 Neutral (Blue or Black) to N Neutral (Blue or Black) to N... - Page 6 7. Setting Up Walk Test Procedure • Turn the power to the unit ON. The lamp will immediately illuminate as the unit goes through its “warm-up” period. After approximately 1 minute the lamp will extinguish. This indicates the unit is wired correctly and the unit is in Test Mode.
- Page 7 Setting Up for Automatic Operation • When walk tests are complete, the unit can be adjusted for automatic operation. • The TIME setting controls how long the unit remains illuminated following activation & after all motion ceases. • Use a thin flat blade screwdriver to make adjustments. •...
-
Page 8: Troubleshooting
8. Troubleshooting Problem Solution • The lamp stays Cover PIR lens with a thick cloth. If the light turns out, ON all the time check detection area for heat or reflective source. at night. If the light stays ON, check wiring (See section 6. Connection Diagram). - Page 9 • The PIR sensor will The level of ambient light in the area may be too bright not operate at night to allow operation at the current DUSK setting. During the hours of darkness, adjust the DUSK control slowly clockwise until the lamp illuminates (See section 7.
-
Page 10: Year Guarantee
020 8450 0515. Note: A proof of purchase is required in all cases. For all eligible replacements (where agreed by Timeguard) the customer is responsible for all shipping/ postage charges outside of the UK. All shipping costs are to be paid in... - Page 12 If you experience problems, do not immediately return the unit to the store. Telephone the Timeguard Customer Helpline; HELPLINE 020 8450 0515 or email helpline @ timeguard.com Qualified Customer Support Co-ordinators will be on-line to assist in resolving your query.
Need help?
Do you have a question about the PDSM1500 and is the answer not in the manual?
Questions and answers