
Subscribe to Our Youtube Channel
Related Manuals for Antra AH6-330 Series


Summary of Contents for Antra AH6-330 Series
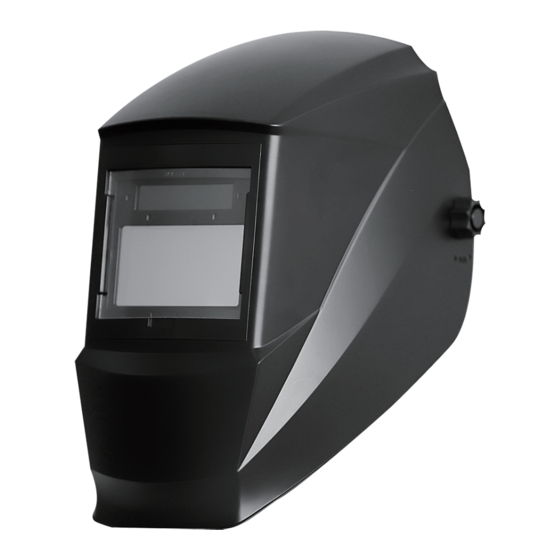
- Page 1 Customer Sevice Technical Info. Parts & Accessories AH6-330 SERIES Promotions www.facebook.com /AntraHelmets Auto-Darkening Welding Helmet User Manual Made in china 2017...
-
Page 2: Important Safety Instructions
Antra AH6-330 Series ARC RAYS can burn eyes ! Auto-Darkening Welding Helmet Never look at arc welding without proper eye protection. Arc rays from the welding process produce intense visible and invisible (ultraviolet and infrared) 2017 rays that can burn eyes and Skin, Hot sparks fly off from the weld and can burn eyes and skin. -
Page 3: Technical Specifications
TECHNICAL SPECIFICATIONS ADF Model FLYING METAL can injure eyes ! Viewing Area 98 x 53mm / 3.86" x 2.09 • Welding, chipping, wire brushing, and grinding cause sparks and flying metal. As welds Cartridge Size 110mm x 90mm x 9mm/4.33" x 3.54" x 0.35" cool, they can throw off slag. -
Page 4: Operation
1.OPERATION When stored in extremely cold temperature, the helmet should be warmed up to • ADJUST THE WELDING HELMET ACCORDING ambient temperature before welding. TO YOUR INDIVIDUAL REQUIREMENTS. Inspect all parts for signs of wear or damage. Any scratched or cracked parts should be •... -
Page 5: Parameter Adjustment
ON/OFF The solar unit automatically switches ON when exposed to light. Press any button to check if the lens is working In order to save battery power, indicator lamp and digital screen will be closed after 2 properly and to begin Mode and Info adjustments. seconds. - Page 6 REPLACEMENT OF WELDING FILTER Take out the old cover lens (Fig.6). 1. Front cover lens retainer removal Make sure that the protective film is removed from There are 4 lugs on the front cover lens the new cover lens. retainers, locked into the 4 slots on the shield. Use a tool like ball pen will make it much easier Place the new cover lens in the recess at the front to loose these lugs.
-
Page 7: Troubleshooting
4.INSPECTION IRREGULAR DARKENING - Headband has been set unevenly so the distance between the eyes and the lens is different 1. Carefully inspect your Auto-Darkening Welding Filter regularly. from the left to the right side. 2. Cracked, pitted or scratched filter glass or cover lenses reduced vision will seriously impair protection.
Need help?
Do you have a question about the AH6-330 Series and is the answer not in the manual?
Questions and answers