Sign In
Upload
Download
Table of Contents
Contents
Add to my manuals
Delete from my manuals
Share
URL of this page:
HTML Link:
Bookmark this page
Add
Manual will be automatically added to "My Manuals"
Print this page
×
Bookmark added
×
Added to my manuals
Manuals
Brands
Mio Manuals
Dash Cameras
MiVue 790 series
User manual
Mio MiVue 790 series User Manual
Hide thumbs
1
2
Table Of Contents
3
4
5
6
7
8
9
10
11
12
13
14
15
16
17
18
19
20
21
22
23
24
25
26
27
28
29
30
31
page
of
31
Go
/
31
Contents
Table of Contents
Bookmarks
Table of Contents
Table of Contents
Getting to Know Your Dash Cam
Rear Camera
Using Your Dash Cam in a Vehicle
Precautions and Notices
Inserting a Memory Card
Formatting a Card
Connecting to Your Computer
Turning the Dash Cam on
Power Button
Restarting the Dash Cam
System Icons
Function Keys
Switching Screens
Setting the Date and Time
Recording in Driving Mode
Continuous Recording
Event Recording
Recording in Parking Mode
Camera Mode
Playback Mode
Safety Camera Alerts
Adding a Safety Camera
Updating Safety Camera Data
Getting Connected
Mivue App
Setting up a WIFI Connection
System Settings
Mivue Manager
Installing Mivue Manager
Playing the Recording Files
For more Information
Caring for Your Device
Safety Precautions
About Charging
About the Charger
About the Battery
About GPS
Regulatory Information
Declaration of Conformity
Weee
Advertisement
Quick Links
1
Getting to Know Your Dash Cam
2
Inserting a Memory Card
Download this manual
TM
User Manual
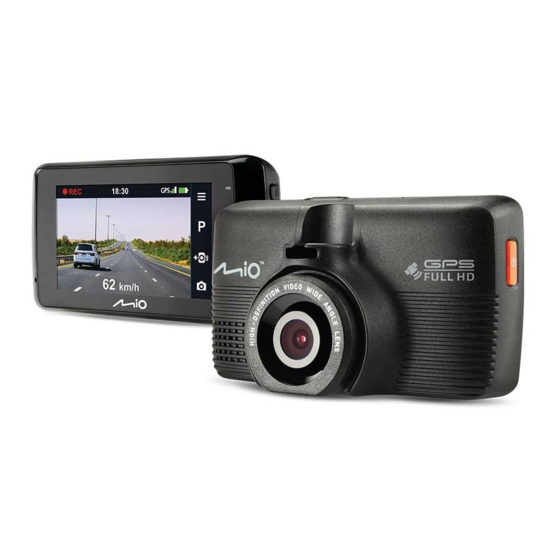
790 / 750
Series
TM
Table of
Contents
Previous
Page
Next
Page
1
2
3
4
5
Advertisement
Table of Contents
Need help?
Do you have a question about the MiVue 790 series and is the answer not in the manual?
Ask a question
Questions and answers
Related Manuals for Mio MiVue 790 series
Dash Cameras Mio MiVue 750 series User Manual
(31 pages)
Dash Cameras Mio MiVue 730 Series User Manual
(25 pages)
Dash Cameras Mio MiVue 730 Series Quick Start Manual
(2 pages)
Dash Cameras Mio MiVue 798 User Manual
(30 pages)
Dash Cameras Mio MiVue 795 Series User Manual
(30 pages)
Mio MiVue 795 / 798 Series - Dash Camera Manual
(article)
Dash Cameras Mio MiVue 388 User Manual
(26 pages)
Dash Cameras Mio MiVue 5 series User Manual
(27 pages)
Dash Cameras Mio MiVue 6 series User Manual
(28 pages)
Dash Cameras Mio MiVue 338 User Manual
(20 pages)
Dash Cameras Mio MiVue 338 Manual
(51 pages)
Dash Cameras Mio MIVUE 618 User Manual
(28 pages)
Dash Cameras Mio MIVUE 698 DUAL User Manual
(28 pages)
Dash Cameras Mio MiVue C310 User Manual
(20 pages)
Dash Cameras Mio MiVue 600 User Manual
(25 pages)
Dash Cameras Mio MiVue 82 Series User Manual
(29 pages)
This manual is also suitable for:
Mivue 750 series
Table of Contents
Save PDF
Print
Rename the bookmark
Delete bookmark?
Delete from my manuals?
Login
Sign In
OR
Sign in with Facebook
Sign in with Google
Upload manual
Upload from disk
Upload from URL


Need help?
Do you have a question about the MiVue 790 series and is the answer not in the manual?
Questions and answers