Table of Contents
Advertisement
Quick Links
Advertisement
Table of Contents

Related Manuals for Mio MiVue 600


Summary of Contents for Mio MiVue 600
- Page 1 User Manual MiVue...
-
Page 2: Table Of Contents
Table of Contents Precautions and notices .................3 Getting to know the dash cam ..............3 Inserting a memory card ................5 Formatting a card ..................6 Using your recorder in a vehicle ..............6 Operating basics ....................8 Setting the date and time ...............8 Screen elements ..................9 Recording in driving mode ..............10 Continuous recording ..............10 Event recording ................10... - Page 3 Playing the recording files ..............15 Settings menu..................19 Caring for your device ...................19 Regulatory information ................20 CE ......................20 WEEE ......................21 Safety precautions .................21 About charging ................21 About the charger ................21 About the battery ................22...
-
Page 4: Precautions And Notices
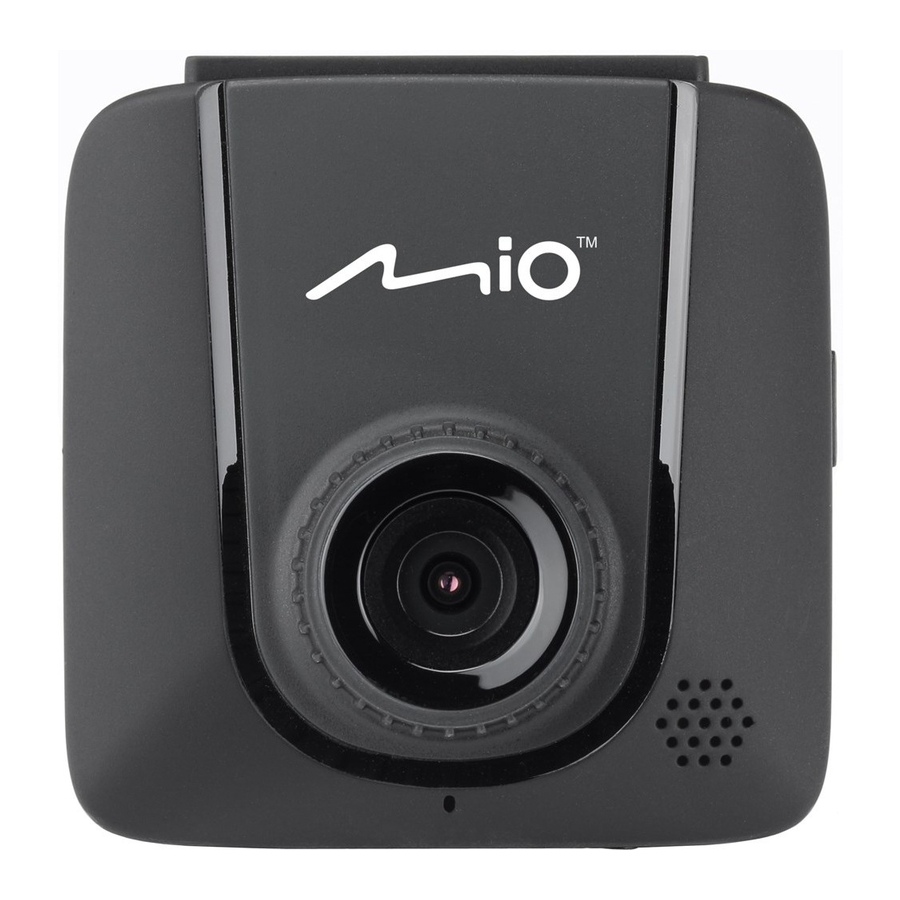
Precautions and notices For your own safety, do not operate the controls of the product while driving. ƒ A window mount is needed when using the recorder in a car. Make sure that you ƒ place the recorder in an appropriate place, so as not to obstruct the driver’s view or deployment of airbags. - Page 5 Name Description Device mount For the device mount. ❶ socket Power key Press briefly to turn on the device; press and hold to turn off the ƒ ❷ device. When the device is on and not recording: press briefly repeatedly to ƒ...
-
Page 6: Inserting A Memory Card
Name Description OK key Starts or stops recording. ❿ ƒ Acts as the ENTER button. ƒ Down key Moves to the next item. ƒ ⓫ Takes a photo during recording. ƒ Up key Moves to the previous item. ⓬ Menu key Opens the Settings menu when not recording. -
Page 7: Formatting A Card
Note: MiTAC does not guarantee the product’s compatibility with MicroSD cards from all manufacturers. Formatting a card If you need to format a memory card (all data will be erased): When not recording, press to open the Settings menu. Press the Power key repeatedly to open the Tools menu. Select Format Card and press . -
Page 9: Operating Basics
Use cable clips to secure the power cord so that it does not interfere with driving. To ensure the highest quality recordings, you are advised to place the recorder near the rear view mirror. Operating basics CAUTION: DO NOT remove or insert the memory card while recording. Connect the recorder to the car charger according to the installation instructions in the previous “Using your recorder in a vehicle”... -
Page 10: Screen Elements
Screen elements ❶ ❷ ❸ ❹ ❺❻❼ ❽ ❾ ⓬ ⓫ ❿ Current scene mode ❶ Current setting of white balance ❷ Recording or standby mode ❸ Image resolution ❹ Frame frequency of the video ❺ Current operation mode ❻ Memory card status ❼... -
Page 11: Recording In Driving Mode
Recording in driving mode Continuous recording When you connect the car charger to the cigarette lighter in the car, the recorder will start continuous recording automatically. The recording may be divided into several video clips; recording will not stop between video clips. During recording, you can protect the recording (so that it will not be overwritten by continuous recording) by pressing . -
Page 12: Photo Mode
Photo mode During recording: press to take the photo of the current video image. ƒ When not recording: press the Power key briefly repeatedly to switch to photo mode, ƒ and then press Note: In photo mode, you can open the Photo Settings menu by pressing Playback mode To select a video or photo for playback (when not recording): Press the Power key briefly repeatedly to switch to video playback or photo playback... -
Page 13: Deleting Files
Select Protect and press To add the protection, select Protect One and press . Select the desired file and press Or, select Protect All and press . Select the desired type and press . Select Yes and press A lock icon will appear on the top-left corner of the thumbnail of the protected file. To remove the protection, select Unprotect One and press . -
Page 14: Customising The Settings
Customising the settings When not recording, press to open the Settings menu. Press the Power key repeatedly to cycle through all Settings menus. Menu Item Description Video Settings Video Mode Sets the image resolution. Quality Sets the video quality. Video Clip Length Sets the length of each video clip for a continuous recording. - Page 15 Menu Item Description White Balance Sets the white balance setting according to the current lighting environment. Sets the ISO level. Colour Sets the colour mode. Effect Sets the photo effect. File Playback Volume Adjusts the volume level. Delete Deletes file(s). Protect Protects or removes the protection of the file(s).
-
Page 16: Mivue Manager
Note: Not all features are available for every model. Installing MiVue Manager Download MiVue Manager from the Support page of our website (www.mio.com/support) and follow the on-screen prompts to install it. Make sure to download the correct software version (Windows or Mac) according to your computer's operating system. - Page 17 Start MiVue Manager on the computer. Minimise Maximise Exit Calendar Video playback screen File type File list Playback controls Map screen G sensor chart Note: The Map screen may not display when the computer is not connected to the Internet or when your Mivue model does not support the GPS function. Note: G sensor chart displays data in 3-axis waveform about the car’s shift forward/ backward (X), to the right/left (Y) and upward/downward (Z).
- Page 18 You can choose the file type to display: Event (emergency event recordings) ƒ and/or Normal (continuous recordings). Note: Your MiVue model may not support the "Parking" file type. To display all files in the current folder, click All. To return to the calendar view, ƒ...
- Page 19 Icon Description Changes the playback speed to 1/4x, 1/2x, 1x (default), 1.5x, or 2x. Changes the playback direction. The ► icon indicates the current playback direction. Mutes or unmutes the volume. / Adjusts the volume level. Plays the video in full screen. Returns to the normal view.
-
Page 20: Settings Menu
Settings menu Click to open the Settings menu. The Settings items are described as follows: Change Language: Sets the display language of MiVue Manager. ƒ Change Skin: Sets the color scheme of MiVue Manager. ƒ Check for Update: Checks if there is any new version of MiVue Manager. ƒ... -
Page 21: Regulatory Information
Never clean your device with it powered on. Use a soft, lint-free cloth to wipe the ƒ screen and the exterior of your device. Do not use paper towels to clean the screen. ƒ Never attempt to disassemble, repair or make any modifications to your device. ƒ... -
Page 22: Weee
EN 61000-4-6:2014 ƒ EN 61000-4-8:2010 ƒ The manufacturer cannot be held responsible for modifications made by the User and the consequences thereof, which may alter the conformity of the product with the CE Marking. WEEE This product must not be disposed of as normal household waste, in accordance with the EU directive for waste electrical and electronic equipment (WEEE –... -
Page 23: About The Battery
Allow adequate ventilation around the charger when using it to operate the device ƒ or charge the battery. Do not cover the charger with paper or other objects that will reduce cooling. Do not use the charger while it is inside a carrying case. Connect the charger to a proper power source. - Page 24 Revision: R00 (4/2015) Trademarks All brand and product names are trademarks or registered trademarks of their respective companies. Disclaimer Specifications and documents are subject to change without notice. MiTAC does not warrant this document is error-free. MiTAC assumes no liability for damage incurred directly or indirectly from errors, omissions, or discrepancies between the device and the documents.
- Page 25 MiTAC Europe Ltd www.mio.com...
Need help?
Do you have a question about the MiVue 600 and is the answer not in the manual?
Questions and answers