Electrolux EOB3450AAX User Manual
Hide thumbs
Also See for EOB3450AAX:
- User manual (28 pages) ,
- User manual (28 pages) ,
- User manual (24 pages)
Table of Contents
Advertisement
Quick Links
Advertisement
Table of Contents

Related Manuals for Electrolux EOB3450AAX


Summary of Contents for Electrolux EOB3450AAX
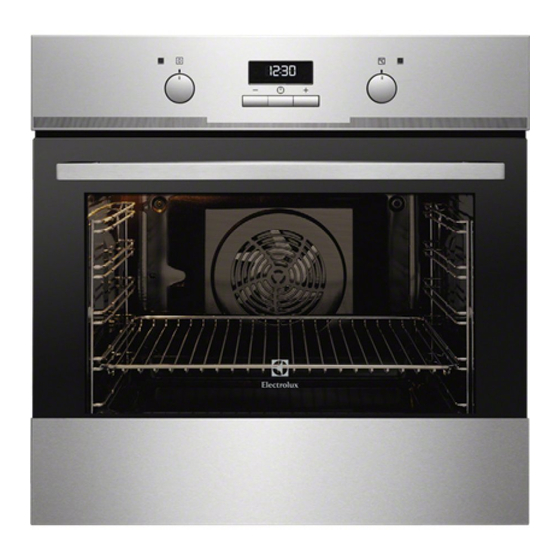
- Page 1 EOB3450AAX EOB3450AOX Oven User Manual...
-
Page 2: Table Of Contents
13. ENERGY EFFICIENCY.................. 25 WE’RE THINKING OF YOU Thank you for purchasing an Electrolux appliance. You’ve chosen a product that brings with it decades of professional experience and innovation. Ingenious and stylish, it has been designed with you in mind. So whenever you use it, you can be safe in the knowledge that you’ll get great results every time. -
Page 3: Safety Information
ENGLISH SAFETY INFORMATION Before the installation and use of the appliance, carefully read the supplied instructions. The manufacturer is not responsible for any injuries or damages that are the result of incorrect installation or usage. Always keep the instructions in a safe and accessible location for future reference. -
Page 4: Safety Instructions
Always use oven gloves to remove or put in • accessories or ovenware. Before carrying out any maintenance, disconnect the • appliance from the power supply. Ensure that the appliance is switched off before • replacing the lamp to avoid the possibility of electric shock. - Page 5 ENGLISH • Do not use multi-plug adapters and • Do not operate the appliance with wet extension cables. hands or when it has contact with • Make sure not to cause damage to water. the mains plug and to the mains •...
- Page 6 2.5 Internal lighting the housing unit or the floor. Do not close the furniture panel until the appliance has cooled down WARNING! completely after use. Risk of electric shock. 2.4 Care and cleaning • The type of light bulb or halogen lamp...
-
Page 7: Product Description
ENGLISH 3. PRODUCT DESCRIPTION 3.1 General overview Control panel Knob for the oven functions Power lamp / symbol Electronic programmer Knob for the temperature Temperature indicator / symbol Heating element Lamp Shelf support, removable Shelf positions 3.2 Accessories • Grill- / Roasting pan To bake and roast or as pan to collect •... -
Page 8: Daily Use
5. DAILY USE WARNING! Oven func‐ Application Refer to Safety chapters. tion 5.1 Retractable knobs To bake cakes with crispy bottom and to To use the appliance, press the control preserve food. Bottom Heat knob. The control knob comes out. -
Page 9: Clock Functions
ENGLISH 5.4 Display A. Function indicators B. Time display C. Function indicator 5.5 Buttons Sensor field / Button Function Description MINUS To set the time. CLOCK To set a clock function. PLUS To set the time. 6. CLOCK FUNCTIONS 6.1 Clock functions table Clock function Application TIME OF DAY... -
Page 10: Using The Accessories
3. Press to set the DURATION 5. Press to set the time for time. END. The display shows 6. Press to confirm. Appliance turns on automatically later on, 4. When the time ends, flashes and works for the set DURATION time and an acoustic signal sounds. -
Page 11: Additional Functions
ENGLISH Baking tray / Deep pan: With telescopic runners you can put in and remove the shelves more easily. Push the baking tray / deep pan between the guide bars of the shelf support. CAUTION! Do not clean the telescopic runners in the dishwasher. -
Page 12: Hints And Tips
The oven activates again automatically when the temperature drops. 9. HINTS AND TIPS aluminium foil on the components WARNING! when you cook. This can change the Refer to Safety chapters. baking results and cause damage to the enamel. - Page 13 ENGLISH Food Top / Bottom Heat True Fan Cooking Time Com‐ (min) ments Tempera‐ Shelf po‐ Tempera‐ Shelf po‐ ture (°C) sition ture (°C) sition Short‐ 3 (2 and 20 - 30 In a cake bread mould dough Buttermilk 60 - 80 In a 26 cm cheese‐...
- Page 14 Food Top / Bottom Heat True Fan Cooking Time Com‐ (min) ments Tempera‐ Shelf po‐ Tempera‐ Shelf po‐ ture (°C) sition ture (°C) sition Biscuits / 140 - 150 2 and 4 35 - 40 In a baking pastry...
- Page 15 ENGLISH Food Top / Bottom Heat True Fan Cooking Time Com‐ (min) ments Tempera‐ Shelf po‐ Tempera‐ Shelf po‐ ture (°C) sition ture (°C) sition Rye bread 190 30 - 45 In a bread Bread 2 (2 and 25 - 40 6 - 8 rolls in a bak‐...
- Page 16 Food Top / Bottom Heat True Fan Cooking Time Com‐ (min) ments Tempera‐ Shelf po‐ Tempera‐ Shelf po‐ ture (°C) sition ture (°C) sition English 50 - 60 On a wire roast beef, shelf rare English 60 - 70...
- Page 17 ENGLISH Food Quantity Tempera‐ Time (min) Shelf po‐ ture (°C) sition Pieces 1st side 2nd side Fillet max. 12 - 15 12 - 14 steaks Beef max. 10 - 12 6 - 8 steaks Sausages 8 max. 12 - 15 10 - 12 Pork max.
- Page 18 Pork Food Quantity (kg) Temperature Time (min) Shelf posi‐ (°C) tion Shoulder, neck, 1 - 1.5 160 - 180 90 - 120 1 or 2 ham joint Chop, spare rib 1 - 1.5 170 - 180 60 - 90...
- Page 19 ENGLISH 9.8 Defrost Food Quantity Defrosting Further defrost‐ Comments time (min) ing time (min) Chicken 1000 100 - 140 20 - 30 Place the chicken on an upturned saucer placed on a large plate. Turn halfway through. Meat 1000 100 - 140 20 - 30 Turn halfway through.
-
Page 20: Care And Cleaning
Food Temperature Time (h) Shelf position (°C) 1 position 2 positions Apple slices 60 - 70 6 - 8 1 / 4 Pears 60 - 70 6 - 9 1 / 4 10. CARE AND CLEANING damaged. Contact an Authorised WARNING! Service Centre. - Page 21 ENGLISH 10.5 Aqua Clean Install the heating element in the opposite sequence. This cleaning procedure uses humidity to Install the shelf supports. help remove remaining fat and food particles from the oven. WARNING! Make sure that the heating 1. Put 300 ml of water into the cavity element is correctly installed embossment at the bottom of the and that it does not fall...
- Page 22 4. Find the hinge to the left side of the 7. Put the door on a soft cloth on a door. stable surface. 8. Hold the door trim (B) on the top edge of the door at the two sides and push inwards to release the clip seal.
-
Page 23: Troubleshooting
ENGLISH CAUTION! Always hold the halogen lamp with a cloth to prevent grease residue from burning on the lamp. 10.8 Replacing the lamp The back lamp 1. Turn the lamp glass cover to remove WARNING! Risk of electric shock. 2. Clean the glass cover. The lamp can be hot. -
Page 24: Installation
11.2 Service data plate is on the front frame of the appliance cavity. Do not remove the If you cannot find a solution to the rating plate from the appliance cavity. problem yourself, contact your dealer or an Authorised Service Centre. -
Page 25: Energy Efficiency
ENGLISH Total power (W) Section of the ca‐ Total power (W) Section of the ca‐ ble (mm²) ble (mm²) maximum 1380 3 x 0.75 maximum 3680 3 x 1.5 maximum 2300 3 x 1 The earth cord (green / yellow cable) must be 2 cm longer than phase and neutral cables (blue and brown cables). - Page 26 www.electrolux.com...
- Page 27 ENGLISH...
- Page 28 www.electrolux.com/shop...
Need help?
Do you have a question about the EOB3450AAX and is the answer not in the manual?
Questions and answers