Table of Contents
Advertisement
Quick Links
Advertisement
Table of Contents

Related Manuals for Crestron HBK-3000


Summary of Contents for Crestron HBK-3000
- Page 1 Crestron HBK-3000 & SMK-3000 Hatchback and Swivel Mount Kits Installation Guide...
- Page 2 This document was prepared and written by the Technical Documentation department at: Crestron Electronics, Inc. 15 Volvo Drive Rockleigh, NJ 07647 1-888-CRESTRON All brand names, product names and trademarks are the property of their respective owners. ©2002 Crestron Electronics, Inc.
-
Page 3: Table Of Contents
Crestron HBK-3000 & SMK-3000 Contents Hatchback & Swivel Mount Kits: HBK-3000 & SMK-3000 Description ...1 Supplied Hardware...2 Installation...2 HBK-3000 Assembly/Installation Procedure ...2 SMK-3000 Assembly/Installation Procedure...3 Further Inquiries...6 Future Updates ...6 Return and Warranty Policies ...7 Merchandise Returns / Repair Service ...7 CRESTRON Limited Warranty ...7... -
Page 5: Hatchback & Swivel Mount Kits: Hbk-3000 & Smk-3000
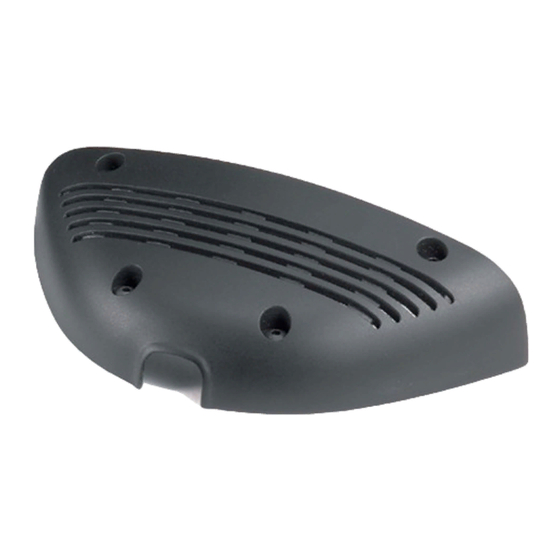
The wire exit hole at the rear of the HBK-3000 is sized to accommodate all cables that would typically be connected to the touchpanel. These include the Crestron-furnished 10- and 8-position, Siamese network/video and audio cable, an RS-232 cable, and a headphone cable. -
Page 6: Supplied Hardware
#1, #2, and #3 Phillips screwdrivers. HBK-3000 Assembly/Installation Procedure To attach the HBK-3000 Hatch Back Kit to the TPS-3000 Touchpanel, refer to the illustration on page 3 and perform the associated procedures. 1. Remove the two screws A from the rear of the touchpanel that correspond to the holes in the mounting tabs of the Metal Bracket. -
Page 7: Smk-3000 Assembly/Installation Procedure
Adjust tilt angle if needed. Avoid putting pressure on the display housing. 4. Refer to the assembly view for the HBK-3000 Hatchback Kit above and remove the two screws A from the rear of the touchpanel that correspond to the Mounting Holes in the Metal Bracket. - Page 8 1-inch screws for surfaces 1 1/8 to 1 3/8 inches thick). Use screws E to adjust tension of the swivel assembly. 10. Again, refer to the HBK-3000 illustration on page 3, and put the Plastic Cover in position and secure to the Metal Bracket using the four #4-40 X 3/16-inch screws B supplied.
- Page 9 Crestron HBK-3000 & SMK-3000 SMK-3000 Swivel Mount Kit Assembly Diagram Installation Guide – DOC. 6110 Hatch Back & Swivel Mount Kits From Interface Box Hatchback & Swivel Mount Kits: HBK-3000 & SMK-3000 • 5 Bottom of Touchpanel Swivel Assembly Mounting Surface...
-
Page 10: Further Inquiries
+5255-5093-2160. • In Australia and New Zealand, call Crestron Pacific at +613-9480-2999. As of the date of manufacture, the HBK-3000 and SMK-3000 have been tested and found to comply with specifications for CE marking. Future Updates As Crestron improves functions, adds new features, and extends the capabilities of the HBK-3000 or SMK-3000, additional information may be made available as manual updates. -
Page 11: Installation Guide – Doc
CRESTRON shall not be liable to honor the terms of this warranty if the product has been used in any application other than that for which it was intended, or if it has been subjected to misuse, accidental damage, modification, or improper installation procedures. - Page 12 Crestron Electronics, Inc. Installation Guide – DOC. 6110 15 Volvo Drive Rockleigh, NJ 07647 10.02 Tel: 888.CRESTRON Fax: 201.767.7576 Specifications subject to www.crestron.com change without notice.
Need help?
Do you have a question about the HBK-3000 and is the answer not in the manual?
Questions and answers